Monthly Archives

January 2017

Food Holiday

Chocolate Fondue

January 31, 2017
valentines desserts

valentines day desserts

Fondue Valentines day

Chocolate valentines day dessert


fondue chocolate valentines dessert

fondue valentines day dessert

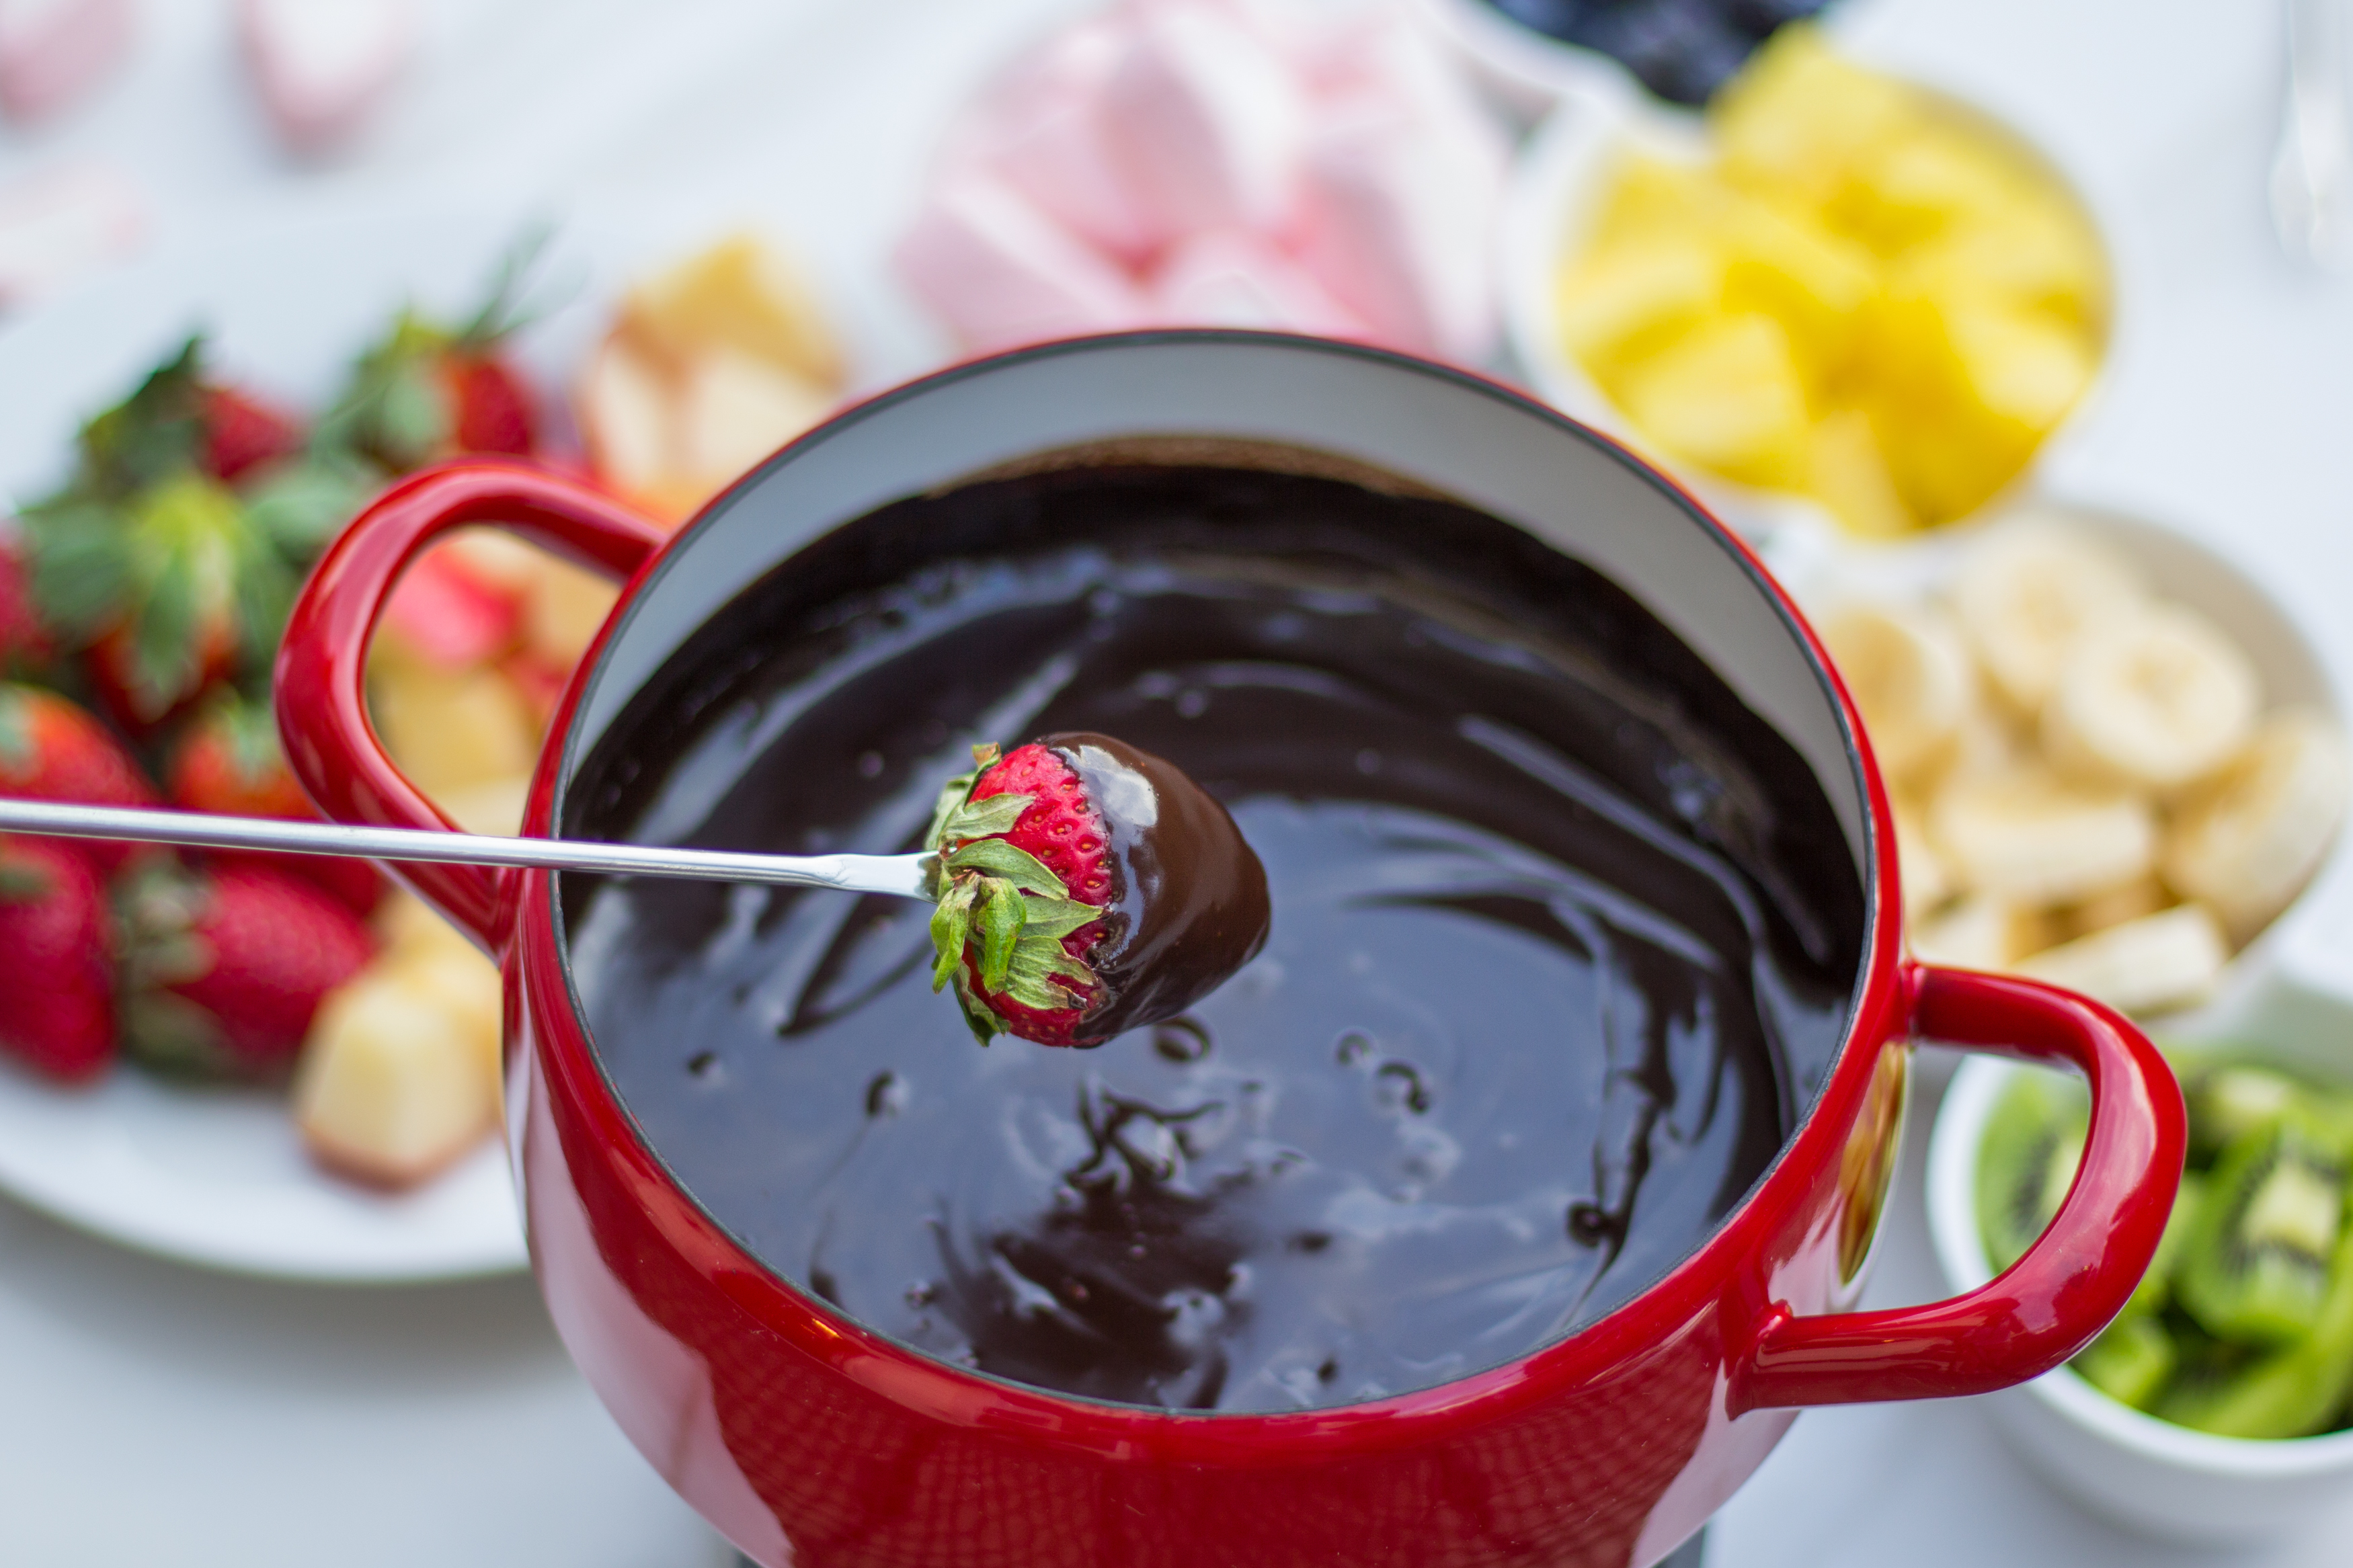
I tend to be a savory over sweet person, but I certainly have my moments. I LOVE chocolate, and I also love my little mini-me who seems to be all about dipping lately. He loves to dip food into sauces. Ketchup, hummus, honey — you name it and he’s got his sticky little fingers in it. If that makes him eat more, I’m happy to oblige. I also love creating little traditions for holidays and other special occasions. Making fondue just seemed like the perfect Valentine’s day treat to make at home this year now that Braden is 2.5. Last year, we had a special Valentine’s Day family breakfast on the weekend where we exchanged a small gift or two (lots of Vday books for B) and ate  heart shaped pancakes. This is something I hope to continue for years even when it probably becomes annoying and embarrassing for him!

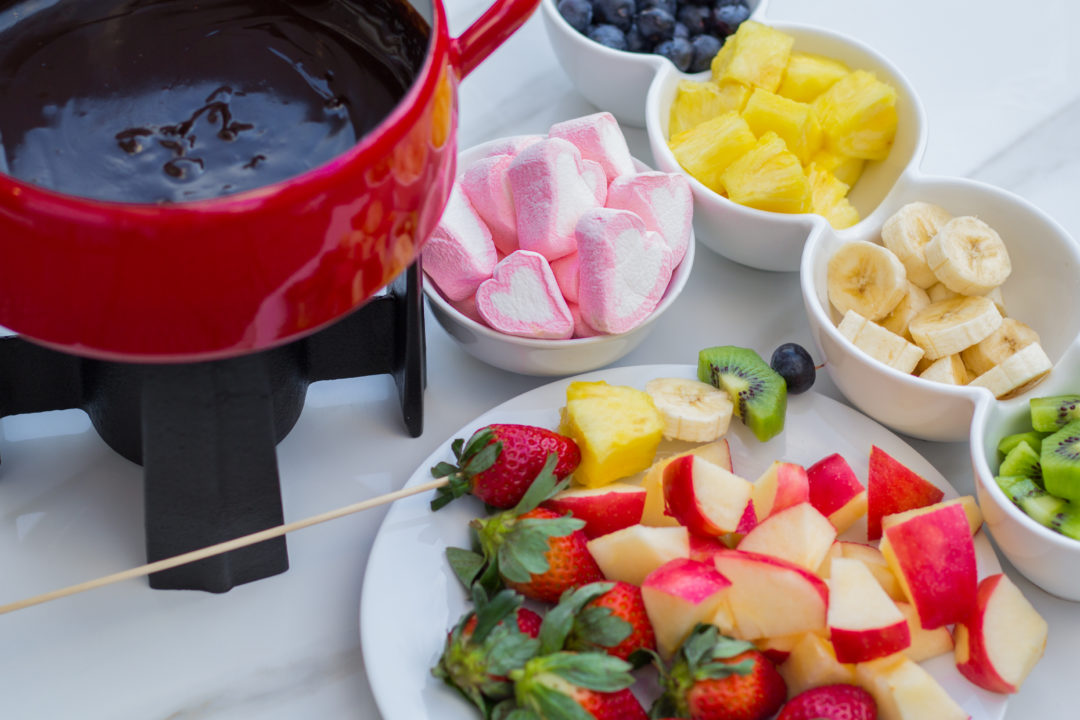
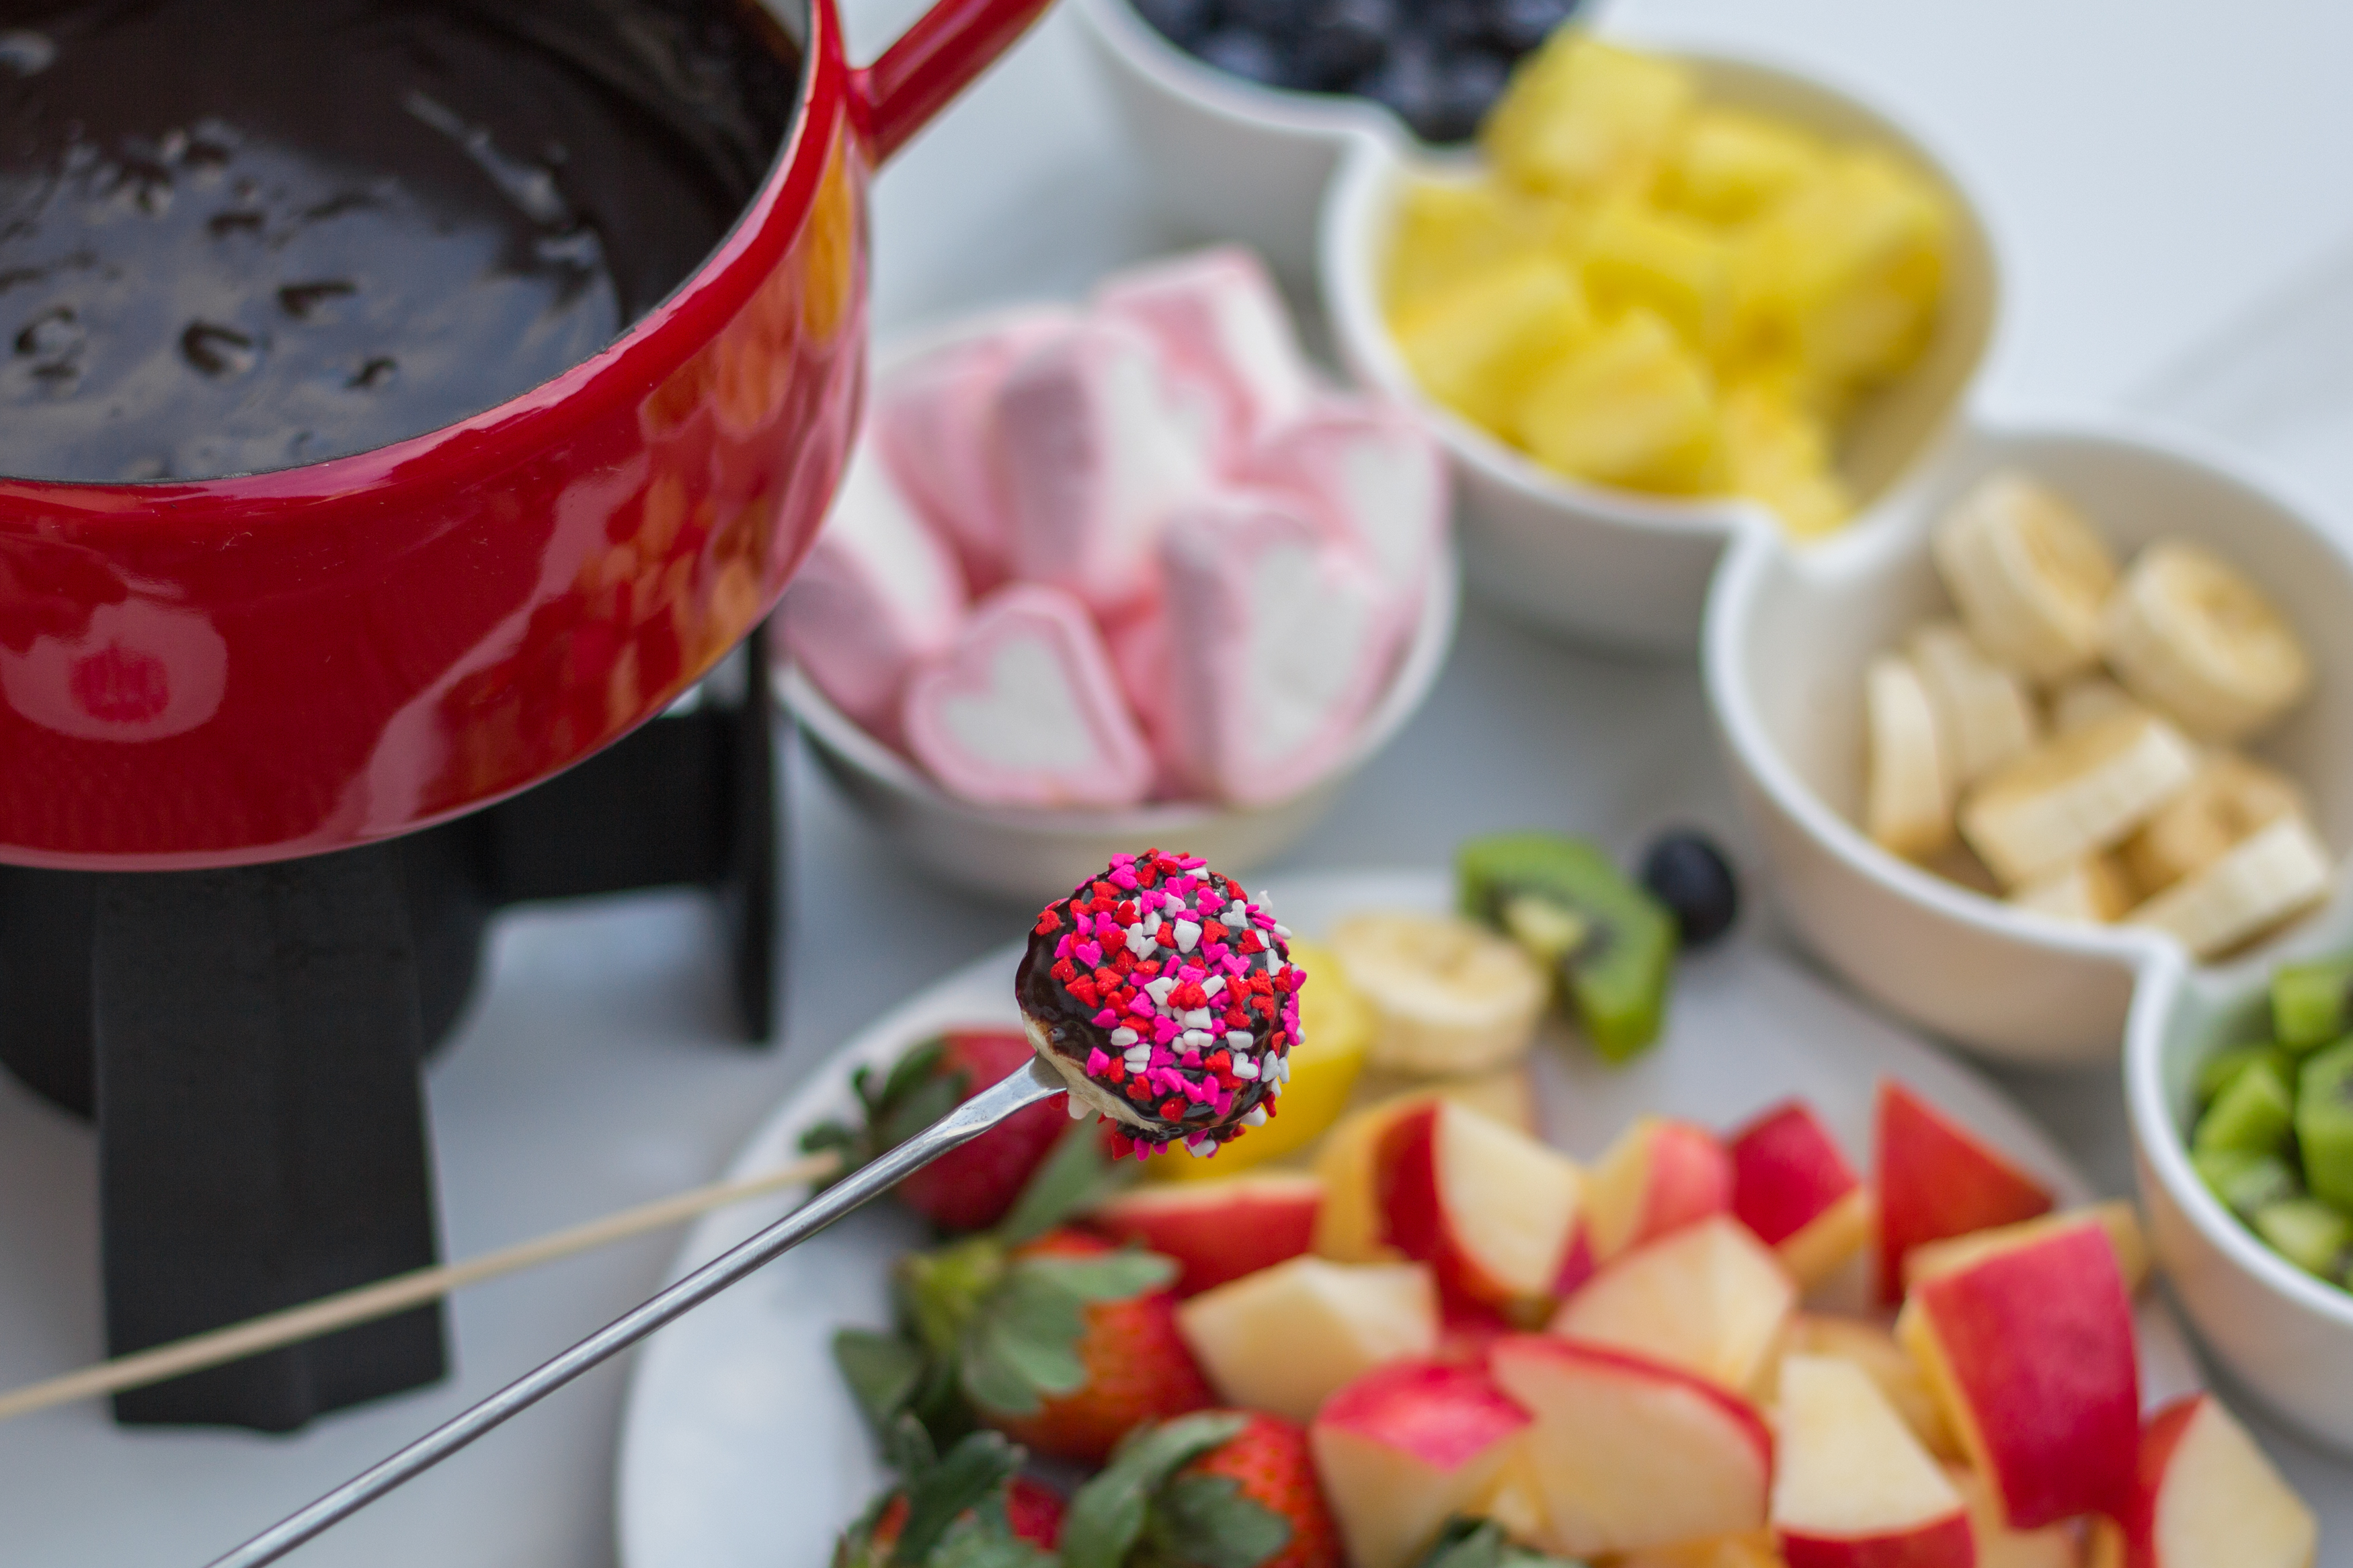
We actually received this fondue pot as a wedding gift 11 years ago, but we’ve never used it. (Yes, I was a child bride.) I’m glad I kept it!  You actually don’t need a fondue pot for making fondue. I think it makes it easier for serving and dipping, but I actually made the fondue in a regular pot on the stove then poured  into the fondue pot.

What you need:

  • 1 bag of semi-sweet chocolate chips (10 oz. bag)  – I used Ghirardelli semi-sweet chocolate but dark chocolate or white chocolate chips would be work well, too. I just thought semi-sweet would be better for a toddler.
  • 1/3 cup heavy cream – I usually shy away from using heavy cream in any recipes but since this is a holiday indulgence I decided to go big.
  • 1/3 cup milk – I used organic 2% because that’s what B drinks, and I had it handy.
  • Dipping options:
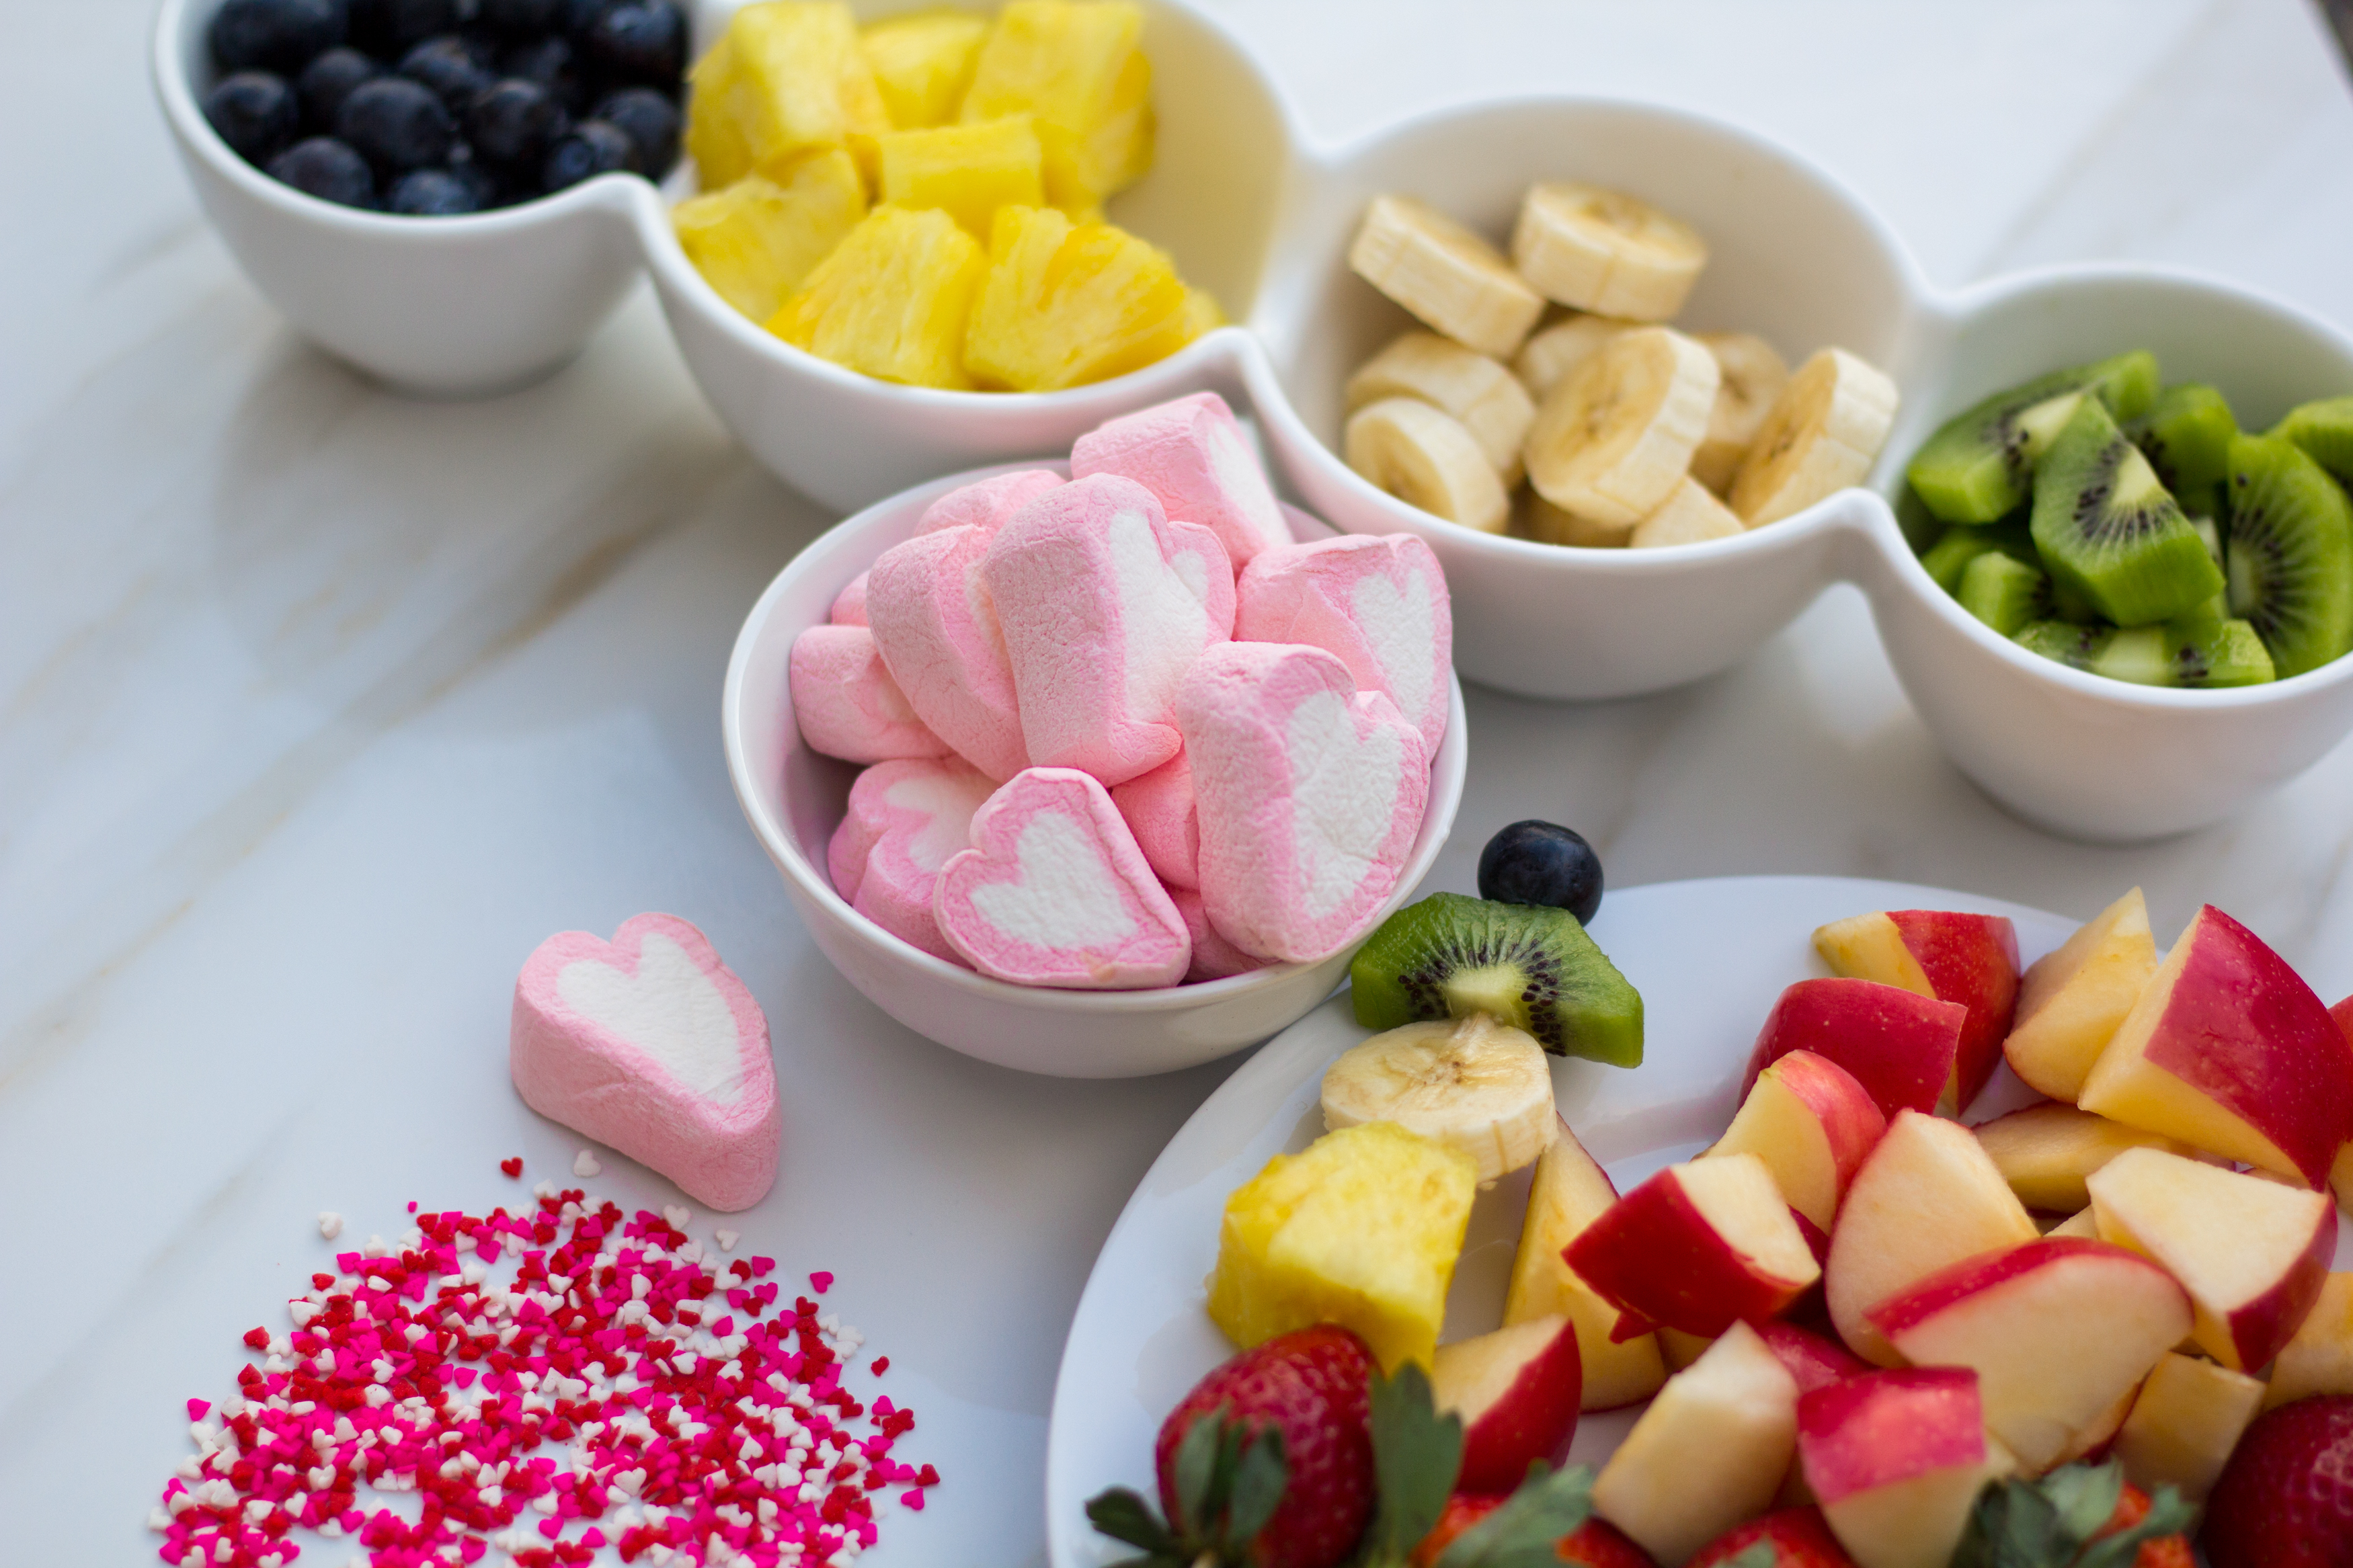
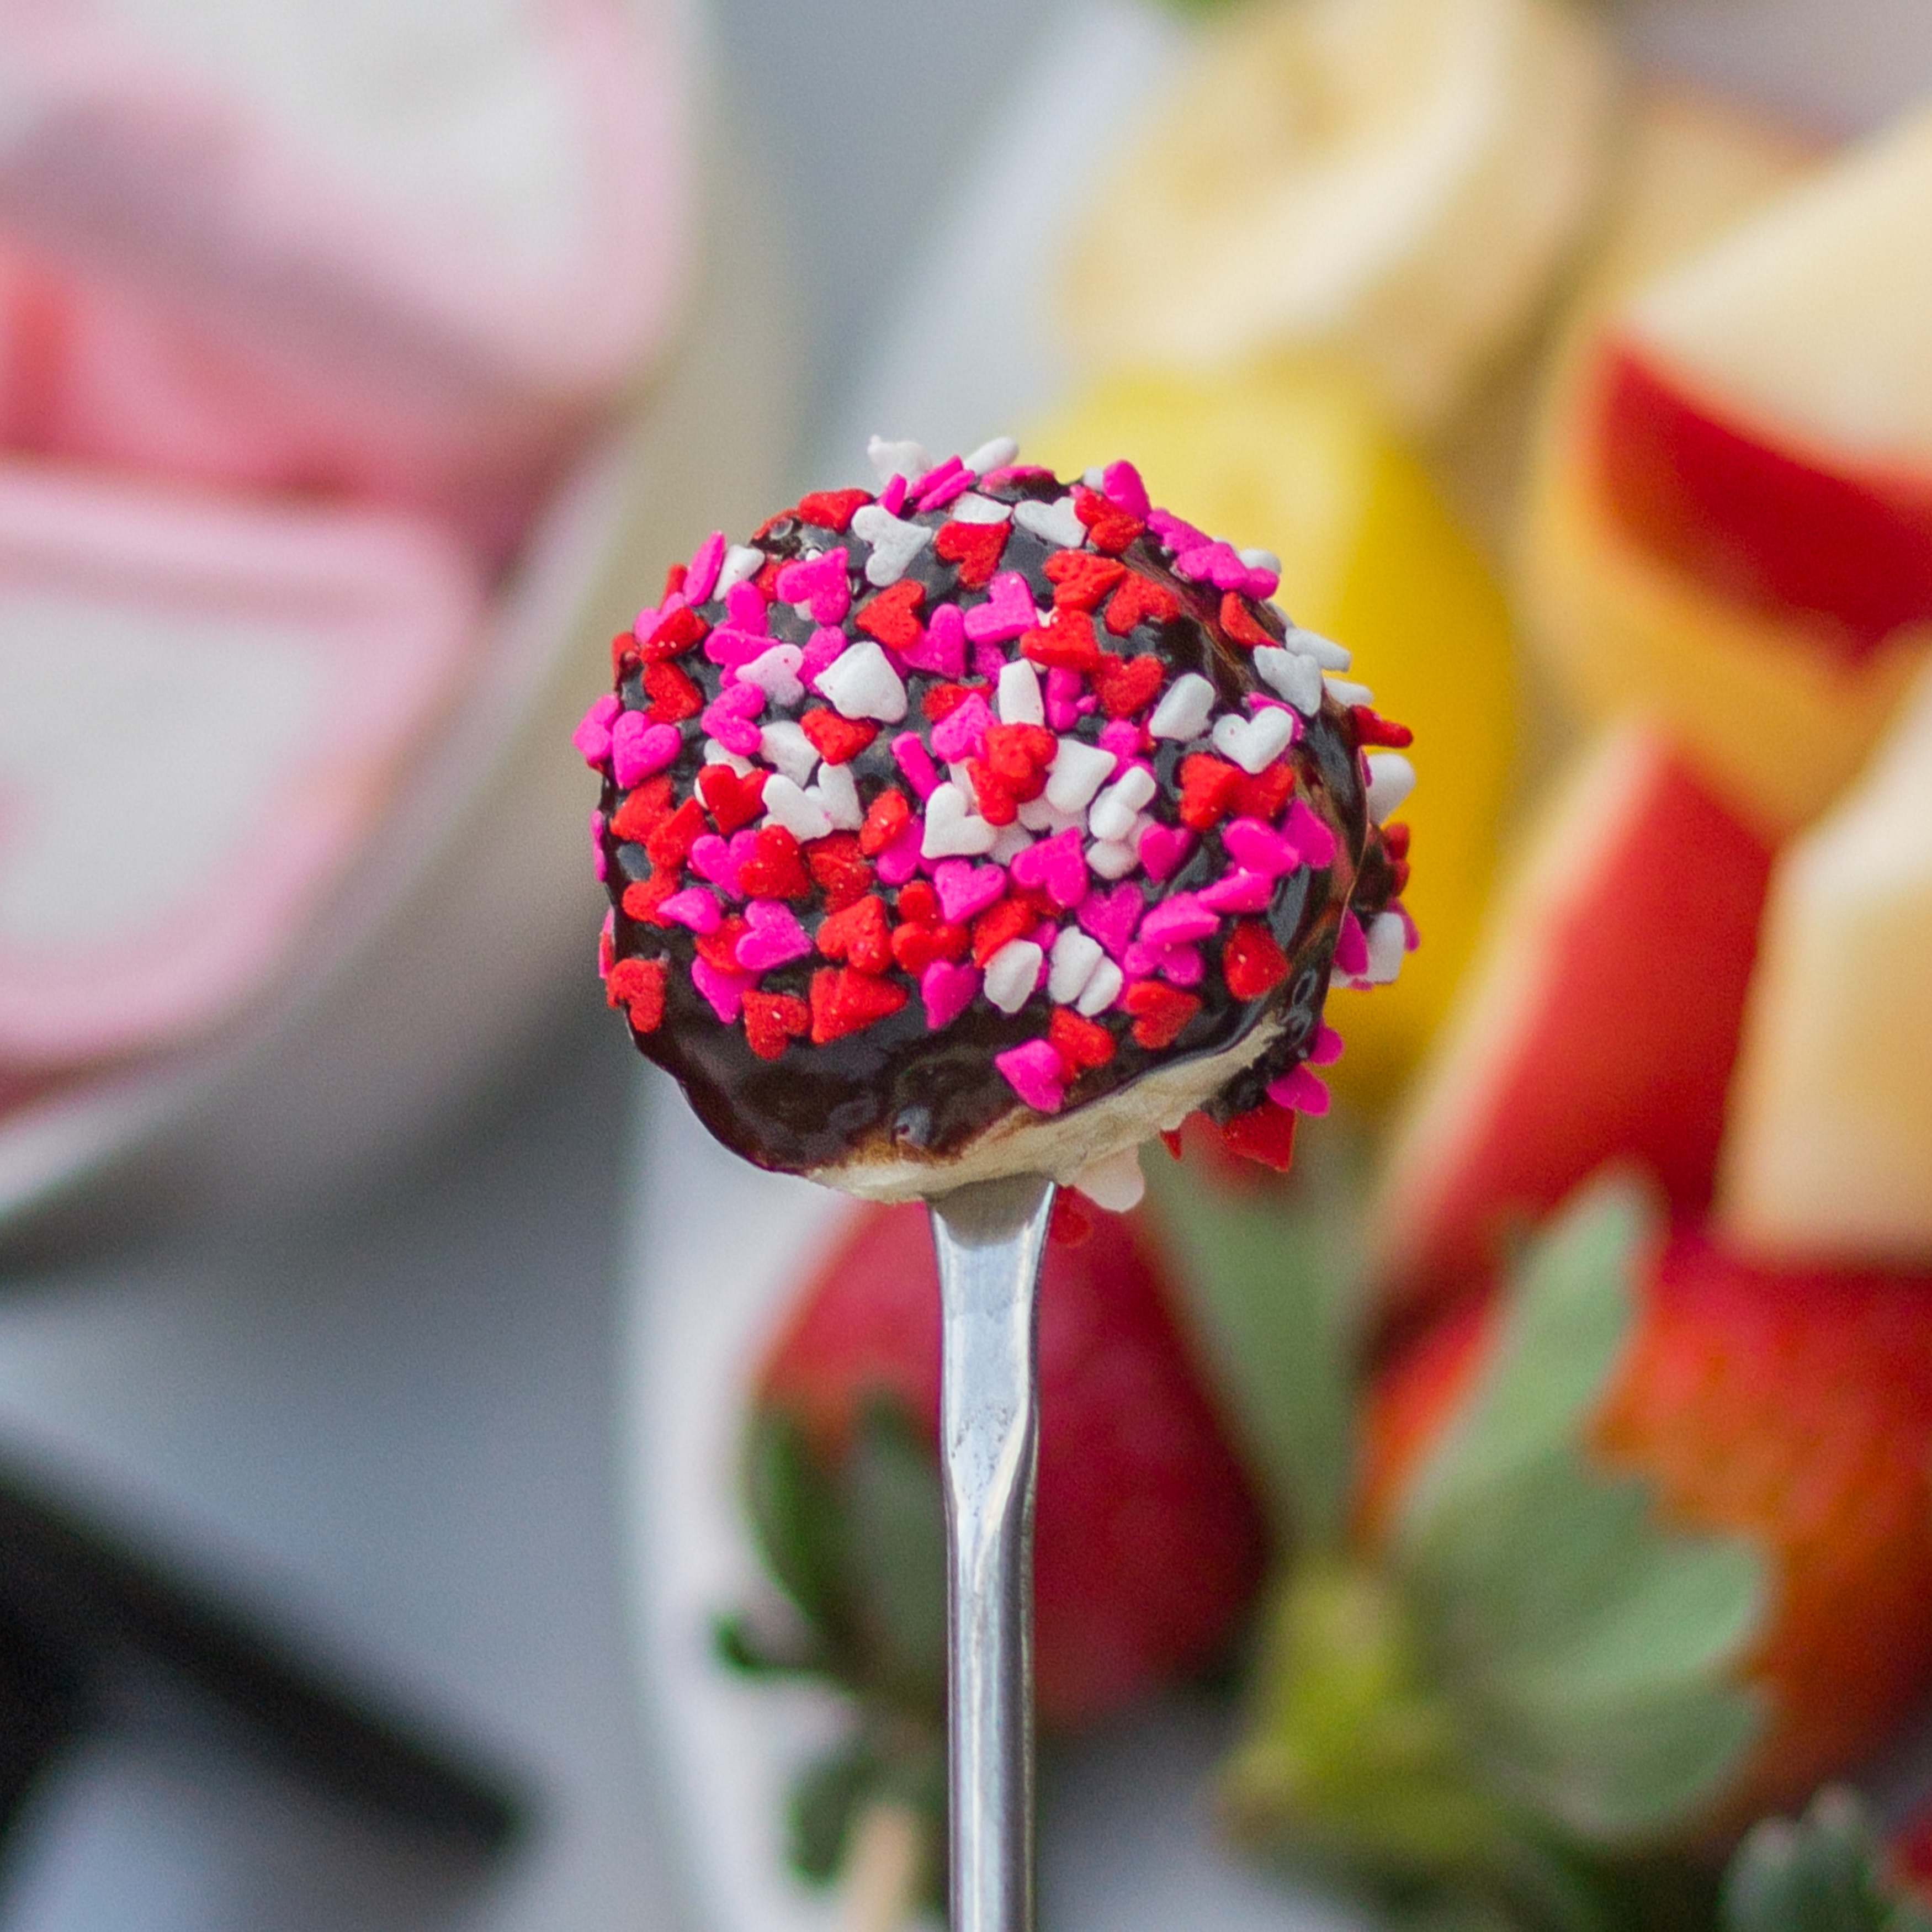
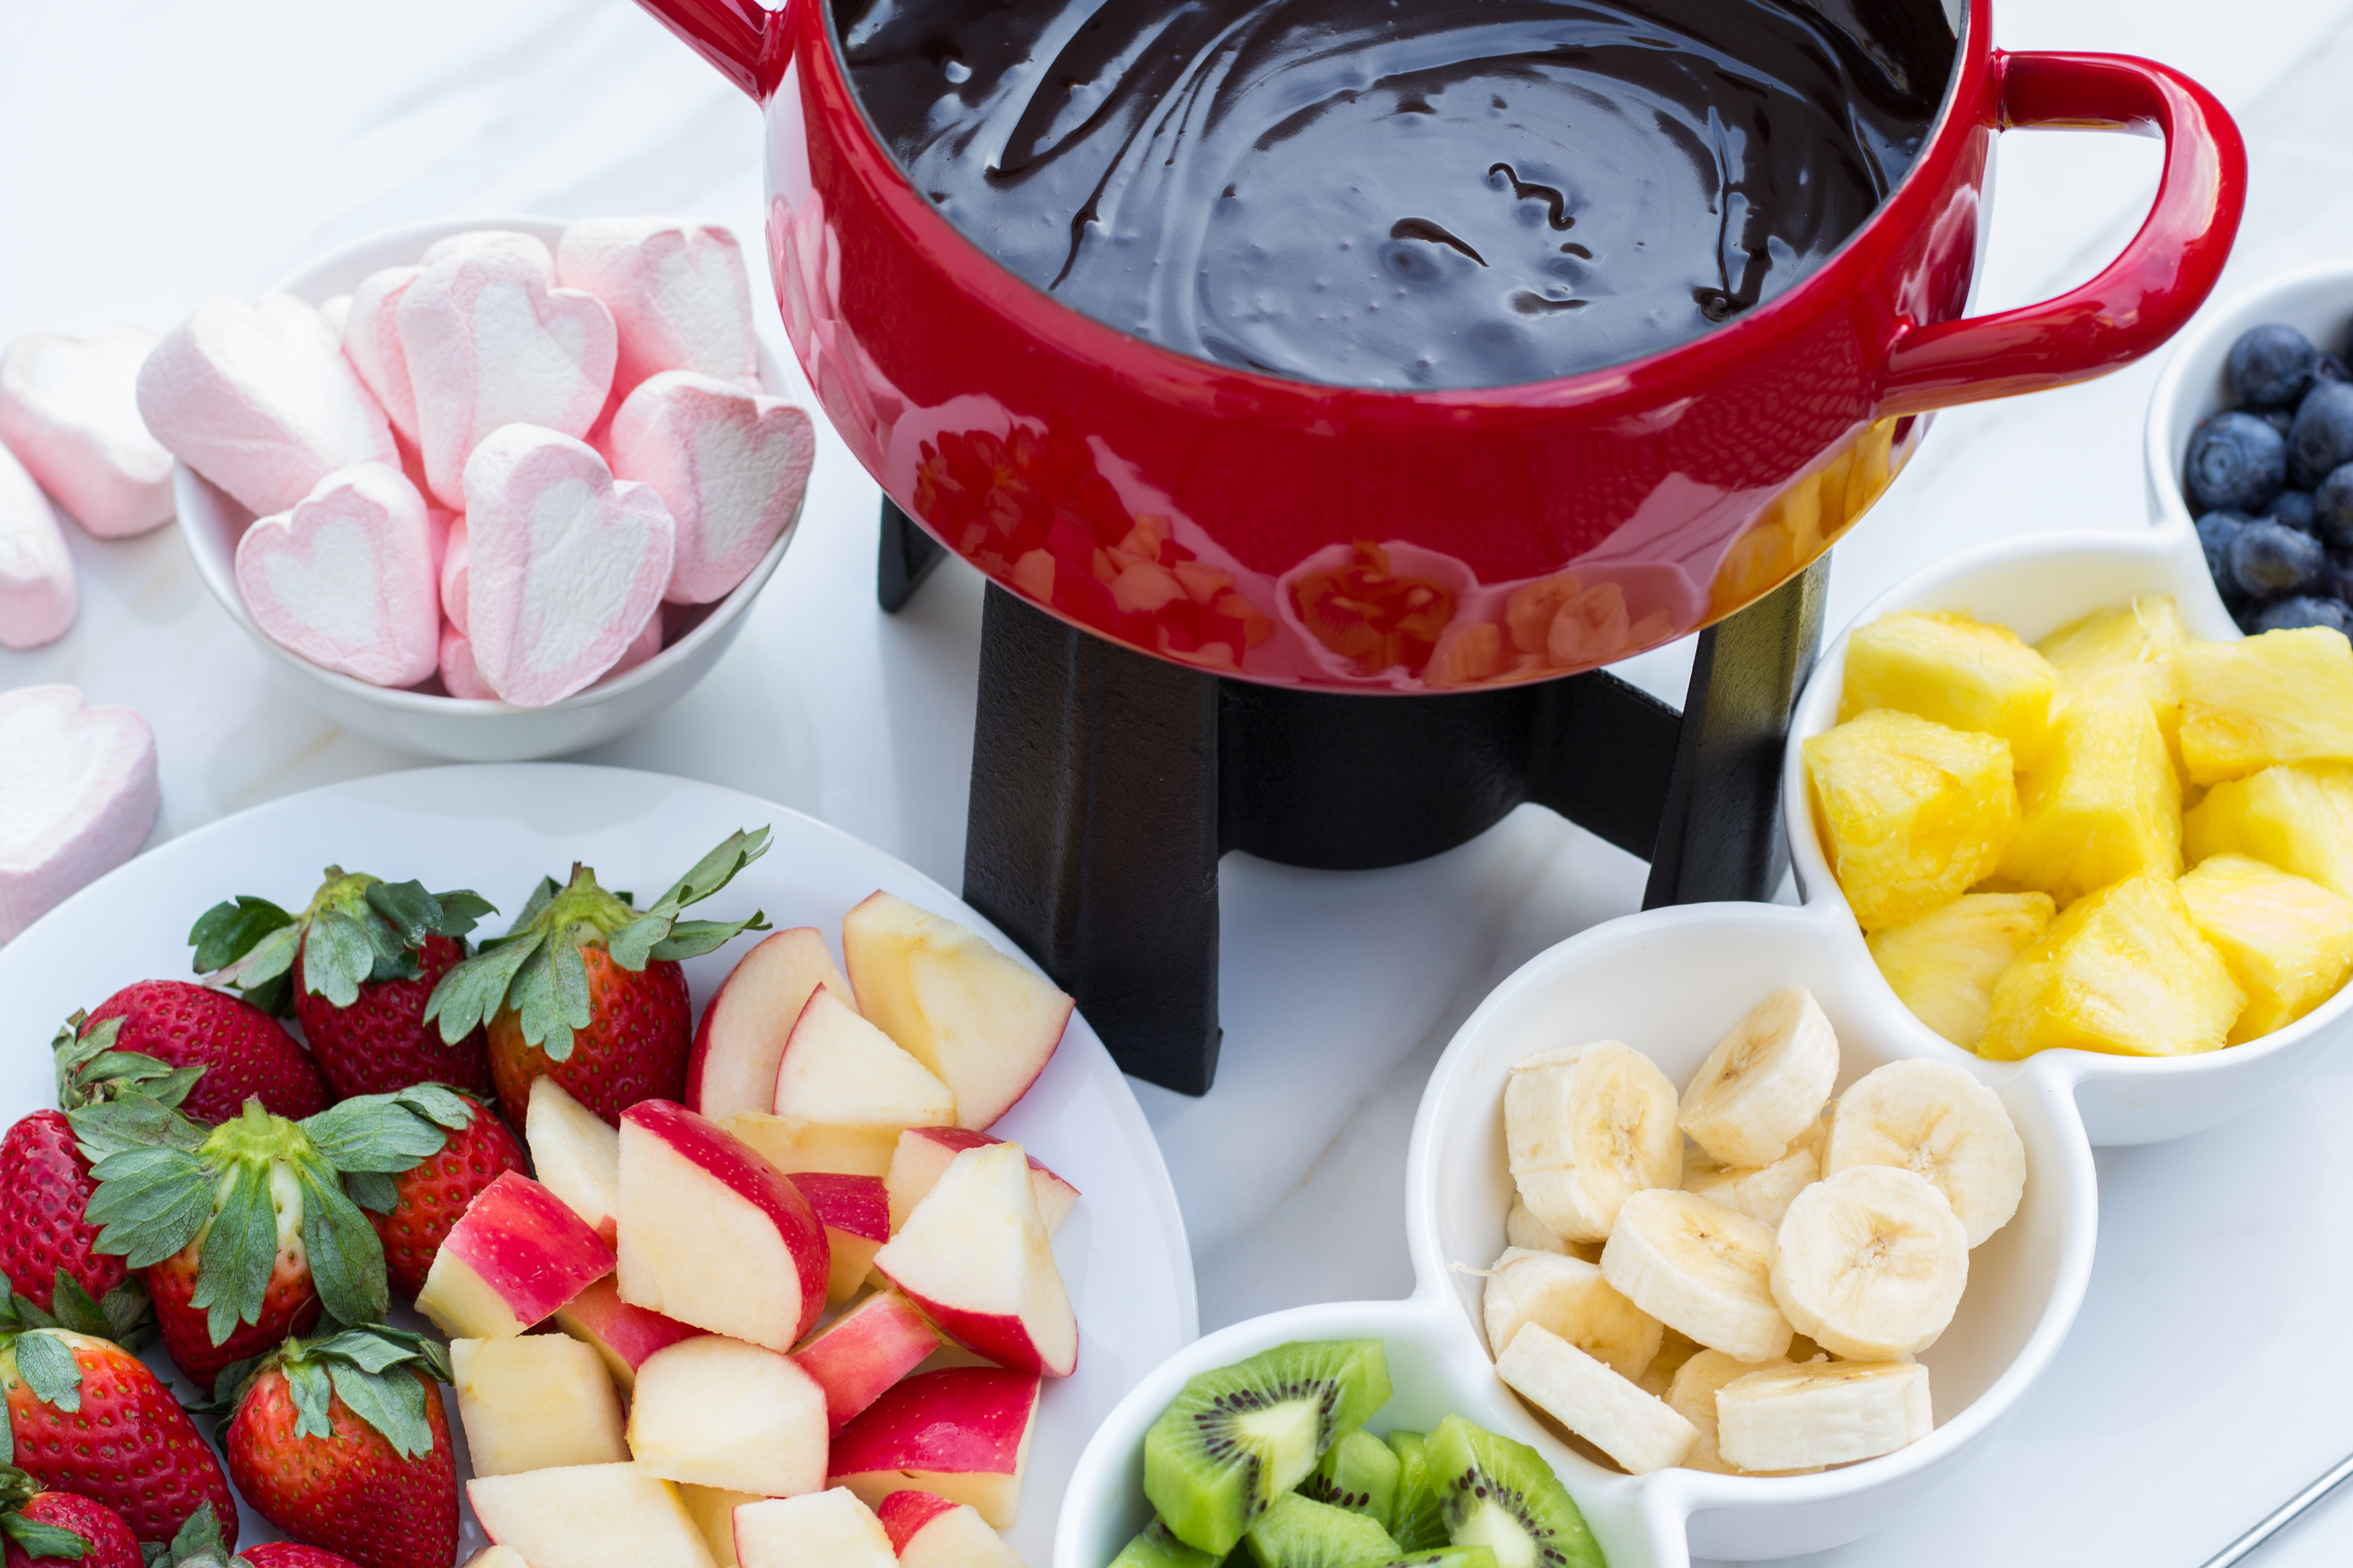
    • I found these adorable heart-shaped marshmallows and festive sprinkles. The sprinkles make it fun for kiddos. Braden also loves to sprinkle things on food when we’re making meals. He loves being a part of the cooking/prep! I hope that sticks around for life. 🙂
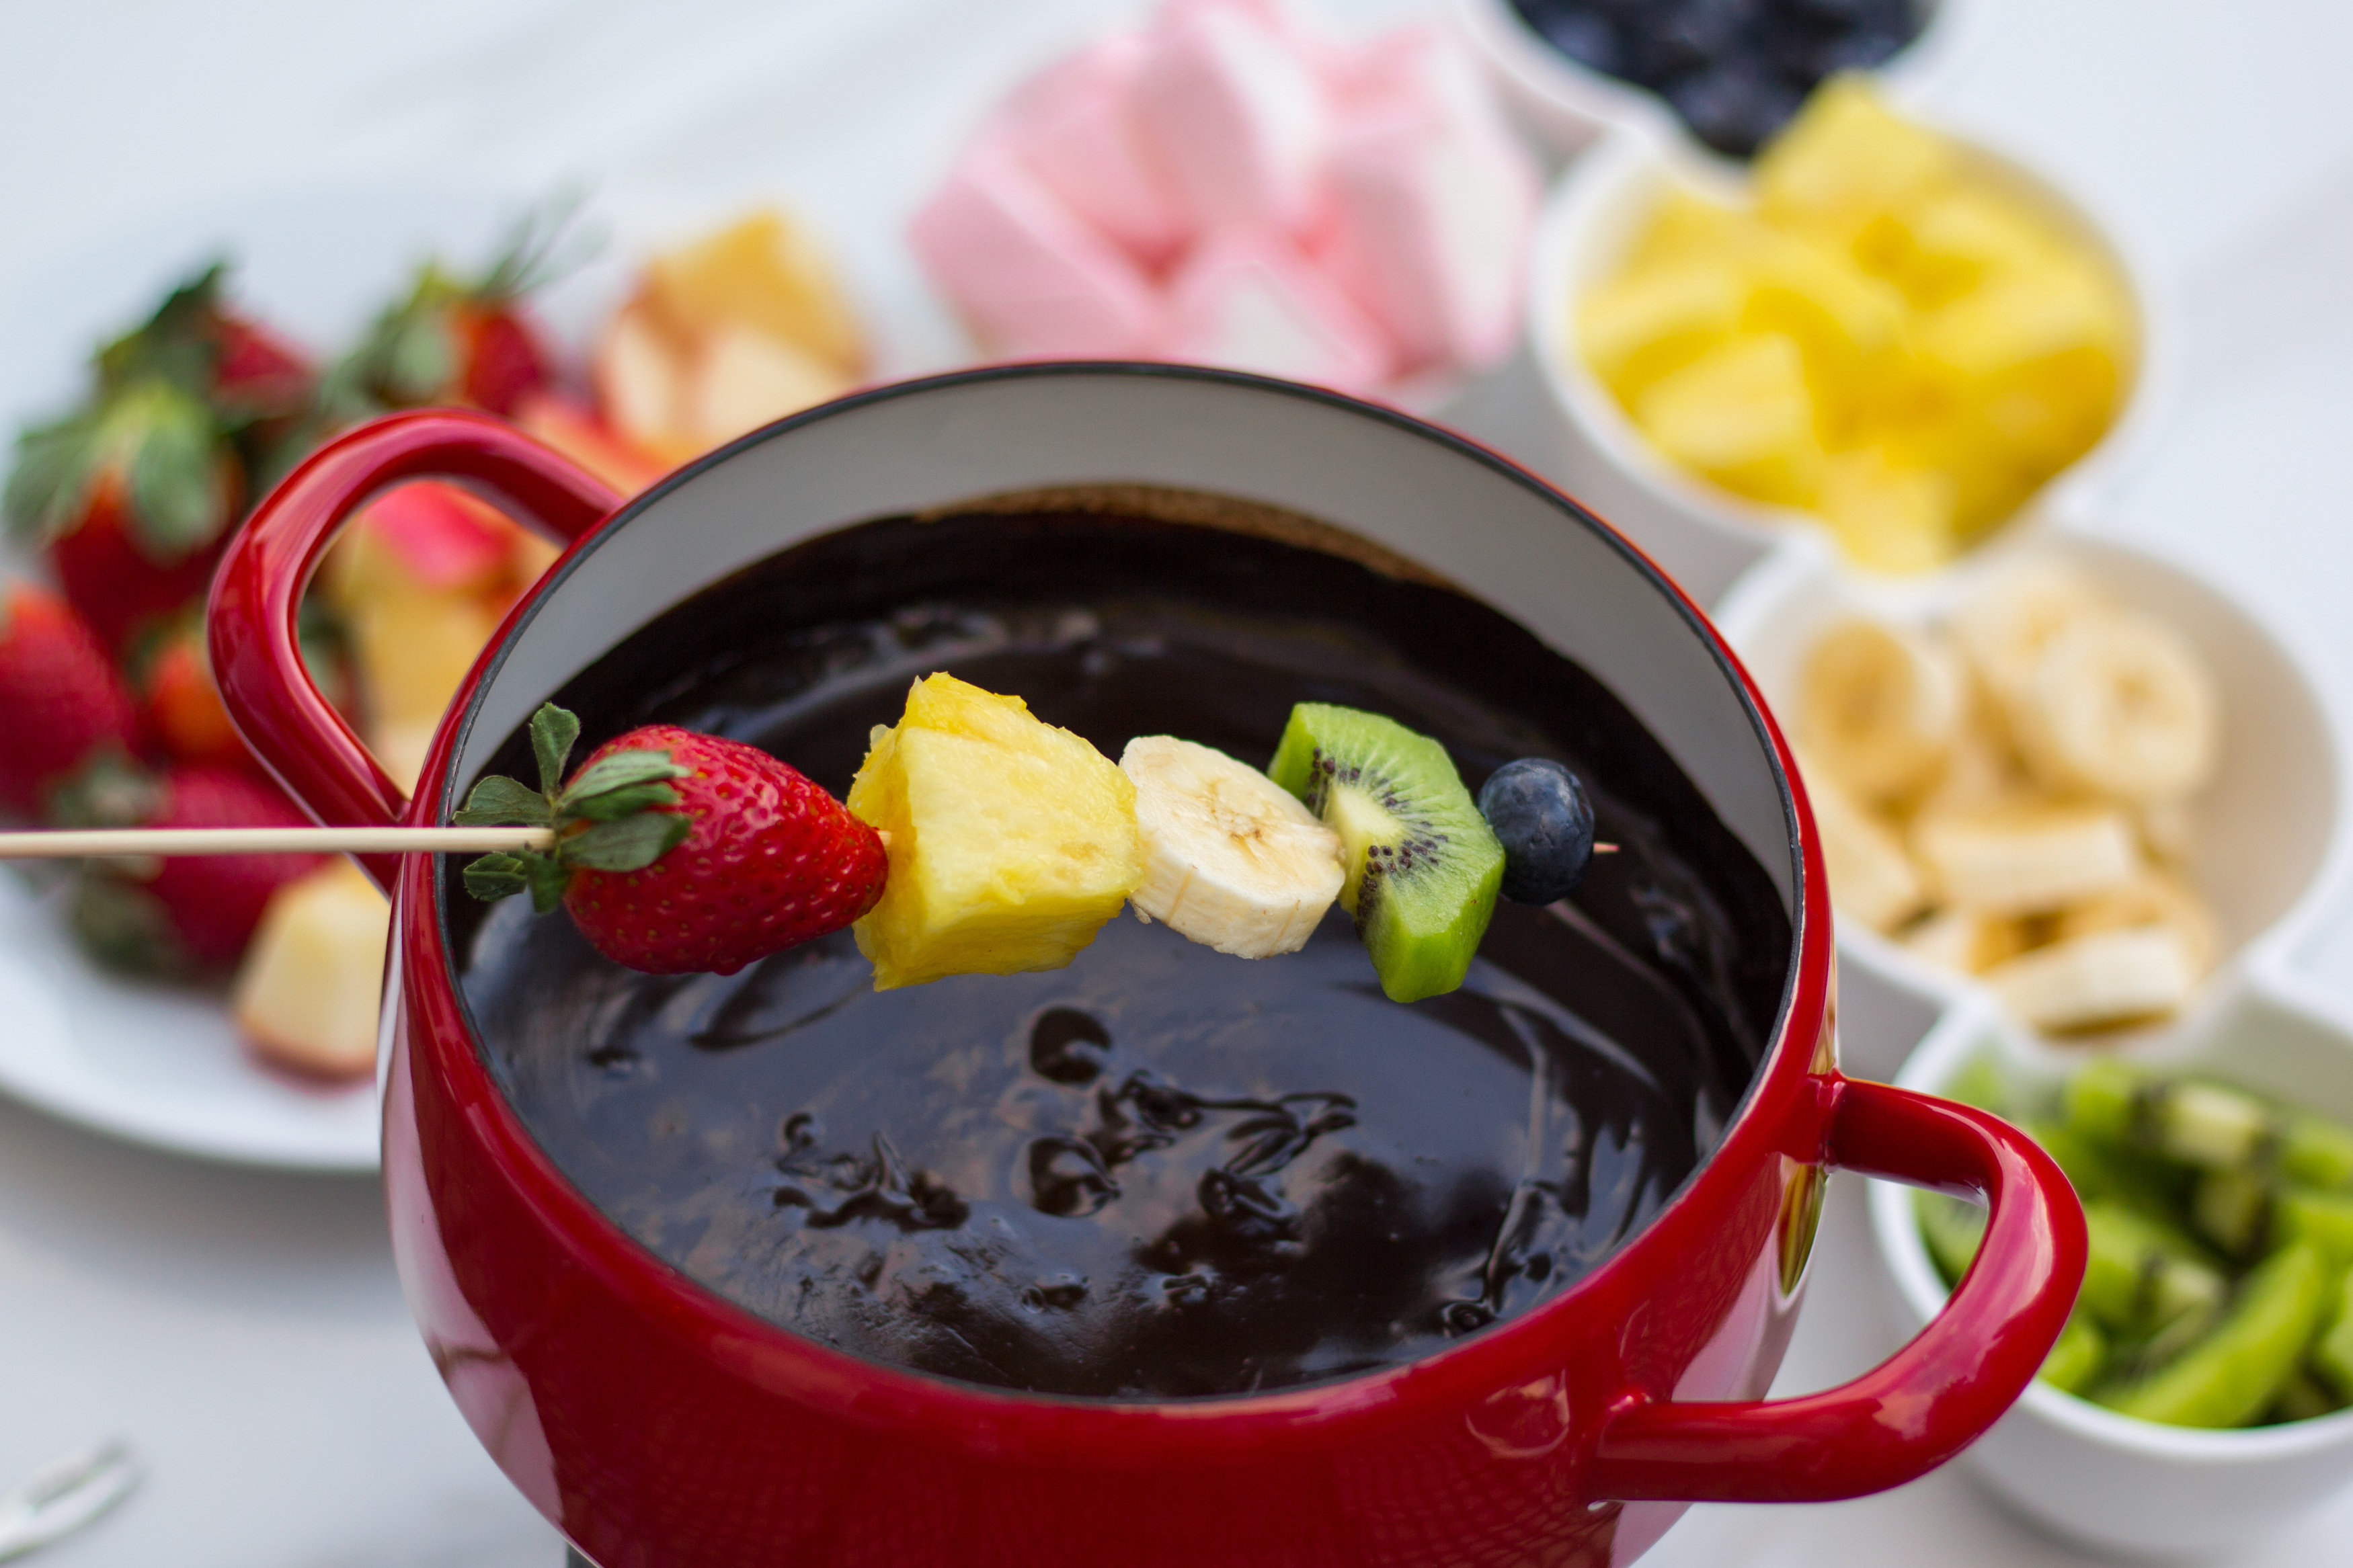
    • Fruit cut up in bite-size pieces such as apples, kiwi, pineapple, strawberries and blueberries
    • Angel food cake or brownies, rice krispie treats, etc. – my husband asked me where the angel food cake was when I was making this. :/ He has  a major sweet tooth. You can dip whatever your heart desires into chocolate but I tried to stick to fruit this occasion.
    • Suggestion: I think you could add a tsp of vanilla or hazelnut liquor to change up the flavor slightly. I’ve previously used Mexican vanilla and it was great.

Although I think Valentine’s Day is a bit of a manufactured holiday, I do love that it reminds us to take a moment to do something extra special for those we love. I prefer spending it at home rather than getting suckered into an inflated pre fixe restaurant dinner menu. And, I tend to have some pretty good wine at my house so that’s always a plus, too. 🙂

Do you have any Valentine’s Day traditions you love?

Fashion + Style Loving Lately...

Rain, rain go away

January 20, 2017

rainyday gear1 | 2 | 3 | 4 | 5 | 6| 7 | 8 | 9 | 10 | 11| 12

The amount of flash flood warnings and rain we’ve had over the past week have really put a damper on things. Weather like this reminds me that having some rainy day wear is truly essential. A classic trench is my No. 1 rainy day staple. And, I’m all about the classics. 😉

I own a similar trench from Banana Republic that I’ve had for years that will never go out of style. This trench from Anthropologie has a beautiful, feminine shape. If I didn’t have one already I would totally pick this one up! I also have this waterproof  jacket that’s great for running around on the weekends when the weather is blah. This handbag jacket is sort of the most ridiculous thing, but I kind of want one!

Although my mini me is a boy, I would love to have a little matching trench like this for a little girl. It’s just so, so cute. Braden has really been into doing things himself these days (shocker, for a 2.5 year-old, right?!) and I think it’s about time to get him is own umbrella. When I was dropping him off at school this week, he wanted to hold my umbrella which basically means he stays dry and I’m left damp.

Stay dry, friends! Here’s hoping the sun starts shining soon!

Home Design + Decor

Solid Wood Flooring

January 18, 2017

I’m finally getting around to sharing another update on the home front. I have held off a little because it doesn’t look like there’s been much progress since it’s just a lot of little things have been going on behind-the-scenes but if you catch up on my home updates, read here.  Painting prep is starting this week, but thought I’d give a little update on the wood floors since this was such a big milestone in the home building process. You may have seen me post a picture on Instagram about the wood floor prep.

Step 1: Fill in low spots on the concrete slab with self leveling concrete

Step 2: Cover concrete with hot tar to seal the slab from moisture and then lay down 2×4’s perpendicular to final wood floor orientation to provide a nailing surface.

Step 3: Plane (sand) 2×4’s perfectly level.

Step 4: Lay out wood floor and start nailing it down.

Step 5: Climatize house (let the air or heat run for two weeks in the house) to bring moisture in the wood down to what it will be while we live in the house.

Step 6: Sand floors, fill in any holes or imperfections and stain.

We need to be on step 5 at this point but we’re waiting on the gas line to be hooked up so we can have heat. A bit of poor planning on the part of our builder, and we’re a little frustrated to say the least.  As you can see, a lot of steps go into putting solid wood floors. I love the wide-plank floor boards we went with. I am a little on the fence regarding staining. I lean more toward a traditional stain, but the white-washed floor is so pretty, too. I have heard from many people they like this raw wood look. What do you think?

We’re testing out some different stains this week to figure out the look we want. So. Many. Decisions.

More soon!

Disclosure: My handy husband helped with explaining these steps to me so I must give credit. 😉


Wood Floor-3 Wood Floor-2 Wood Floor Wood Floor-5 Wood Floor-4 Wood Floor-7 Wood Floor-10 Wood Floor-8

Save

Save

Save

Save

Save

Save

Fashion + Style

The Classics: Part 1 – the perfect white shirt

January 6, 2017
classic white shirt pleated cuff

white-shirt-3 white-shirt-4 white shirt pleated cuff

white-shirt-6  white-shirt-8

white-shirt-10 I don’t like the word “resolution.” It makes me think there was some sort of conflict to overcome and that just sounds a bit negative. During the process of building our home and prepping for the move, I’ve realized I have too much stuff. So, a goal for 2017 is to focus more on the classics. I certainly gravitate more toward  classic pieces, especially as I’ve gotten older and invested more in wardrobe staples that may be a tad pricier but are higher quality. I have friend who would laugh at me when I’d talk about investment pieces and how I think about things from a cost versus use standpoint. I was saying this 15 years ago, and I believe it more now than ever! I’m also really good at taking care of those investment pieces. I will take the time to spray suede shoes with an all-weather protector prior to wearing, get shoes re-soled or have a handbag handle replaced if it starts to get worn. I’ve been a caretaker/mom my whole life, even to my stuff!  When it comes to style investment pieces, I think denim is worth the splurge if it’s a flattering dark denim that will not go out of style. Colored or distressed denim? Well, I’ll probably spend less.

All that said, a timeless staple that every woman should have is the perfect white button-up shirt. This is something that you don’t have to spend a ton on! The versatility of a white button-up shirt is infinite. I love this shirt I picked up recently because it had a modern twist with the pleated cuff. And, I love it even more because the sleeves are actually long enough for this long-limbed lady. I can wear this to work with a blazer and swap out my bag to go to dinner/happy hour on a weeknight. No outfit change=less laundry. I currently have 5 unfolded loads sitting in my gameroom right now taunting me. The laundry fairy was off during the holiday break.

Bottom line: 2017 the year to truly live by the mantra that less is more. I know myself and that doesn’t mean I’m going on a spending freeze. Let’s get real. (Sorry, Ben.) But, I will aim to be more thoughtful, focusing on the timeless pieces I’ll wear for years instead of just a few months.

I’ll be back with more on the topic of  ‘Classics’ soon! 🙂

Outfit details:

Banana Republic shirt | Current/Elliott jeans (old), similar found here | Ann Taylor shoes (old) – another classic in my opinion! Similar version here  | Ann Taylor clutch

Save

Save

Save

Save

Save

Save

Save

Save

Save

Save

Save

Save

Save

Save

Save

Home Design + Decor

Tile, tile and more tile

January 3, 2017

Master Shower: We used snow white marble which is similar to carrara marble, but it has a higher quartz content so it makes it more durable and the color is more uniform, which I realized I liked more and more after staring at tile for HOURS. We used 3×6 subway on the ceilings and walls, 1×2 herringbone on the lower walls and 2 inch hex on the floor, which isn’t pictured. I’m really happy with the look overall. The showers are covered and taped now so all the sanding and painting mess doesn’t get on them.

Hello 2017! Well, I thought I’d be in the #lucasfamilyhome  by now, but by early Dec. we were getting the sense it was not going to be until after the first of the year. It’s a moving target at this point, but I’m guessing mid-February now. It’s frustrating to say the least, but I’ll save that for another day. I wanted to share a quick update on tile progress. Much of this was installed a few week ago and if you follow me on Instagram, you may have seen some  snapshots of tile here and there, particularly on Instastories, which has become my way to document Braden’s cuteness and mood swings. Follow me  – reenlucas – on Instagram to see those shenanigans and other behind-the-scenes home adventures/frustrations.

Tile selection was something I was quite opinionated about, much to my hubby’s dismay. My goal was to pick classic finishes so I could have a clean slate to choose paint colors or include other personal touches to make the room feel like my own. And, of course  – we were always trying to keep budget in mind. My husband was so kind to constantly give me that reality check every step of the way.

I’ll be playing some catch-up with my next few home posts, so stay tuned for more on the home front soon!

kids-tile-bath-with-b

Braden stepping into his bathroom. This bathroom has two shelves flanking it from the game room entry way making it accessible for people lounging upstairs.kids-bath-tile-hex

For this jack and jill style bathroom,  we wanted  durable, classic materials. The  cabinets will get some color to give the room some personality. We chose ceramic tile in a classic white 2 inch hex. The shower is a white ceramic 3×6 subway tile in a crosshatch pattern. Ben was skeptical about this at first, but liked it afterwards. Pretty much the story of my life. 🙂

herringbone-laundry-in-progress

My original vision for the mudroom was to do a ceramic tile in a fun pattern, but sourcing that was difficult with the timing we were up against and not budget friendly. With it being a relatively small space, it just seemed silly to spend that much on tile that was going to be covered in dirty laundry. So, we went with 12×24 ceramic tile cut to 6×24 and laid that in a herringbone pattern.

downstairs-guest-bath-3-inch-marble-hex

Funny story with this. Look very closely when picking the grout color. We made a mistake and accidently chose a brown grout vs. a grey because we didn’t look at the names that closely. We were able to get it fixed and cover it with a grey grout. It seems like I’m obsessed with hex, but I just fell in love with the look of this hex, which is 4 inch marble so it gives the room a different look.  This is the tile in the downstairs guest bathroom which has a door making it accessible from the outdoor living space.

patio-tile

Porch tile we chose is a slate tile called  montauk blue. The tile came in 12×12 and 12×24. Originally, I picked out a different  pattern for this tile, sort of a versaille pattern, but then discovered that was going to be an incredible amount of labor when the tile folks were trying to lay it all out. Each tile would need to be trimmed to accommodate the correct amount of spacing for the grout lines, so it was going to be $$$$ . Lesson learned here: if you have a cool tile pattern in mind, talk through that thoroughly before buying the tile to make sure it will really work for the space, type of material, etc.


Save

Save

Save

Save

Save

Save

Save

Save