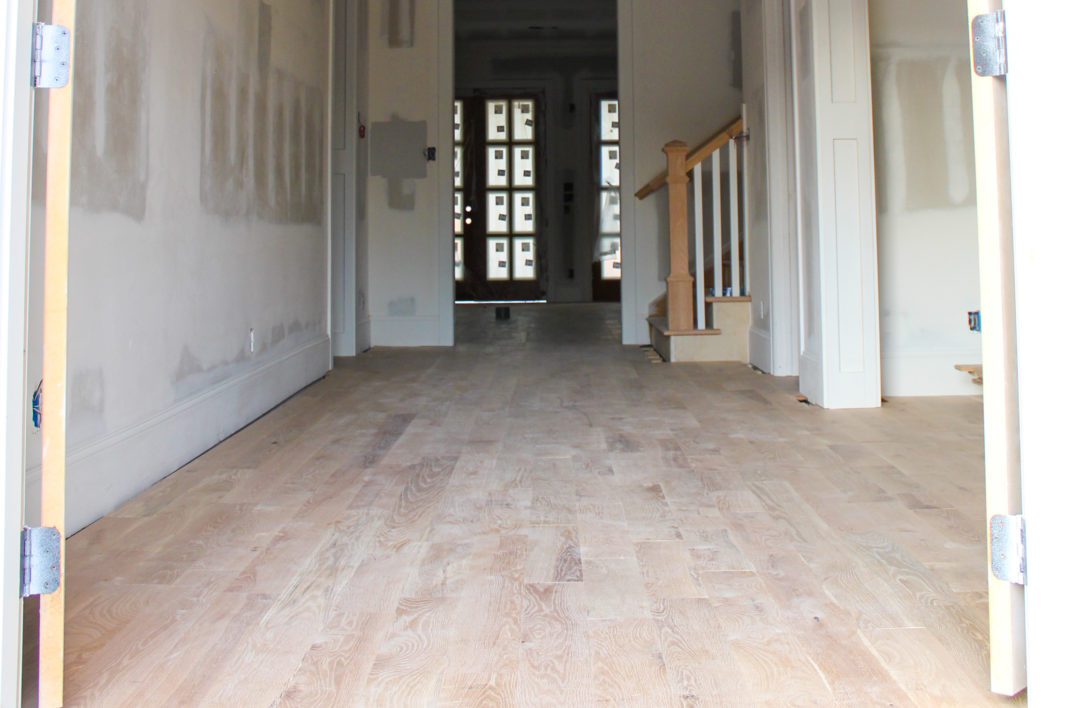
I’m finally getting around to sharing another update on the home front. I have held off a little because it doesn’t look like there’s been much progress since it’s just a lot of little things have been going on behind-the-scenes but if you catch up on my home updates, read here. Painting prep is starting this week, but thought I’d give a little update on the wood floors since this was such a big milestone in the home building process. You may have seen me post a picture on Instagram about the wood floor prep.
Step 1: Fill in low spots on the concrete slab with self leveling concrete
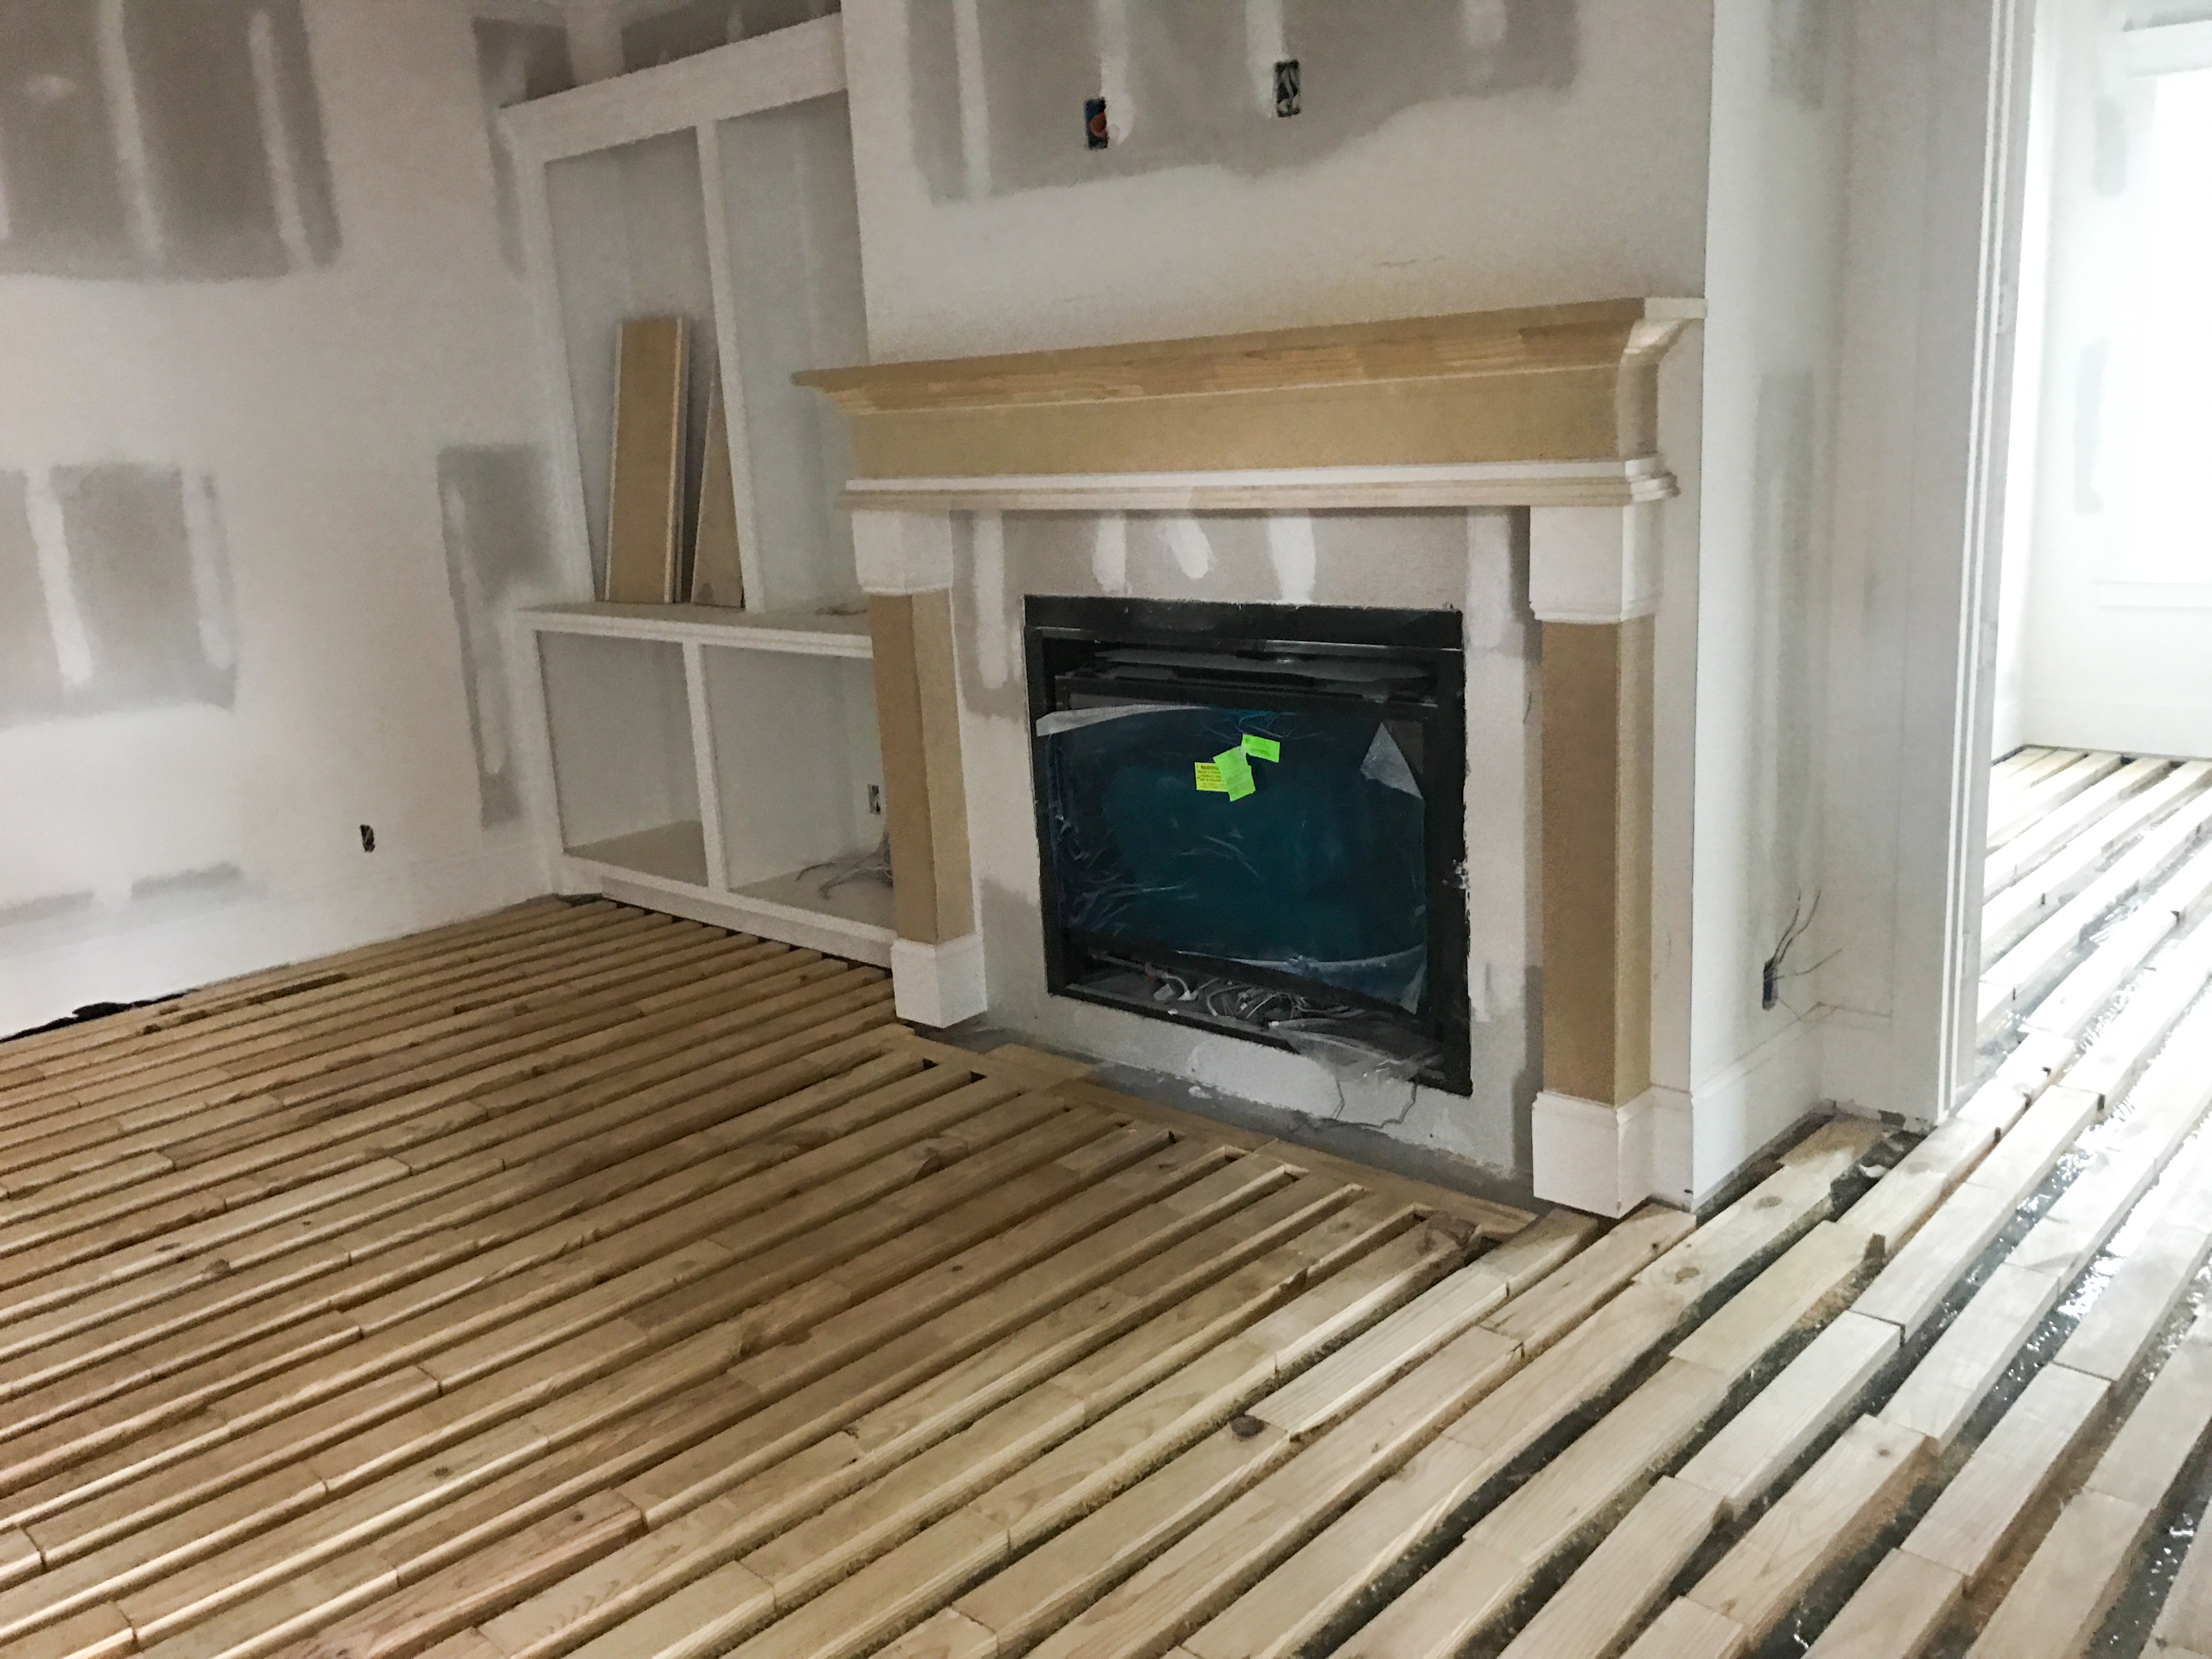
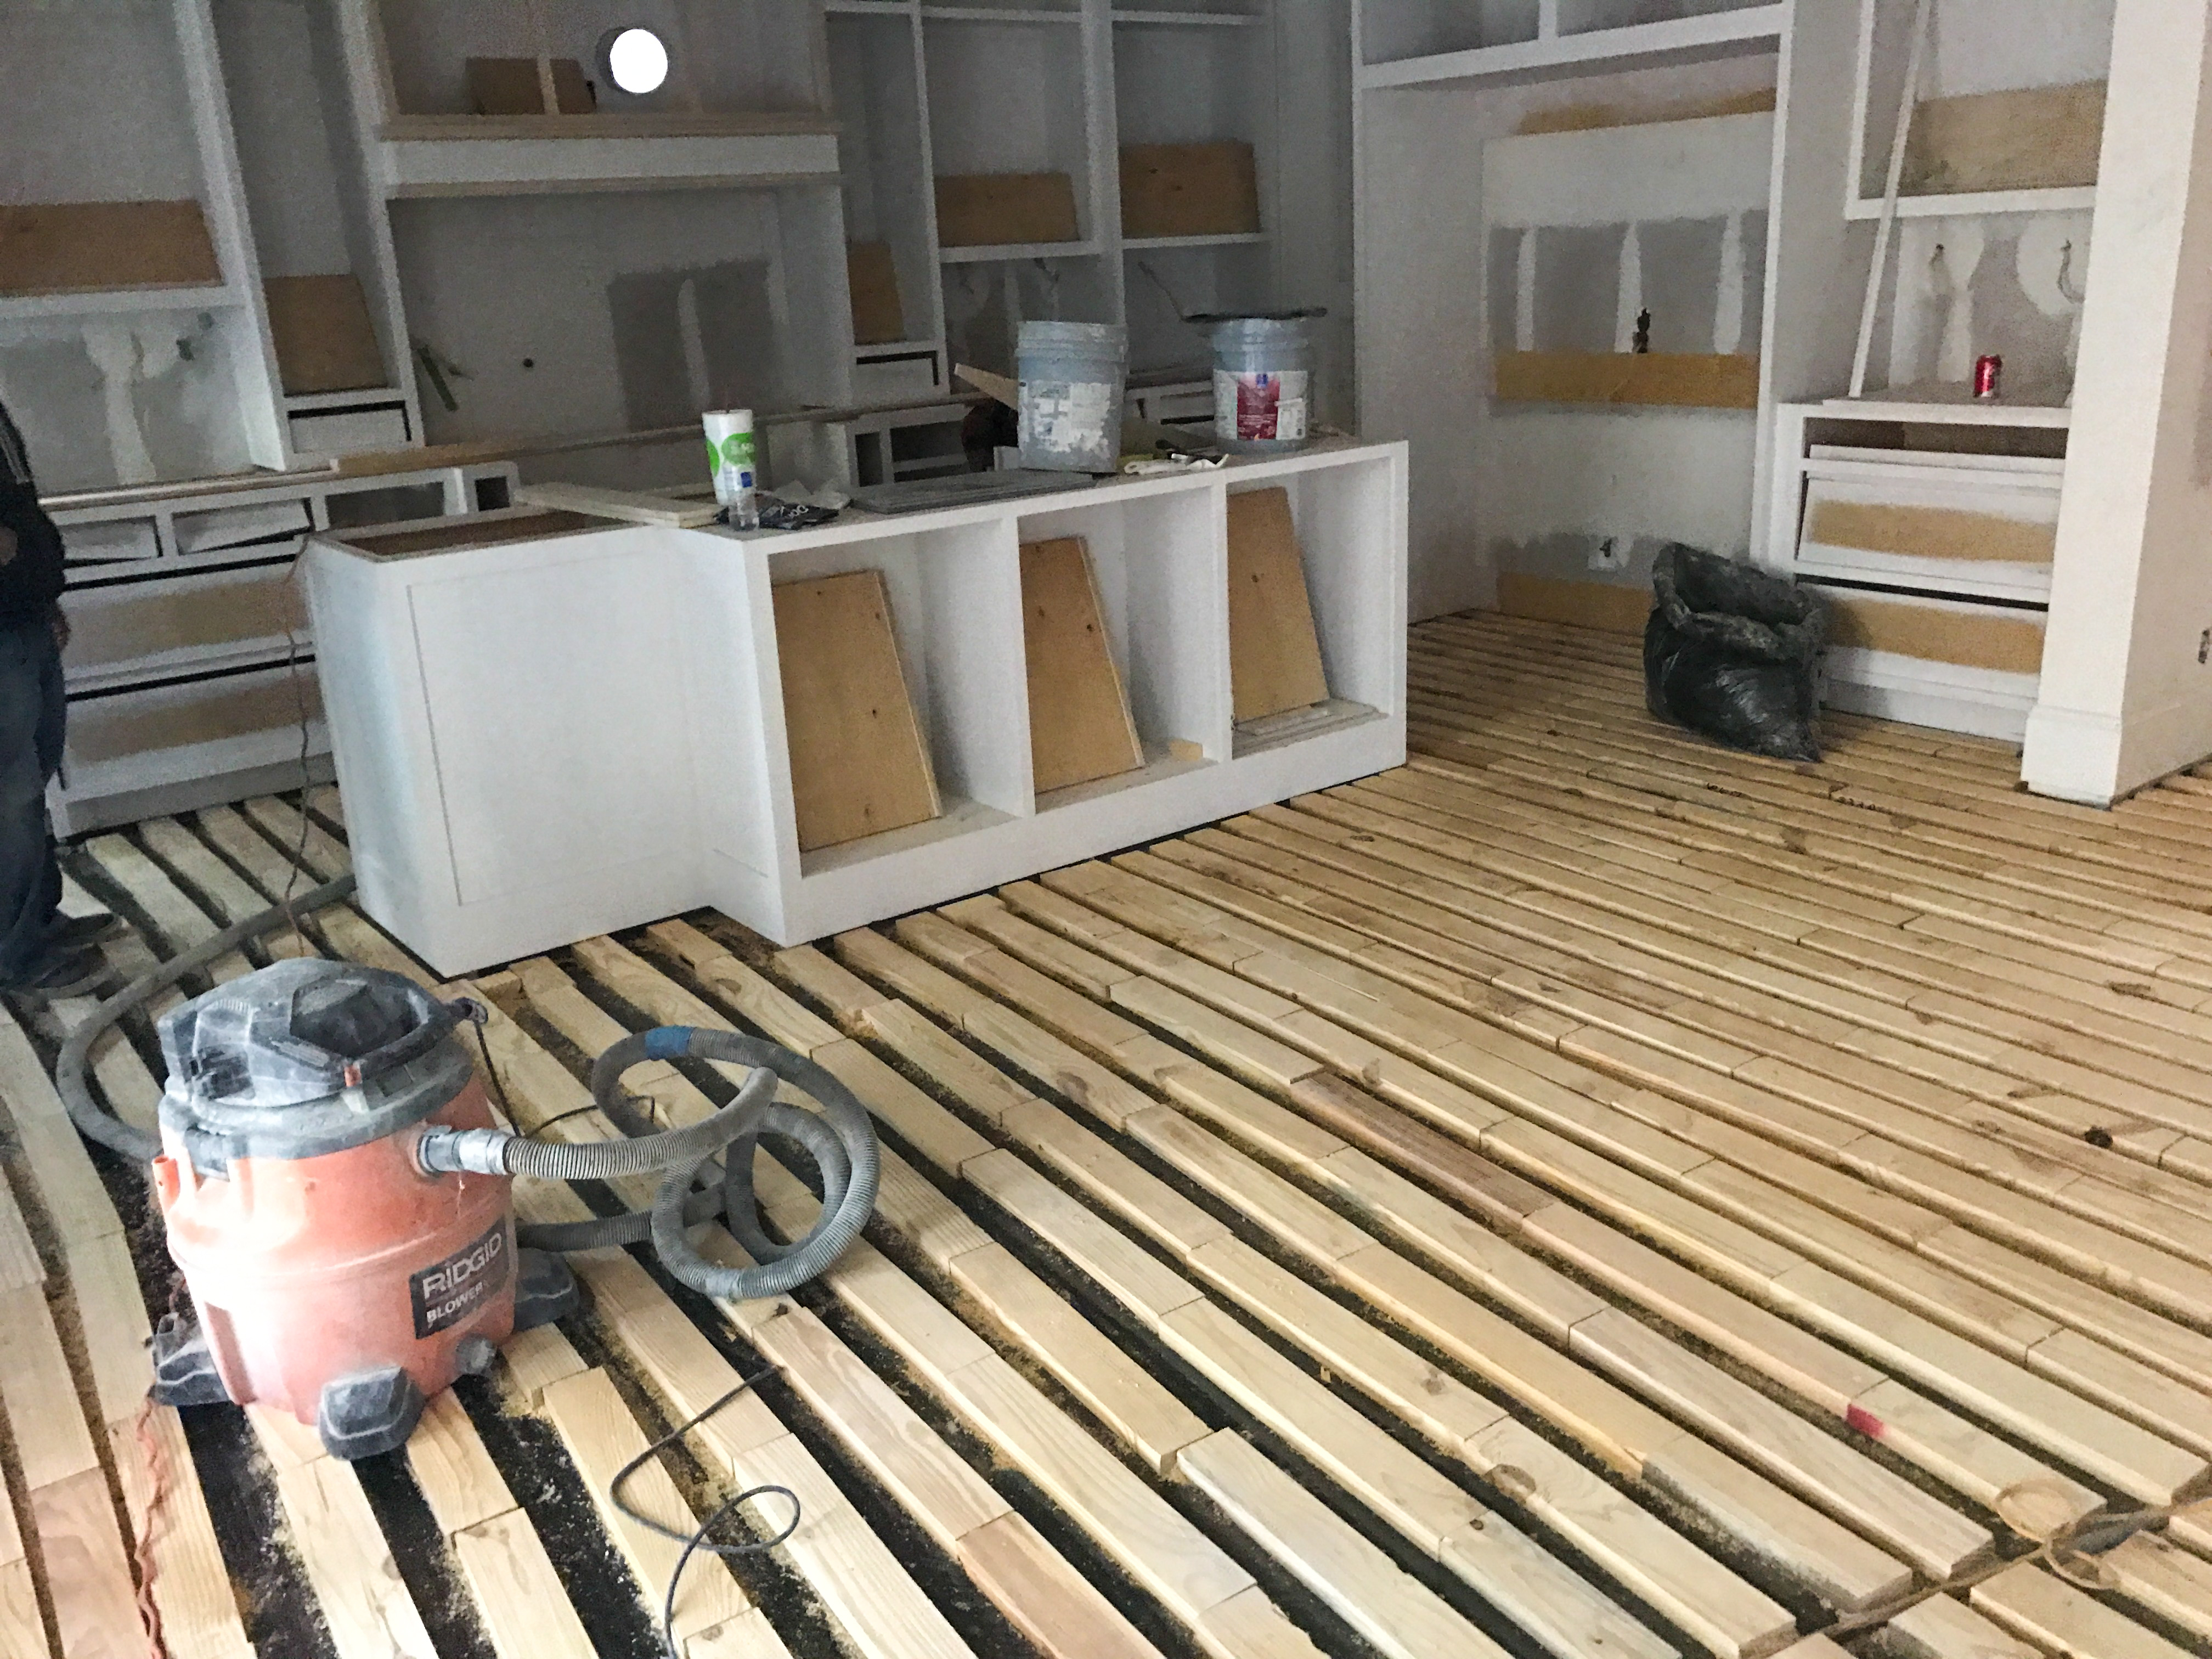
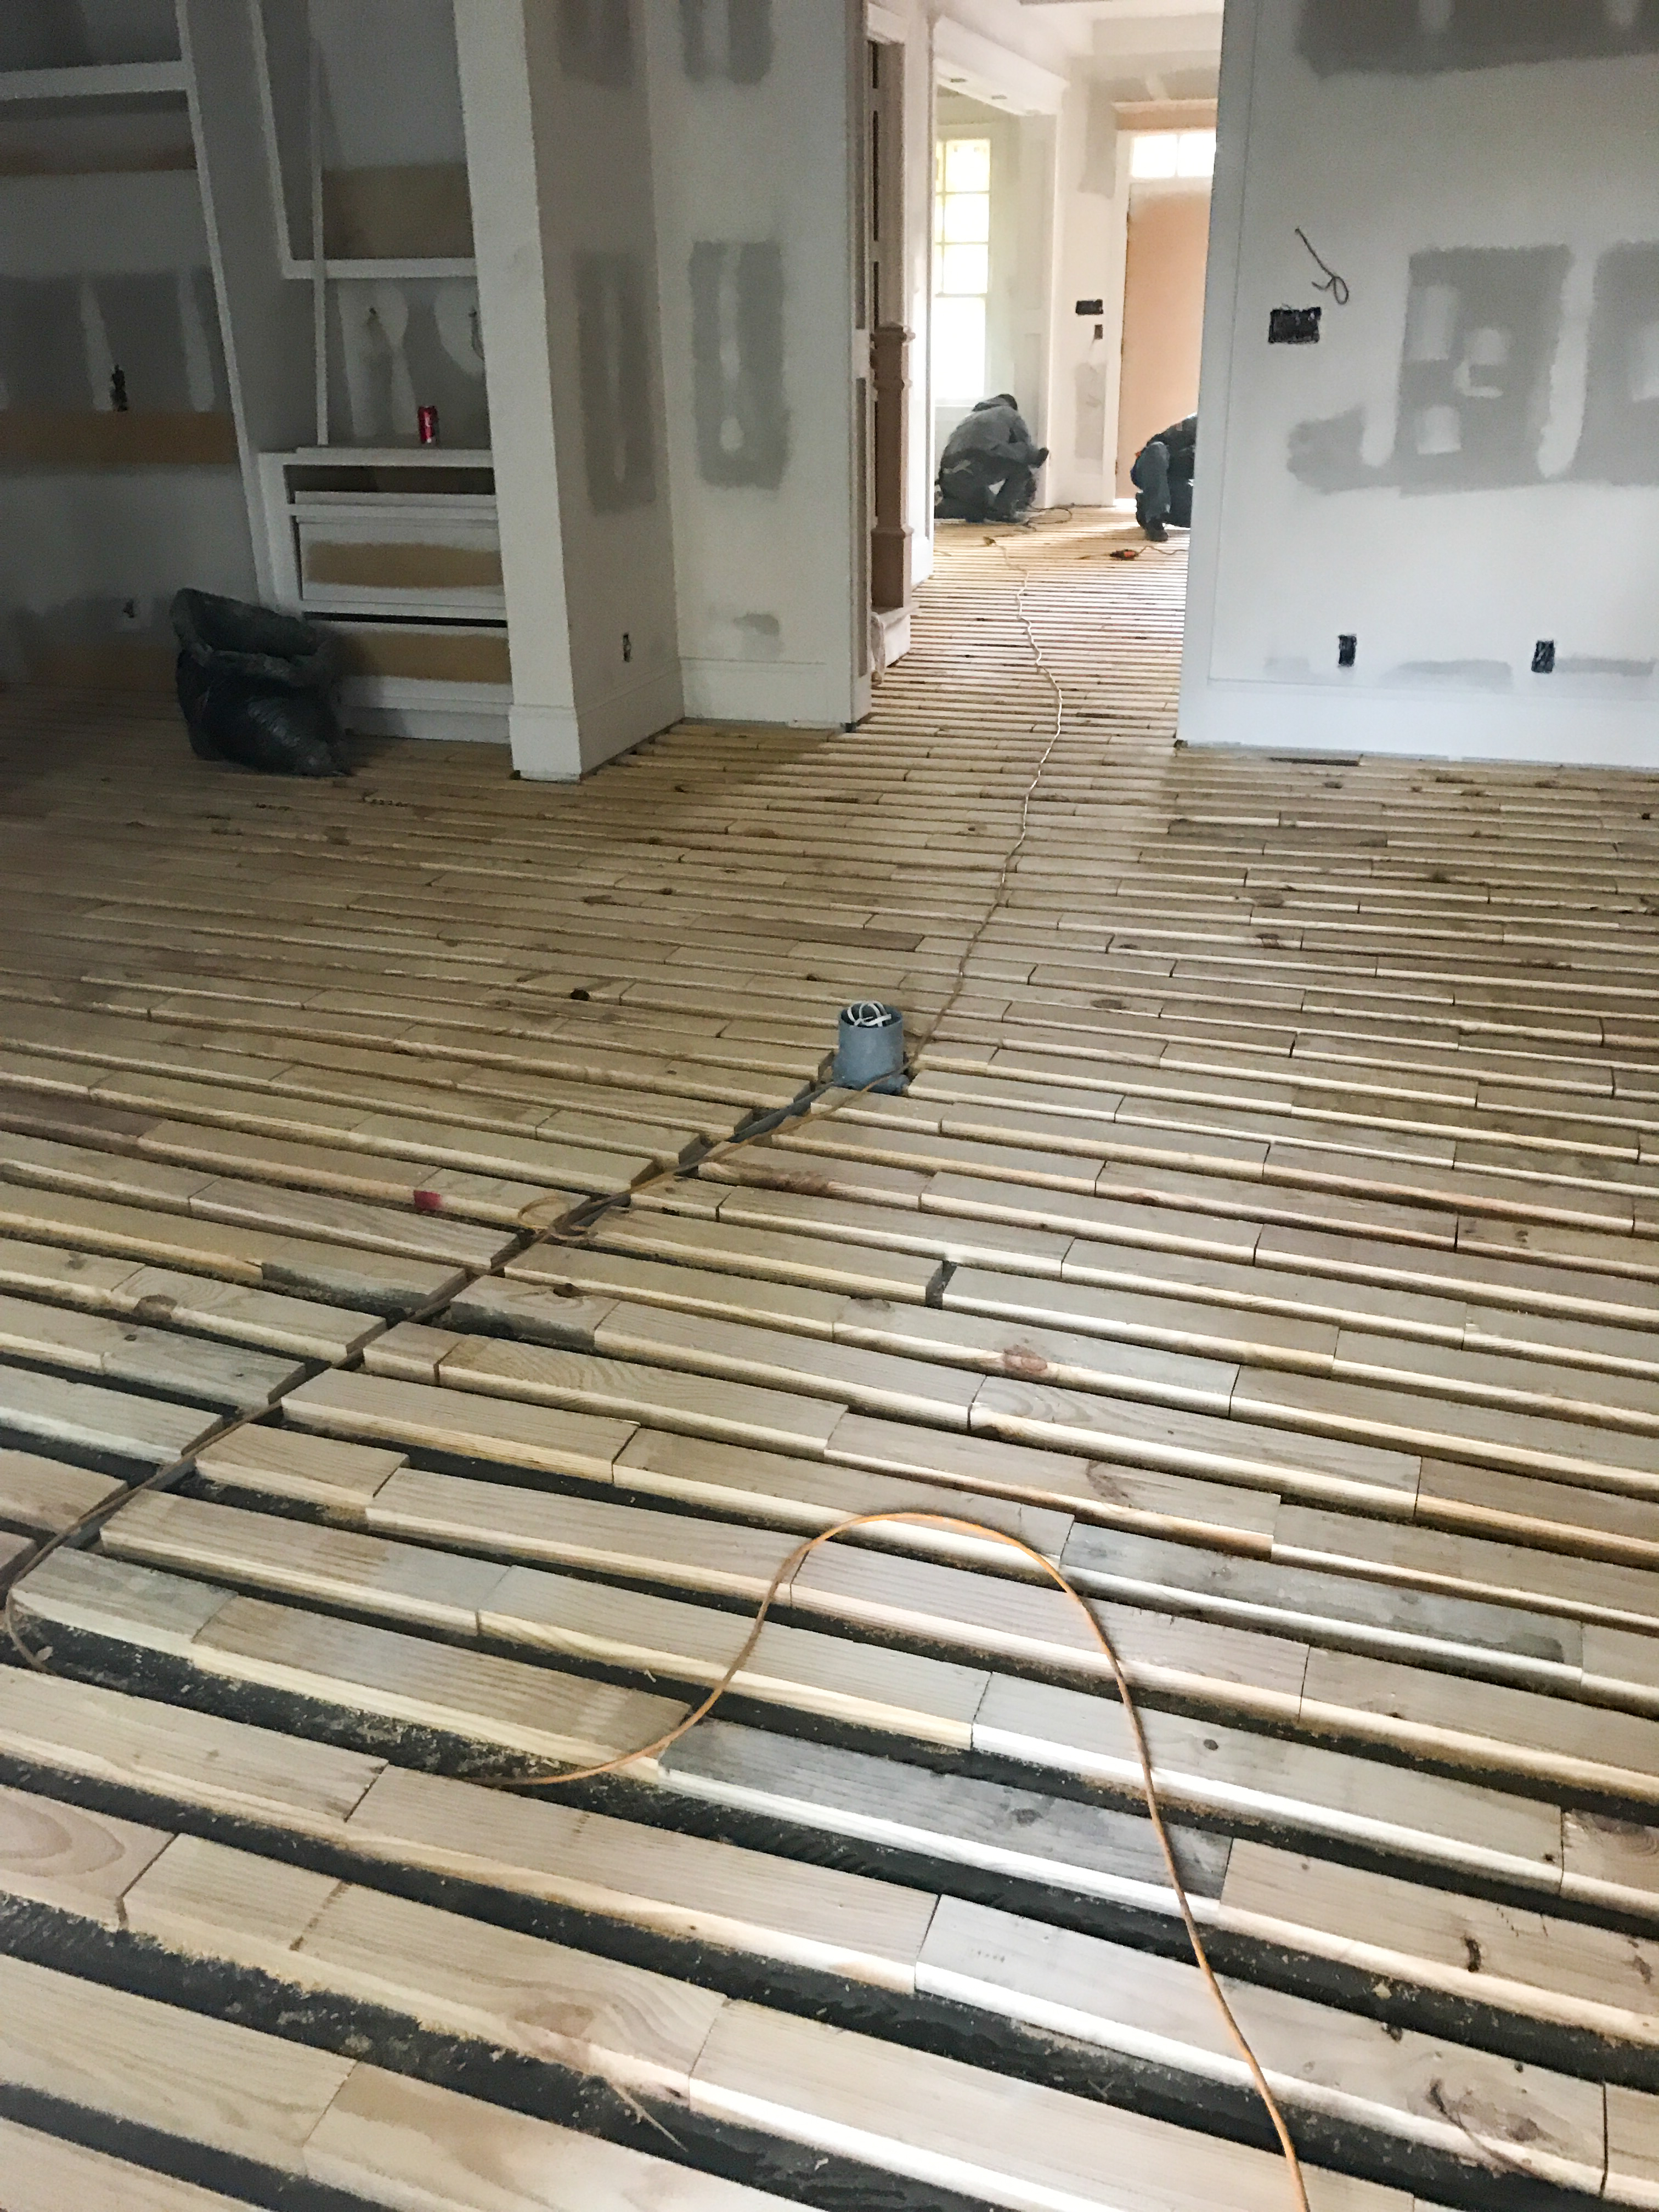
Step 2: Cover concrete with hot tar to seal the slab from moisture and then lay down 2×4’s perpendicular to final wood floor orientation to provide a nailing surface.
Step 3: Plane (sand) 2×4’s perfectly level.
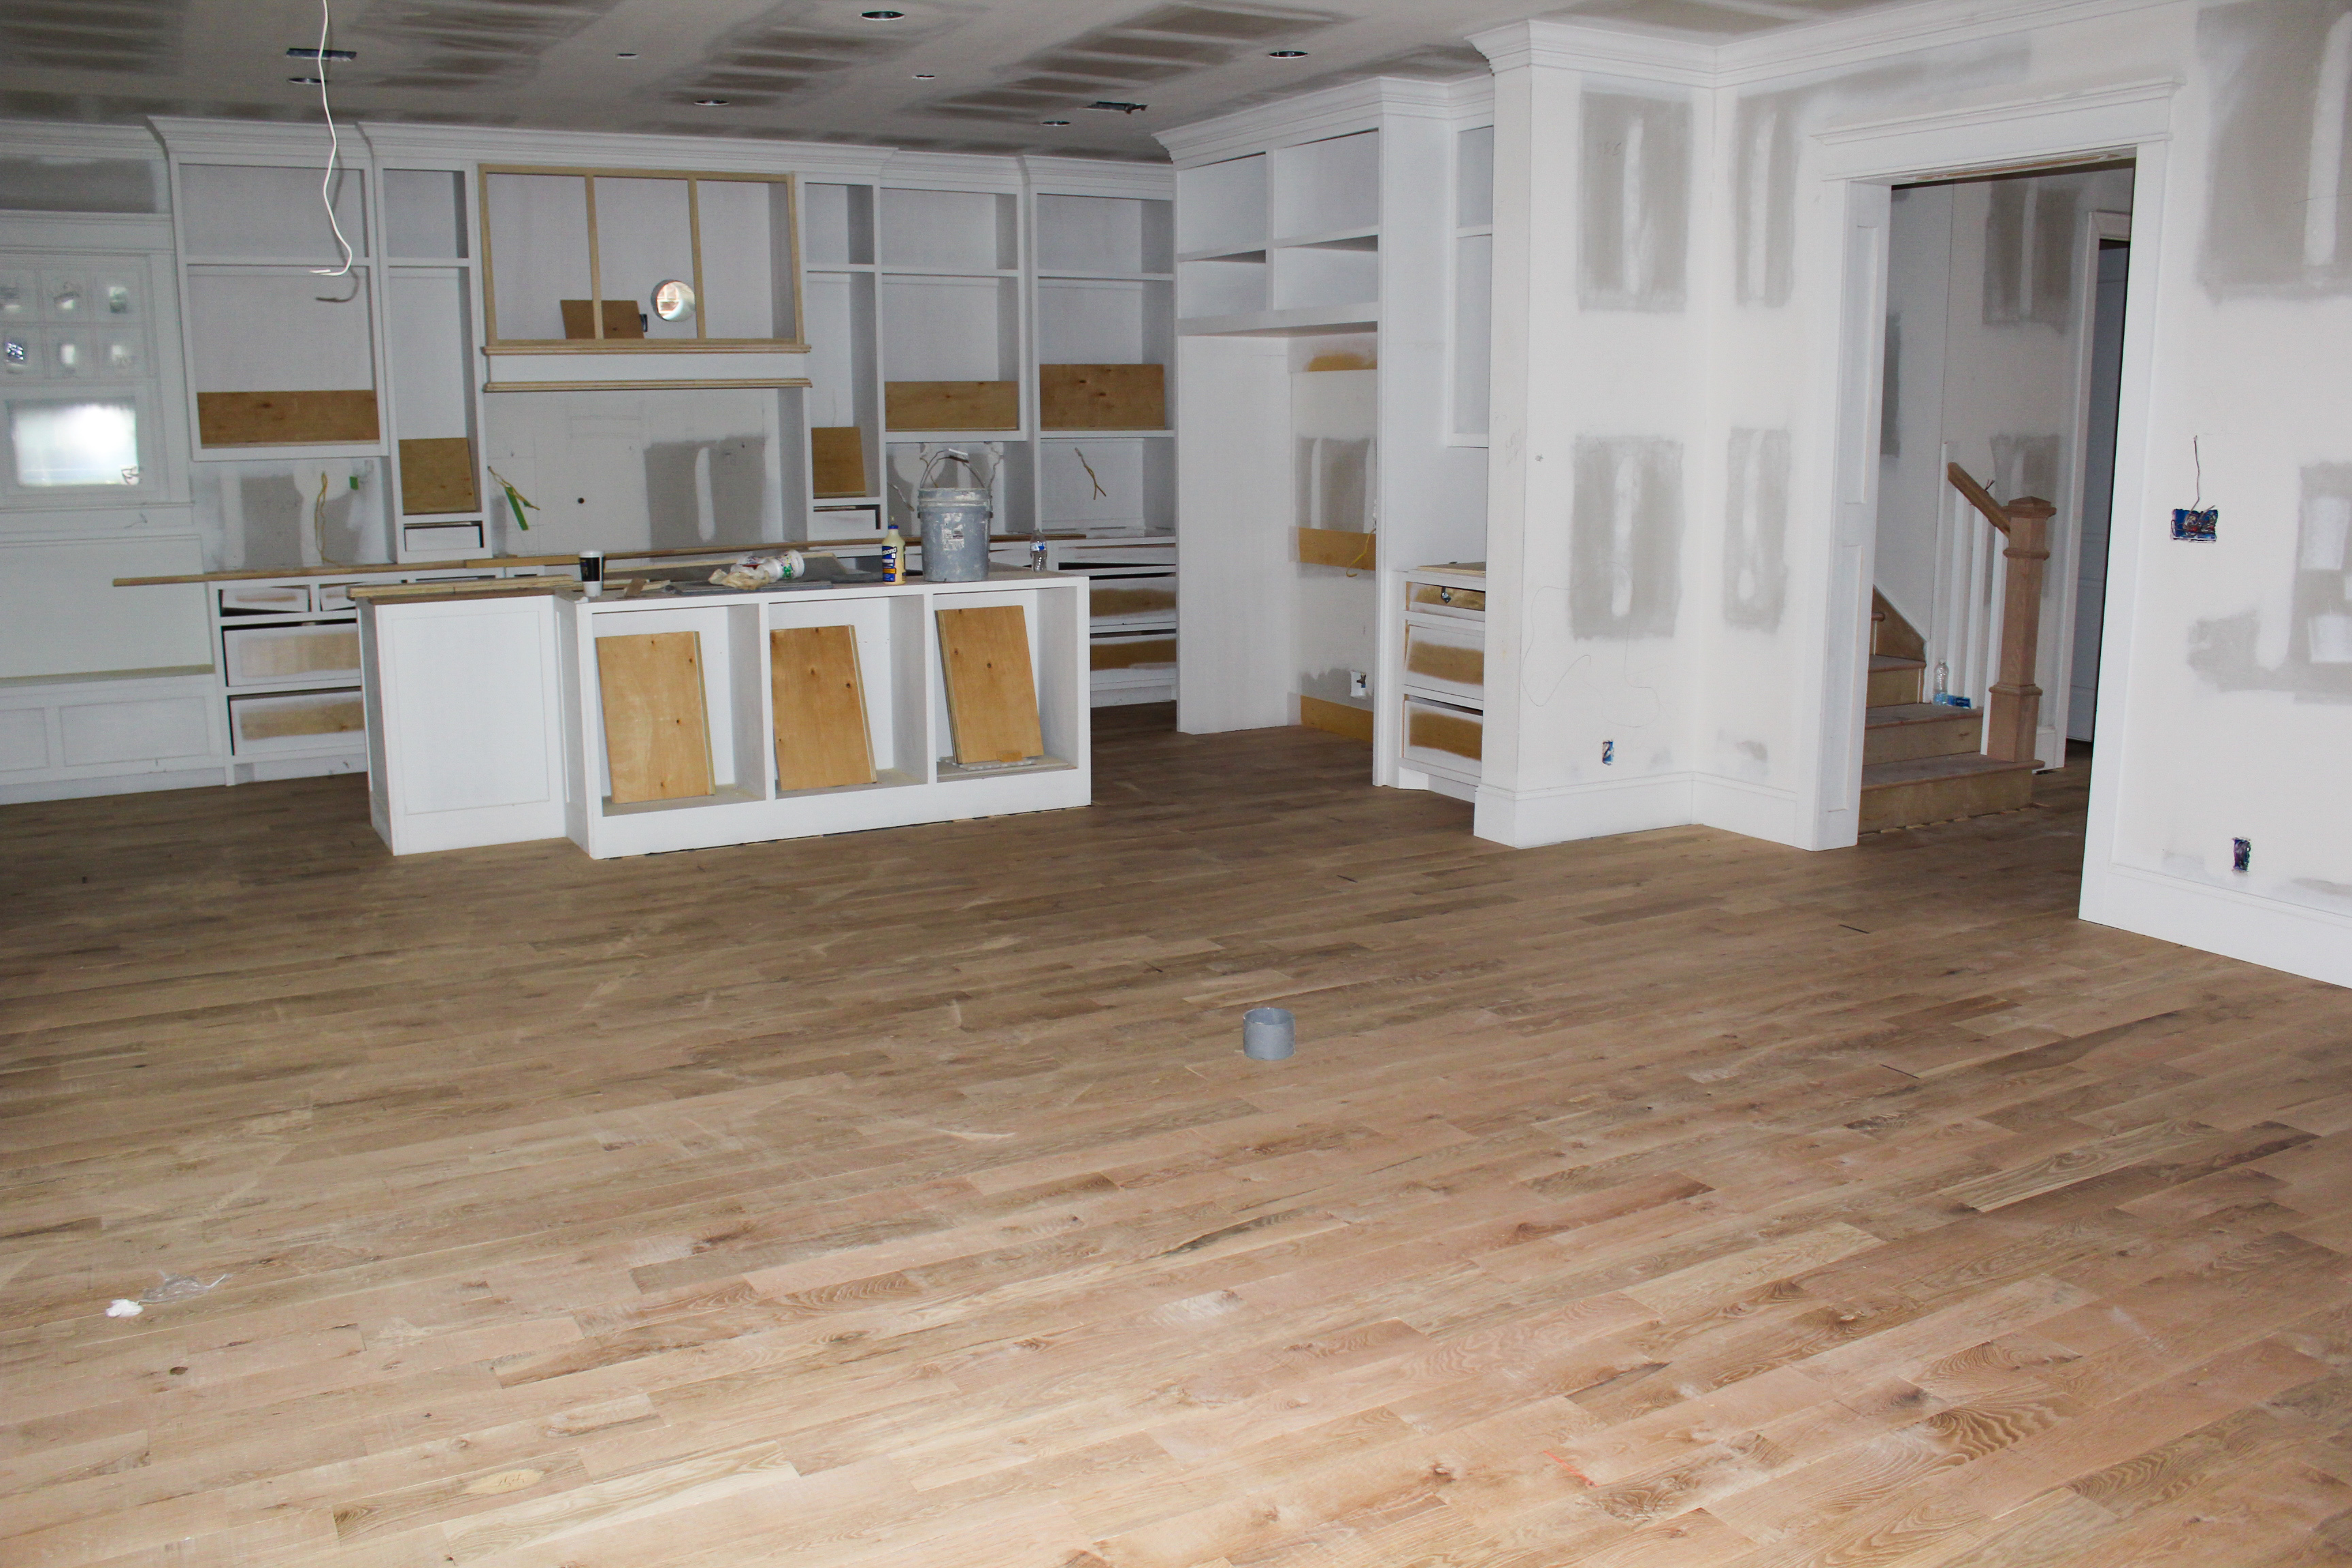
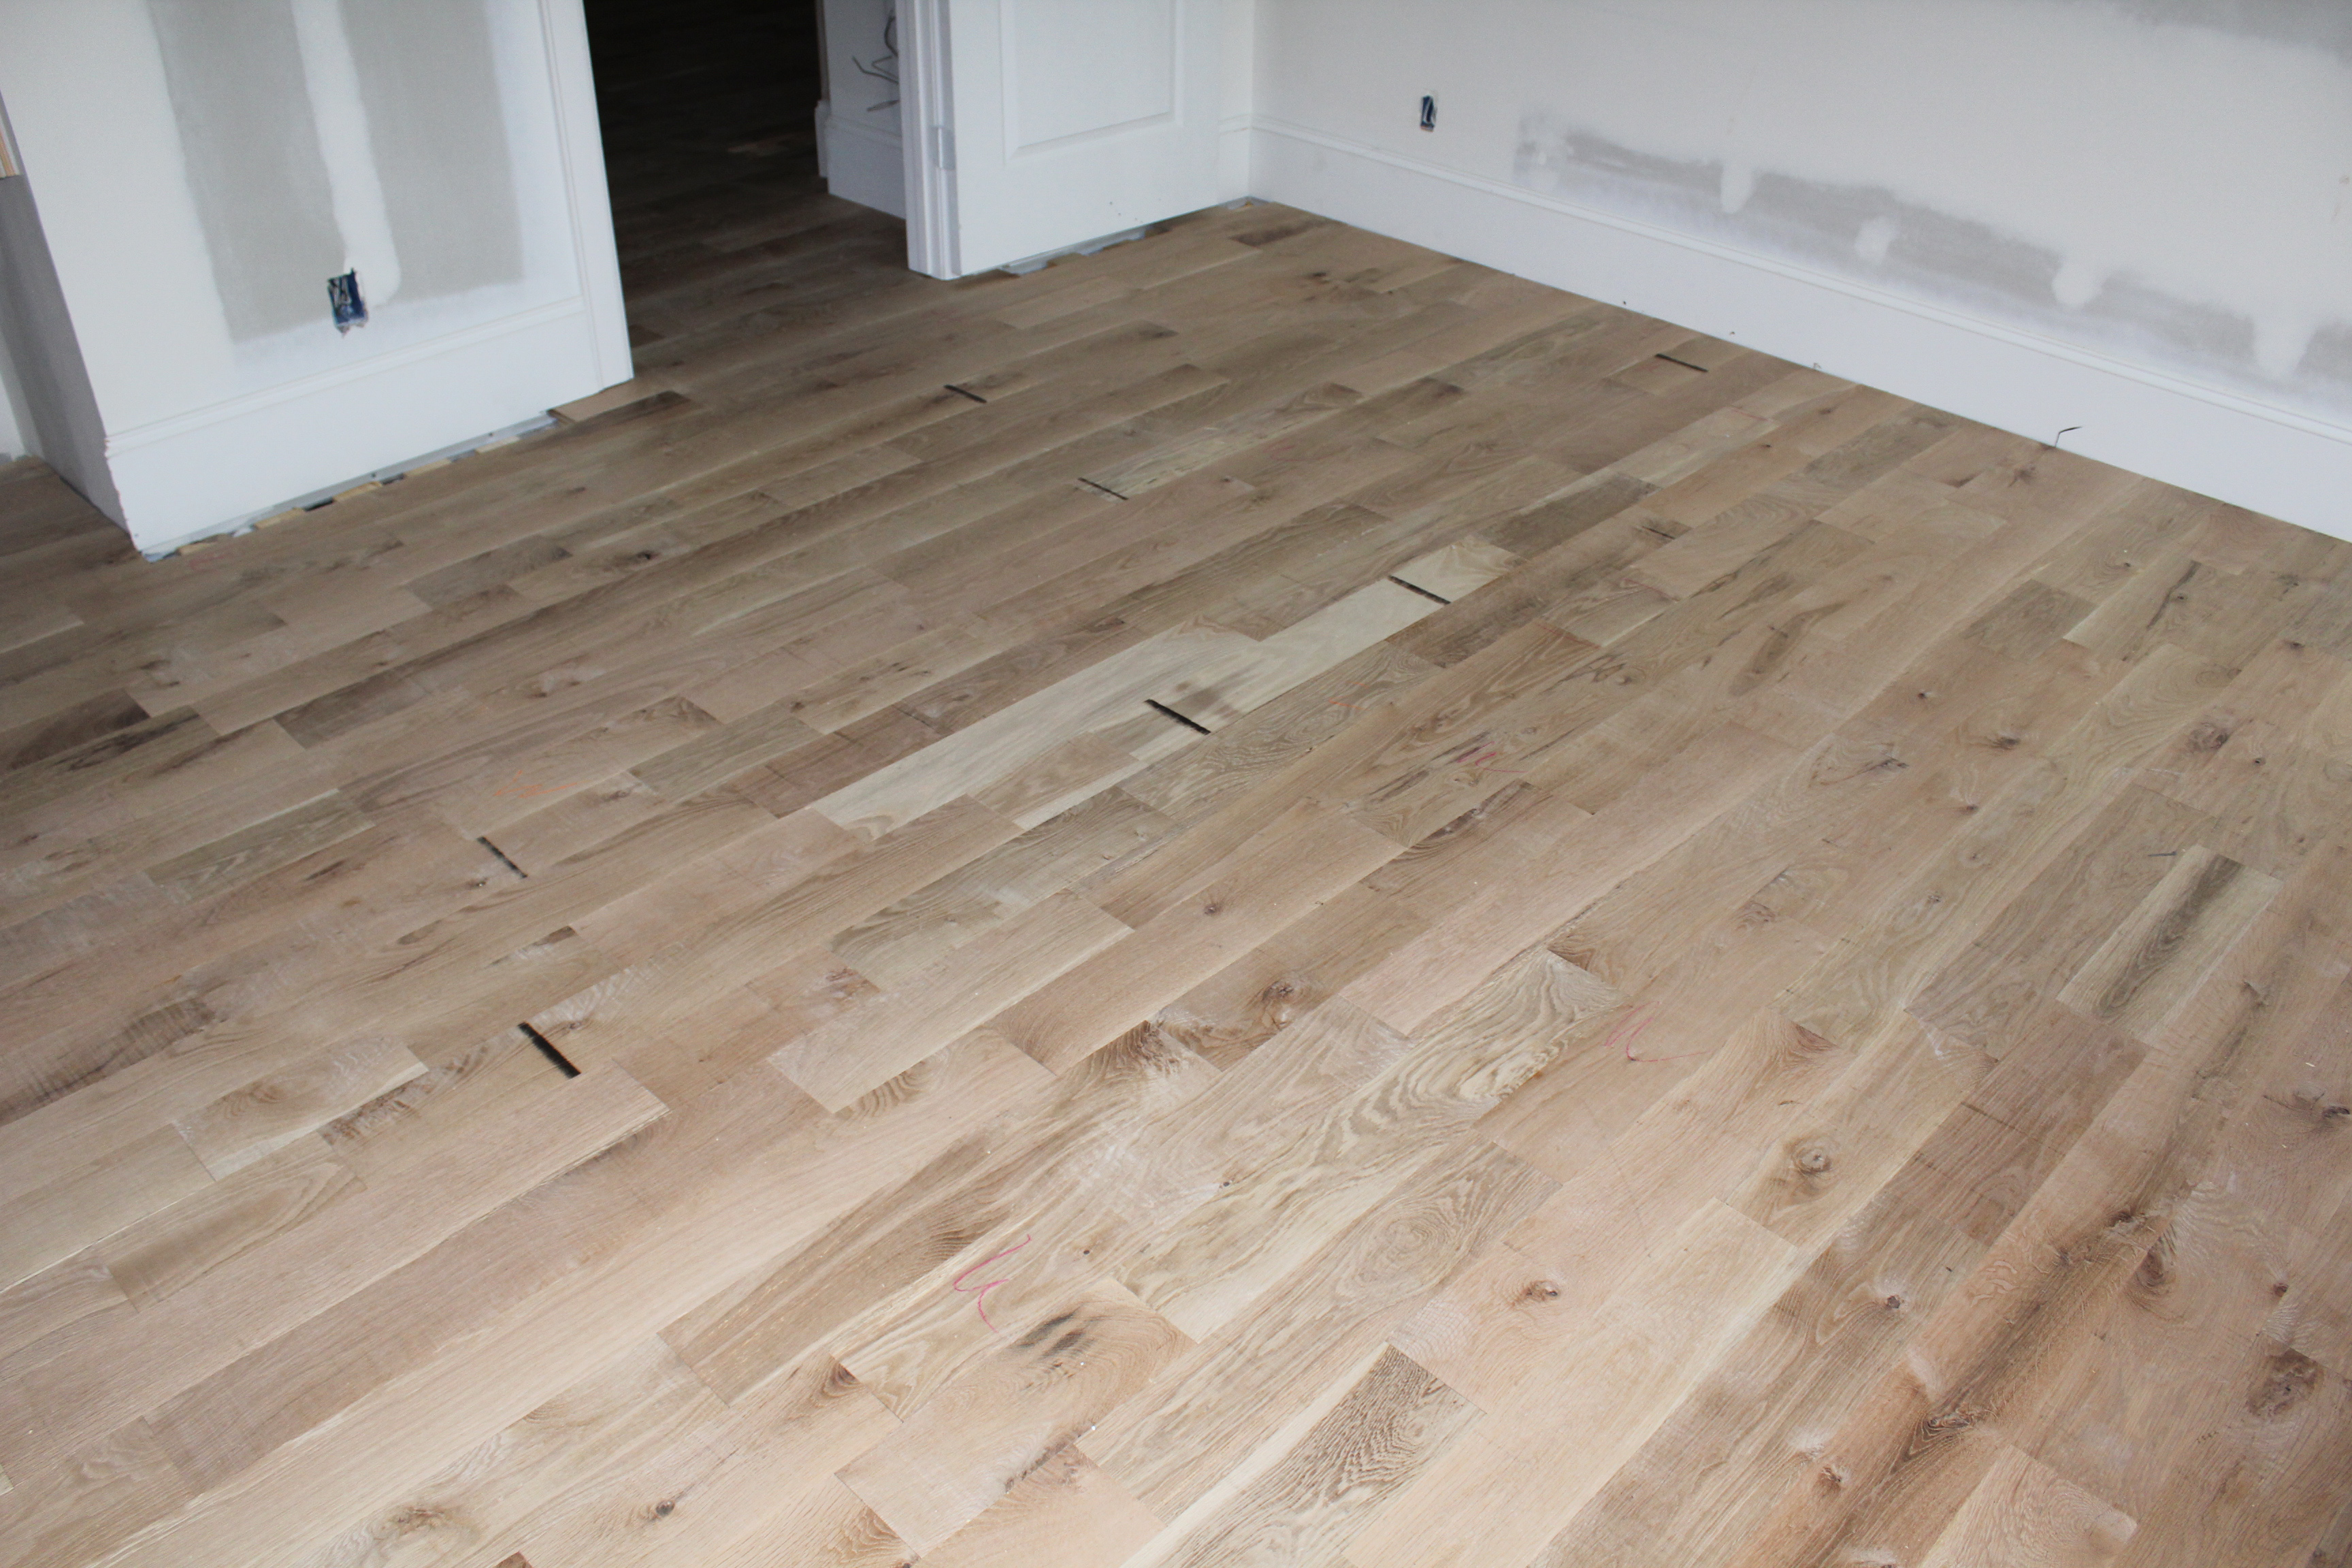
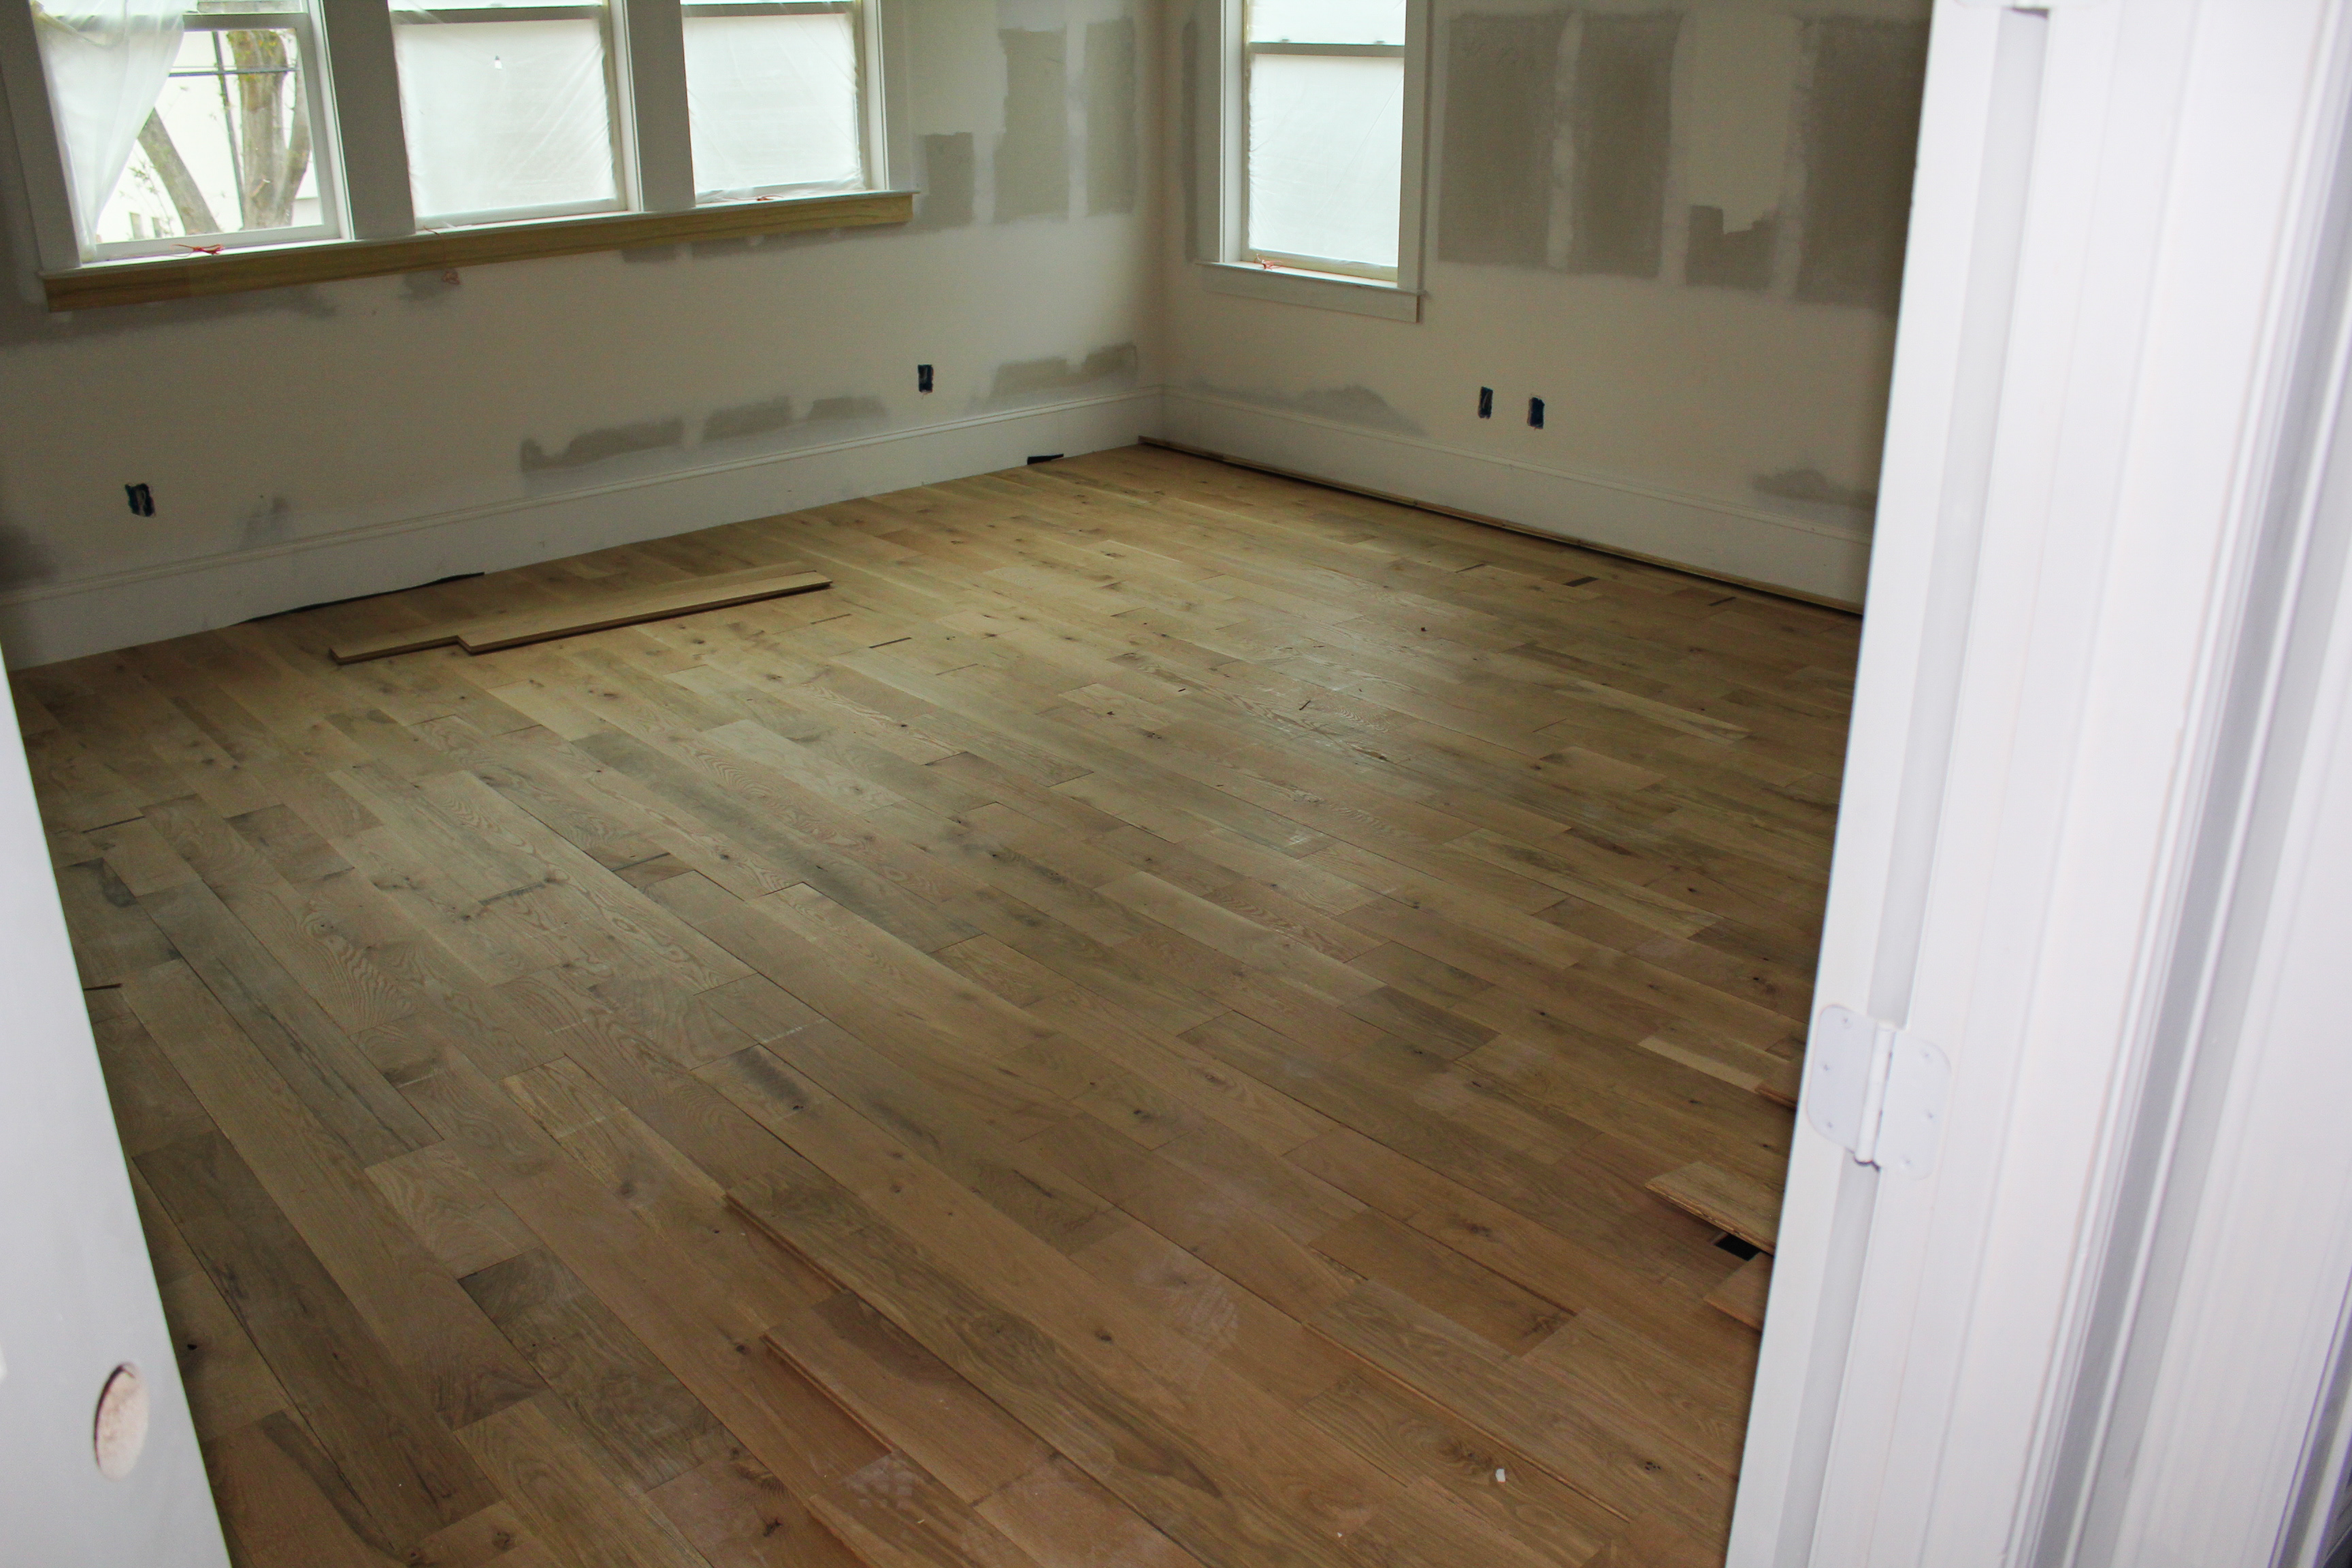
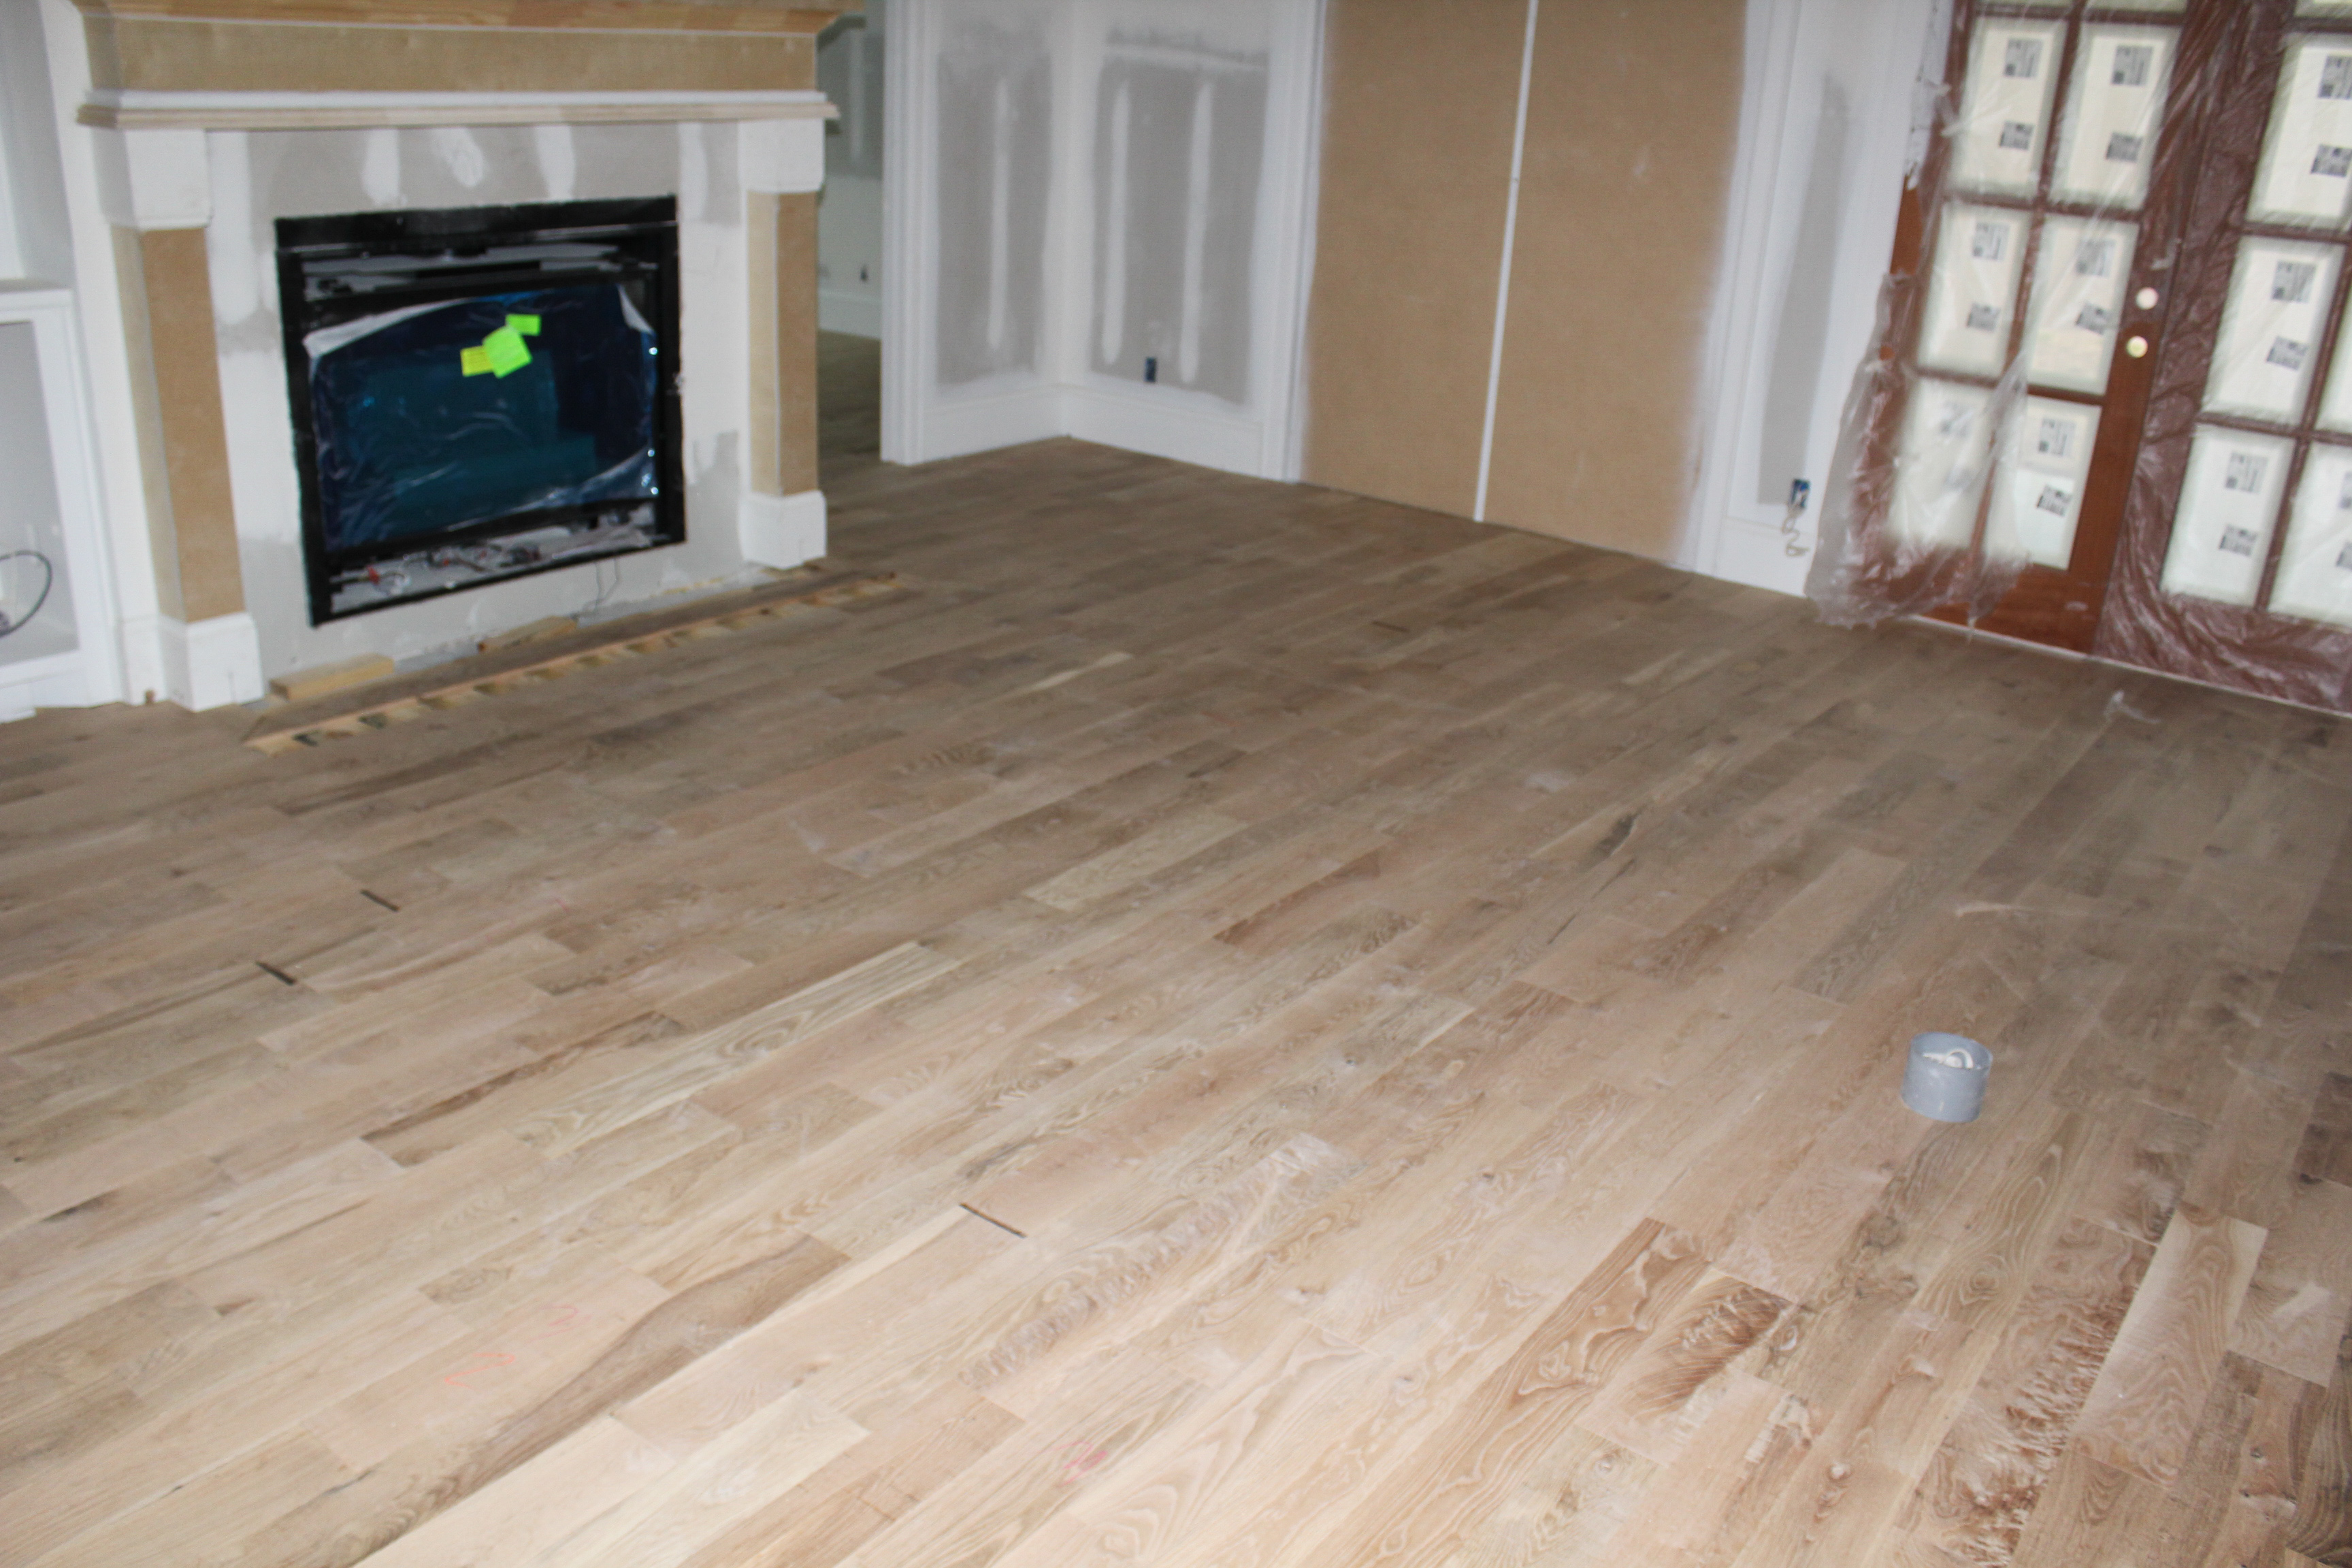
Step 4: Lay out wood floor and start nailing it down.
Step 5: Climatize house (let the air or heat run for two weeks in the house) to bring moisture in the wood down to what it will be while we live in the house.
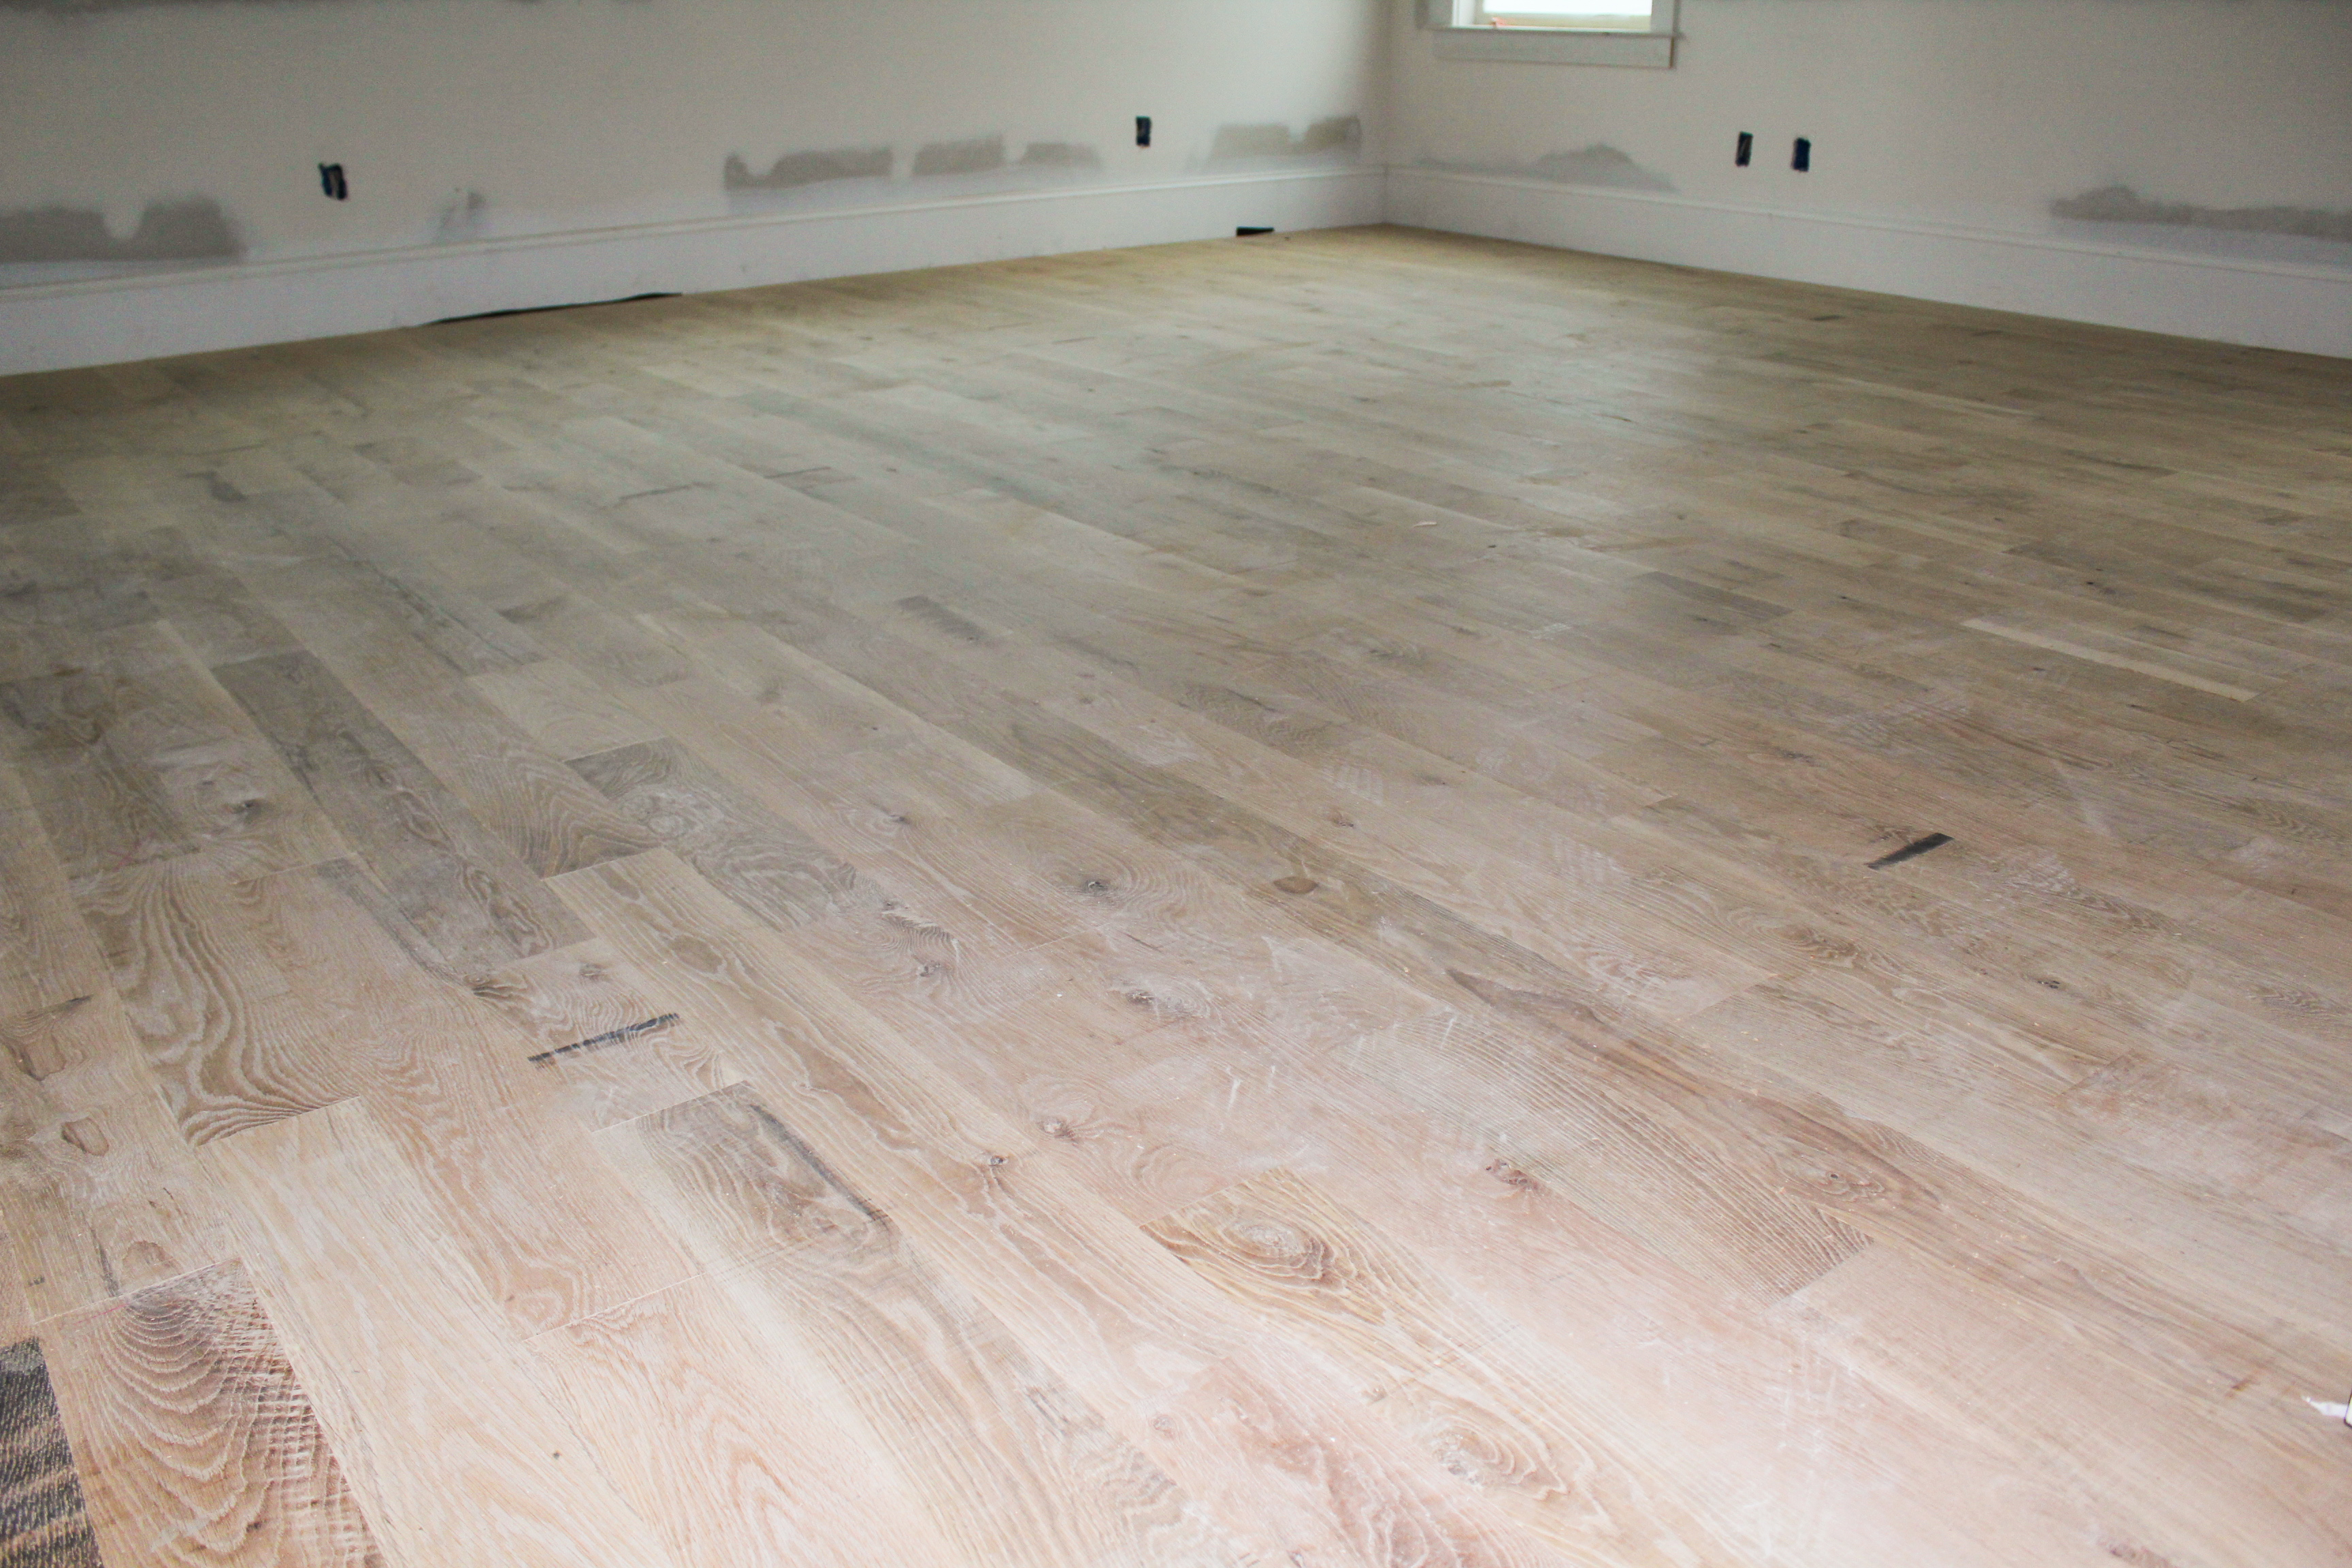
Step 6: Sand floors, fill in any holes or imperfections and stain.
We need to be on step 5 at this point but we’re waiting on the gas line to be hooked up so we can have heat. A bit of poor planning on the part of our builder, and we’re a little frustrated to say the least. As you can see, a lot of steps go into putting solid wood floors. I love the wide-plank floor boards we went with. I am a little on the fence regarding staining. I lean more toward a traditional stain, but the white-washed floor is so pretty, too. I have heard from many people they like this raw wood look. What do you think?
We’re testing out some different stains this week to figure out the look we want. So. Many. Decisions.
More soon!
Disclosure: My handy husband helped with explaining these steps to me so I must give credit. 😉



No Comments