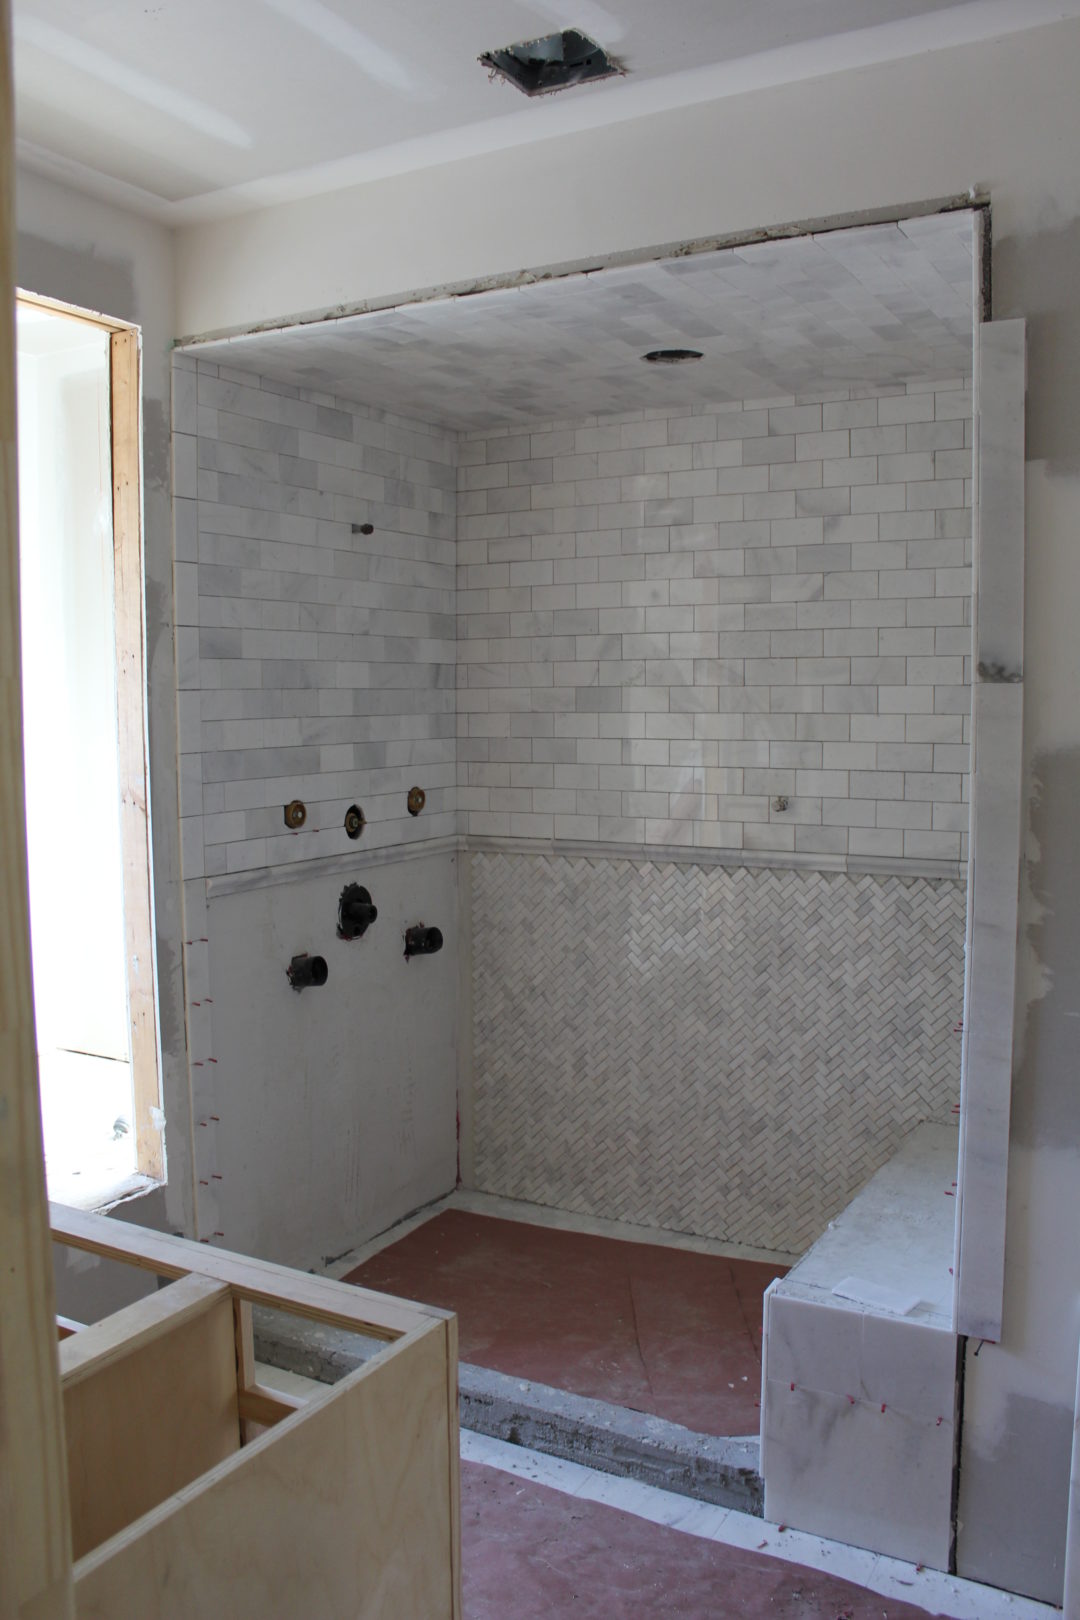
Master Shower: We used snow white marble which is similar to carrara marble, but it has a higher quartz content so it makes it more durable and the color is more uniform, which I realized I liked more and more after staring at tile for HOURS. We used 3×6 subway on the ceilings and walls, 1×2 herringbone on the lower walls and 2 inch hex on the floor, which isn’t pictured. I’m really happy with the look overall. The showers are covered and taped now so all the sanding and painting mess doesn’t get on them.
Hello 2017! Well, I thought I’d be in the #lucasfamilyhome by now, but by early Dec. we were getting the sense it was not going to be until after the first of the year. It’s a moving target at this point, but I’m guessing mid-February now. It’s frustrating to say the least, but I’ll save that for another day. I wanted to share a quick update on tile progress. Much of this was installed a few week ago and if you follow me on Instagram, you may have seen some snapshots of tile here and there, particularly on Instastories, which has become my way to document Braden’s cuteness and mood swings. Follow me – reenlucas – on Instagram to see those shenanigans and other behind-the-scenes home adventures/frustrations.
Tile selection was something I was quite opinionated about, much to my hubby’s dismay. My goal was to pick classic finishes so I could have a clean slate to choose paint colors or include other personal touches to make the room feel like my own. And, of course – we were always trying to keep budget in mind. My husband was so kind to constantly give me that reality check every step of the way.
I’ll be playing some catch-up with my next few home posts, so stay tuned for more on the home front soon!
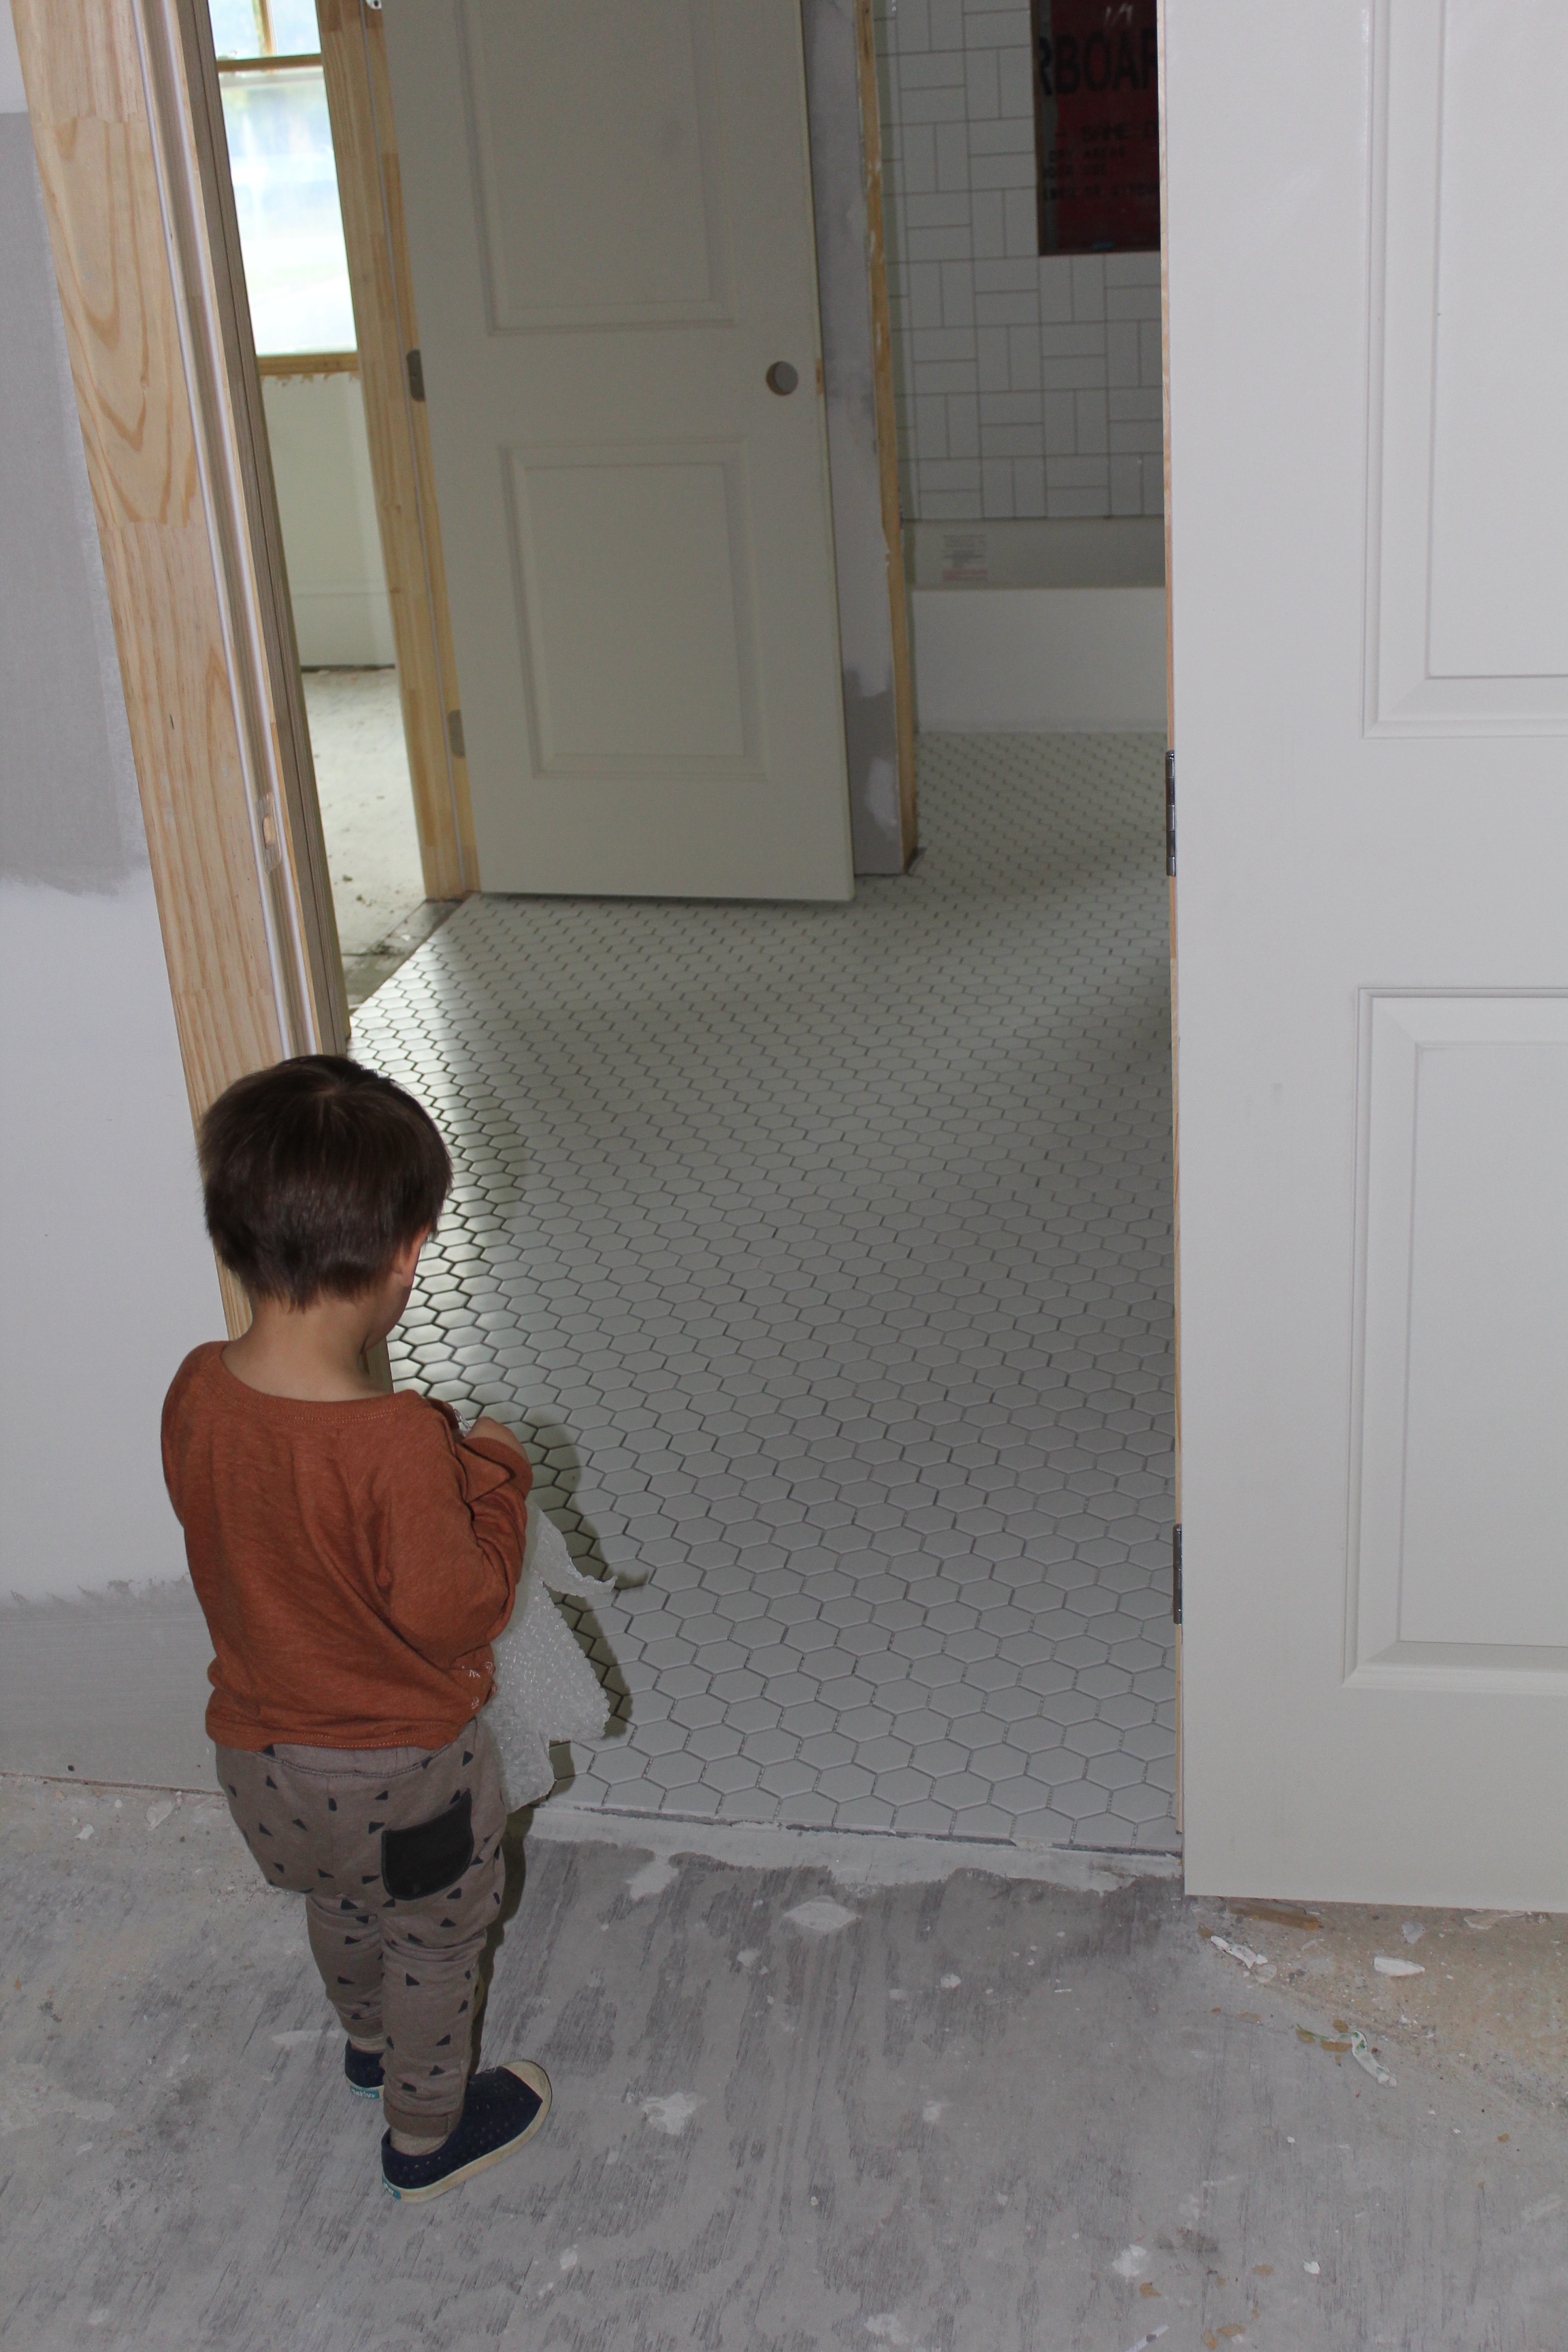
Braden stepping into his bathroom. This bathroom has two shelves flanking it from the game room entry way making it accessible for people lounging upstairs.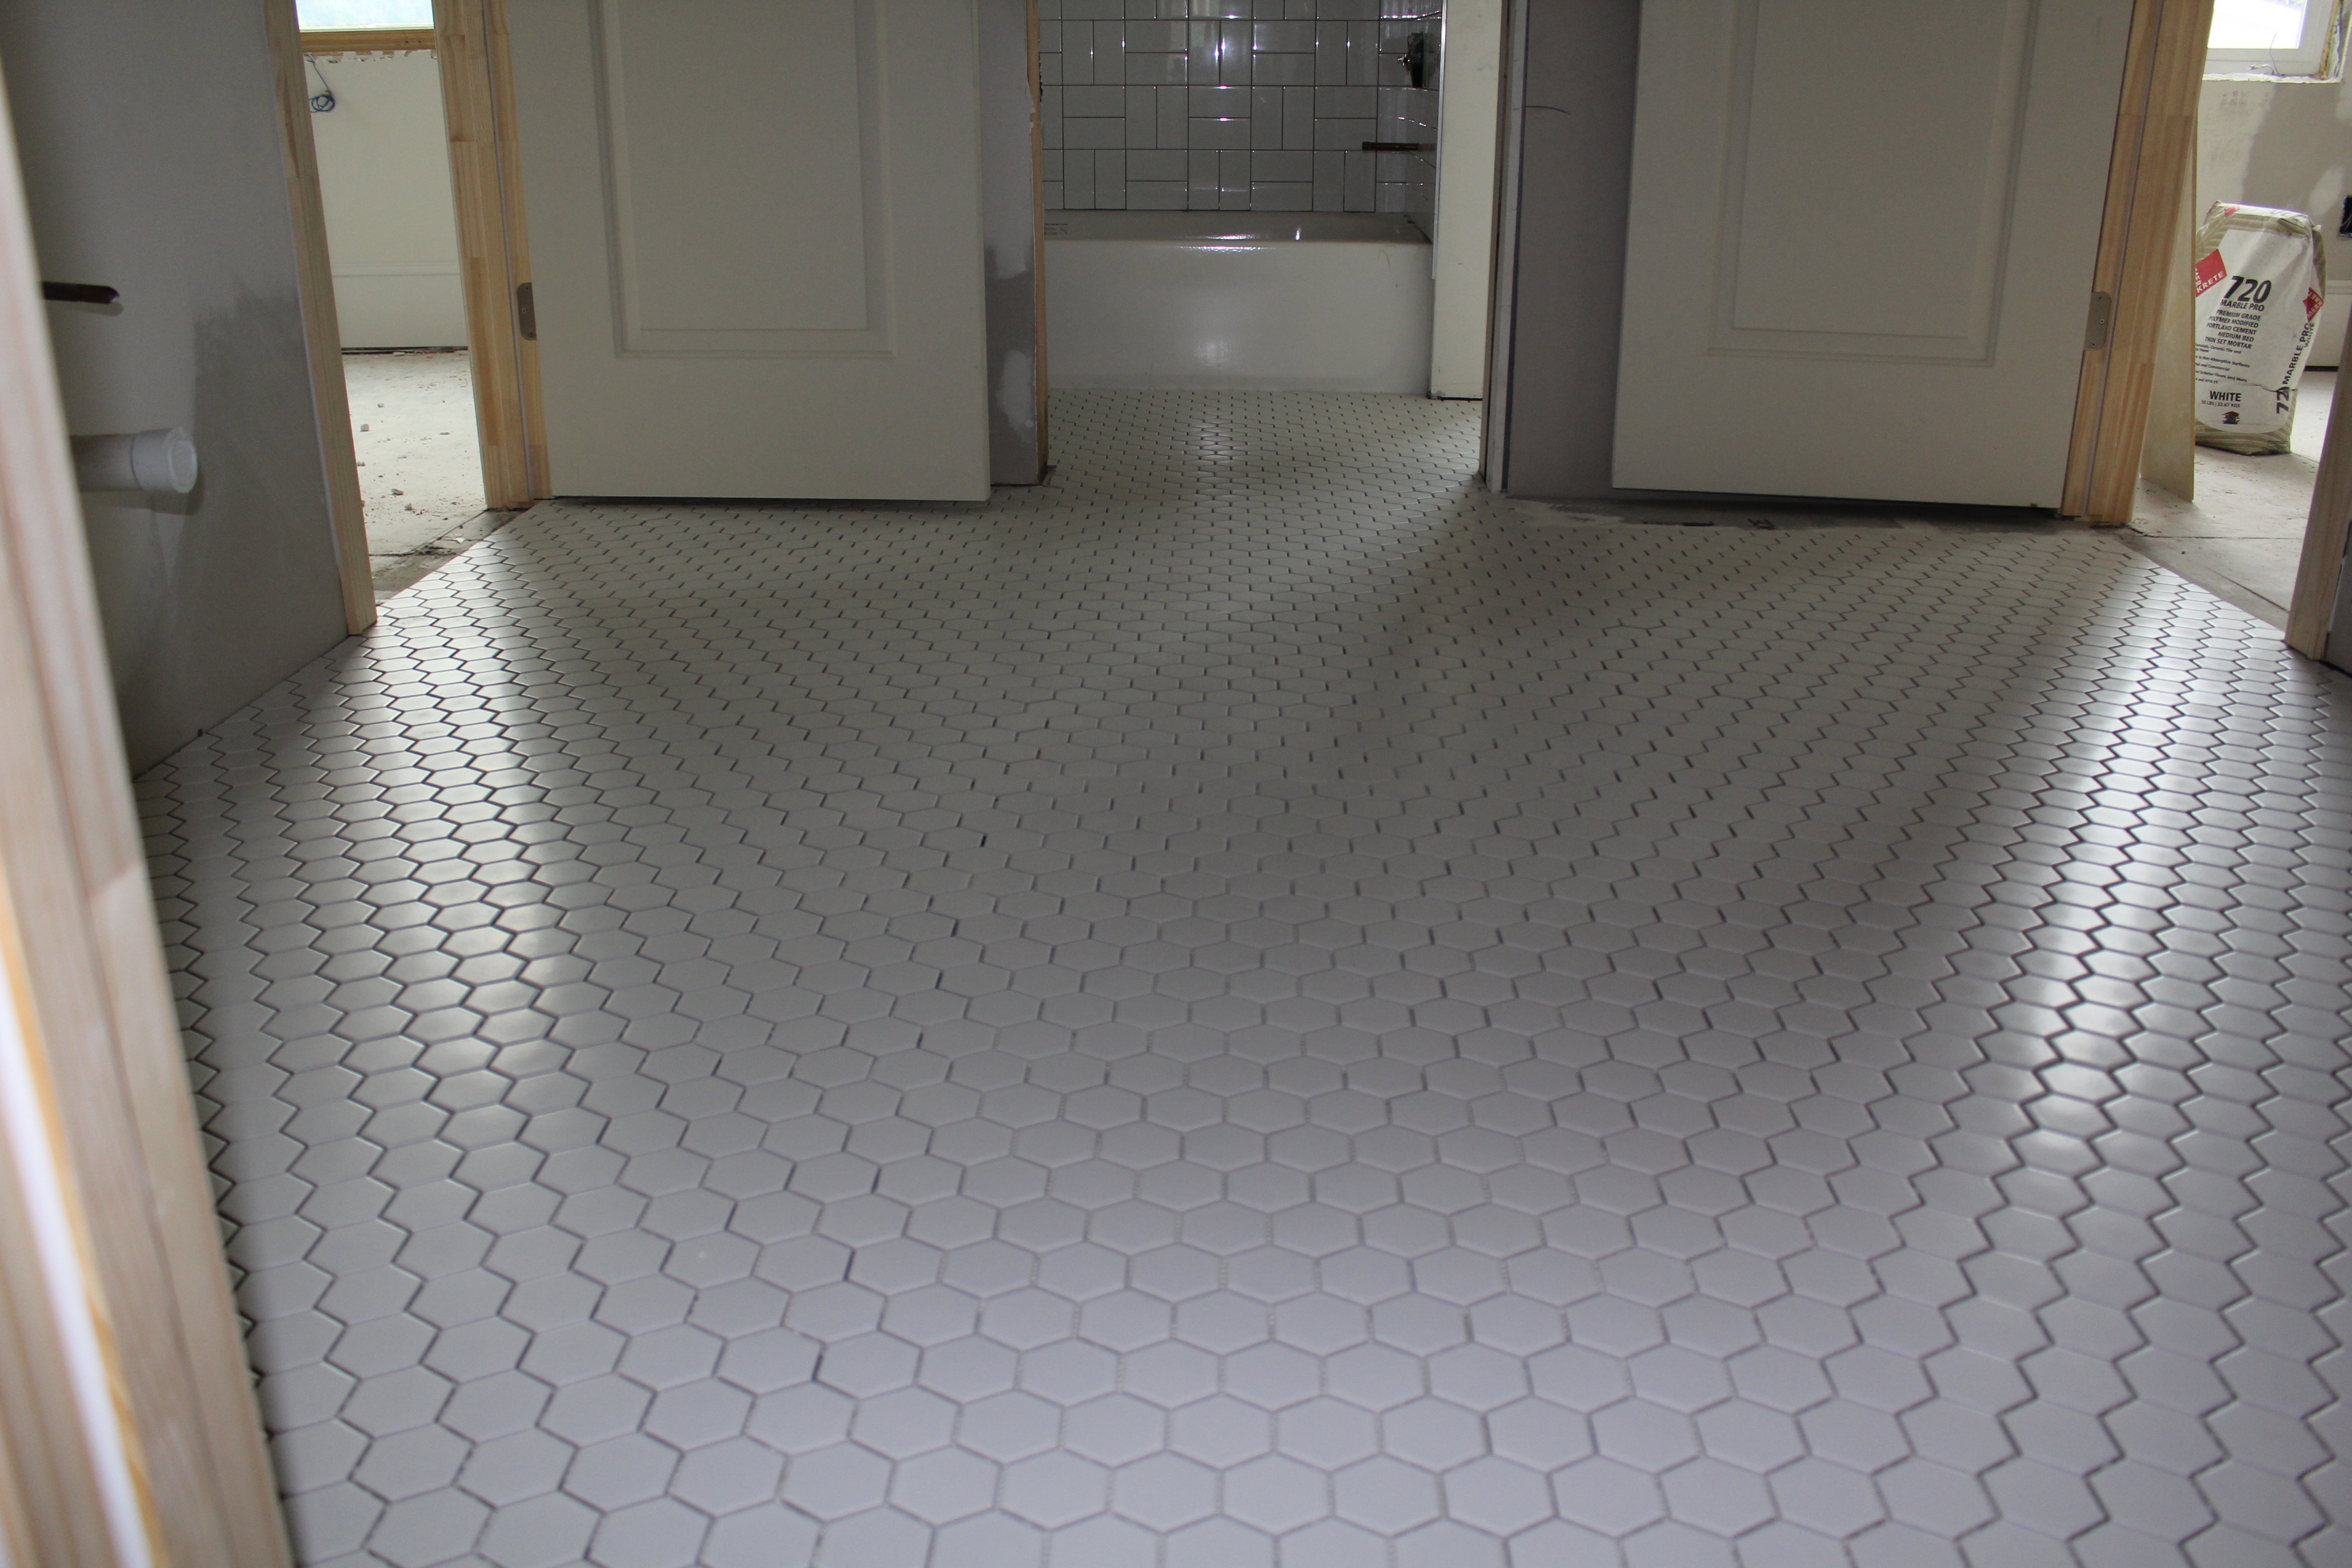
For this jack and jill style bathroom, we wanted durable, classic materials. The cabinets will get some color to give the room some personality. We chose ceramic tile in a classic white 2 inch hex. The shower is a white ceramic 3×6 subway tile in a crosshatch pattern. Ben was skeptical about this at first, but liked it afterwards. Pretty much the story of my life. 🙂
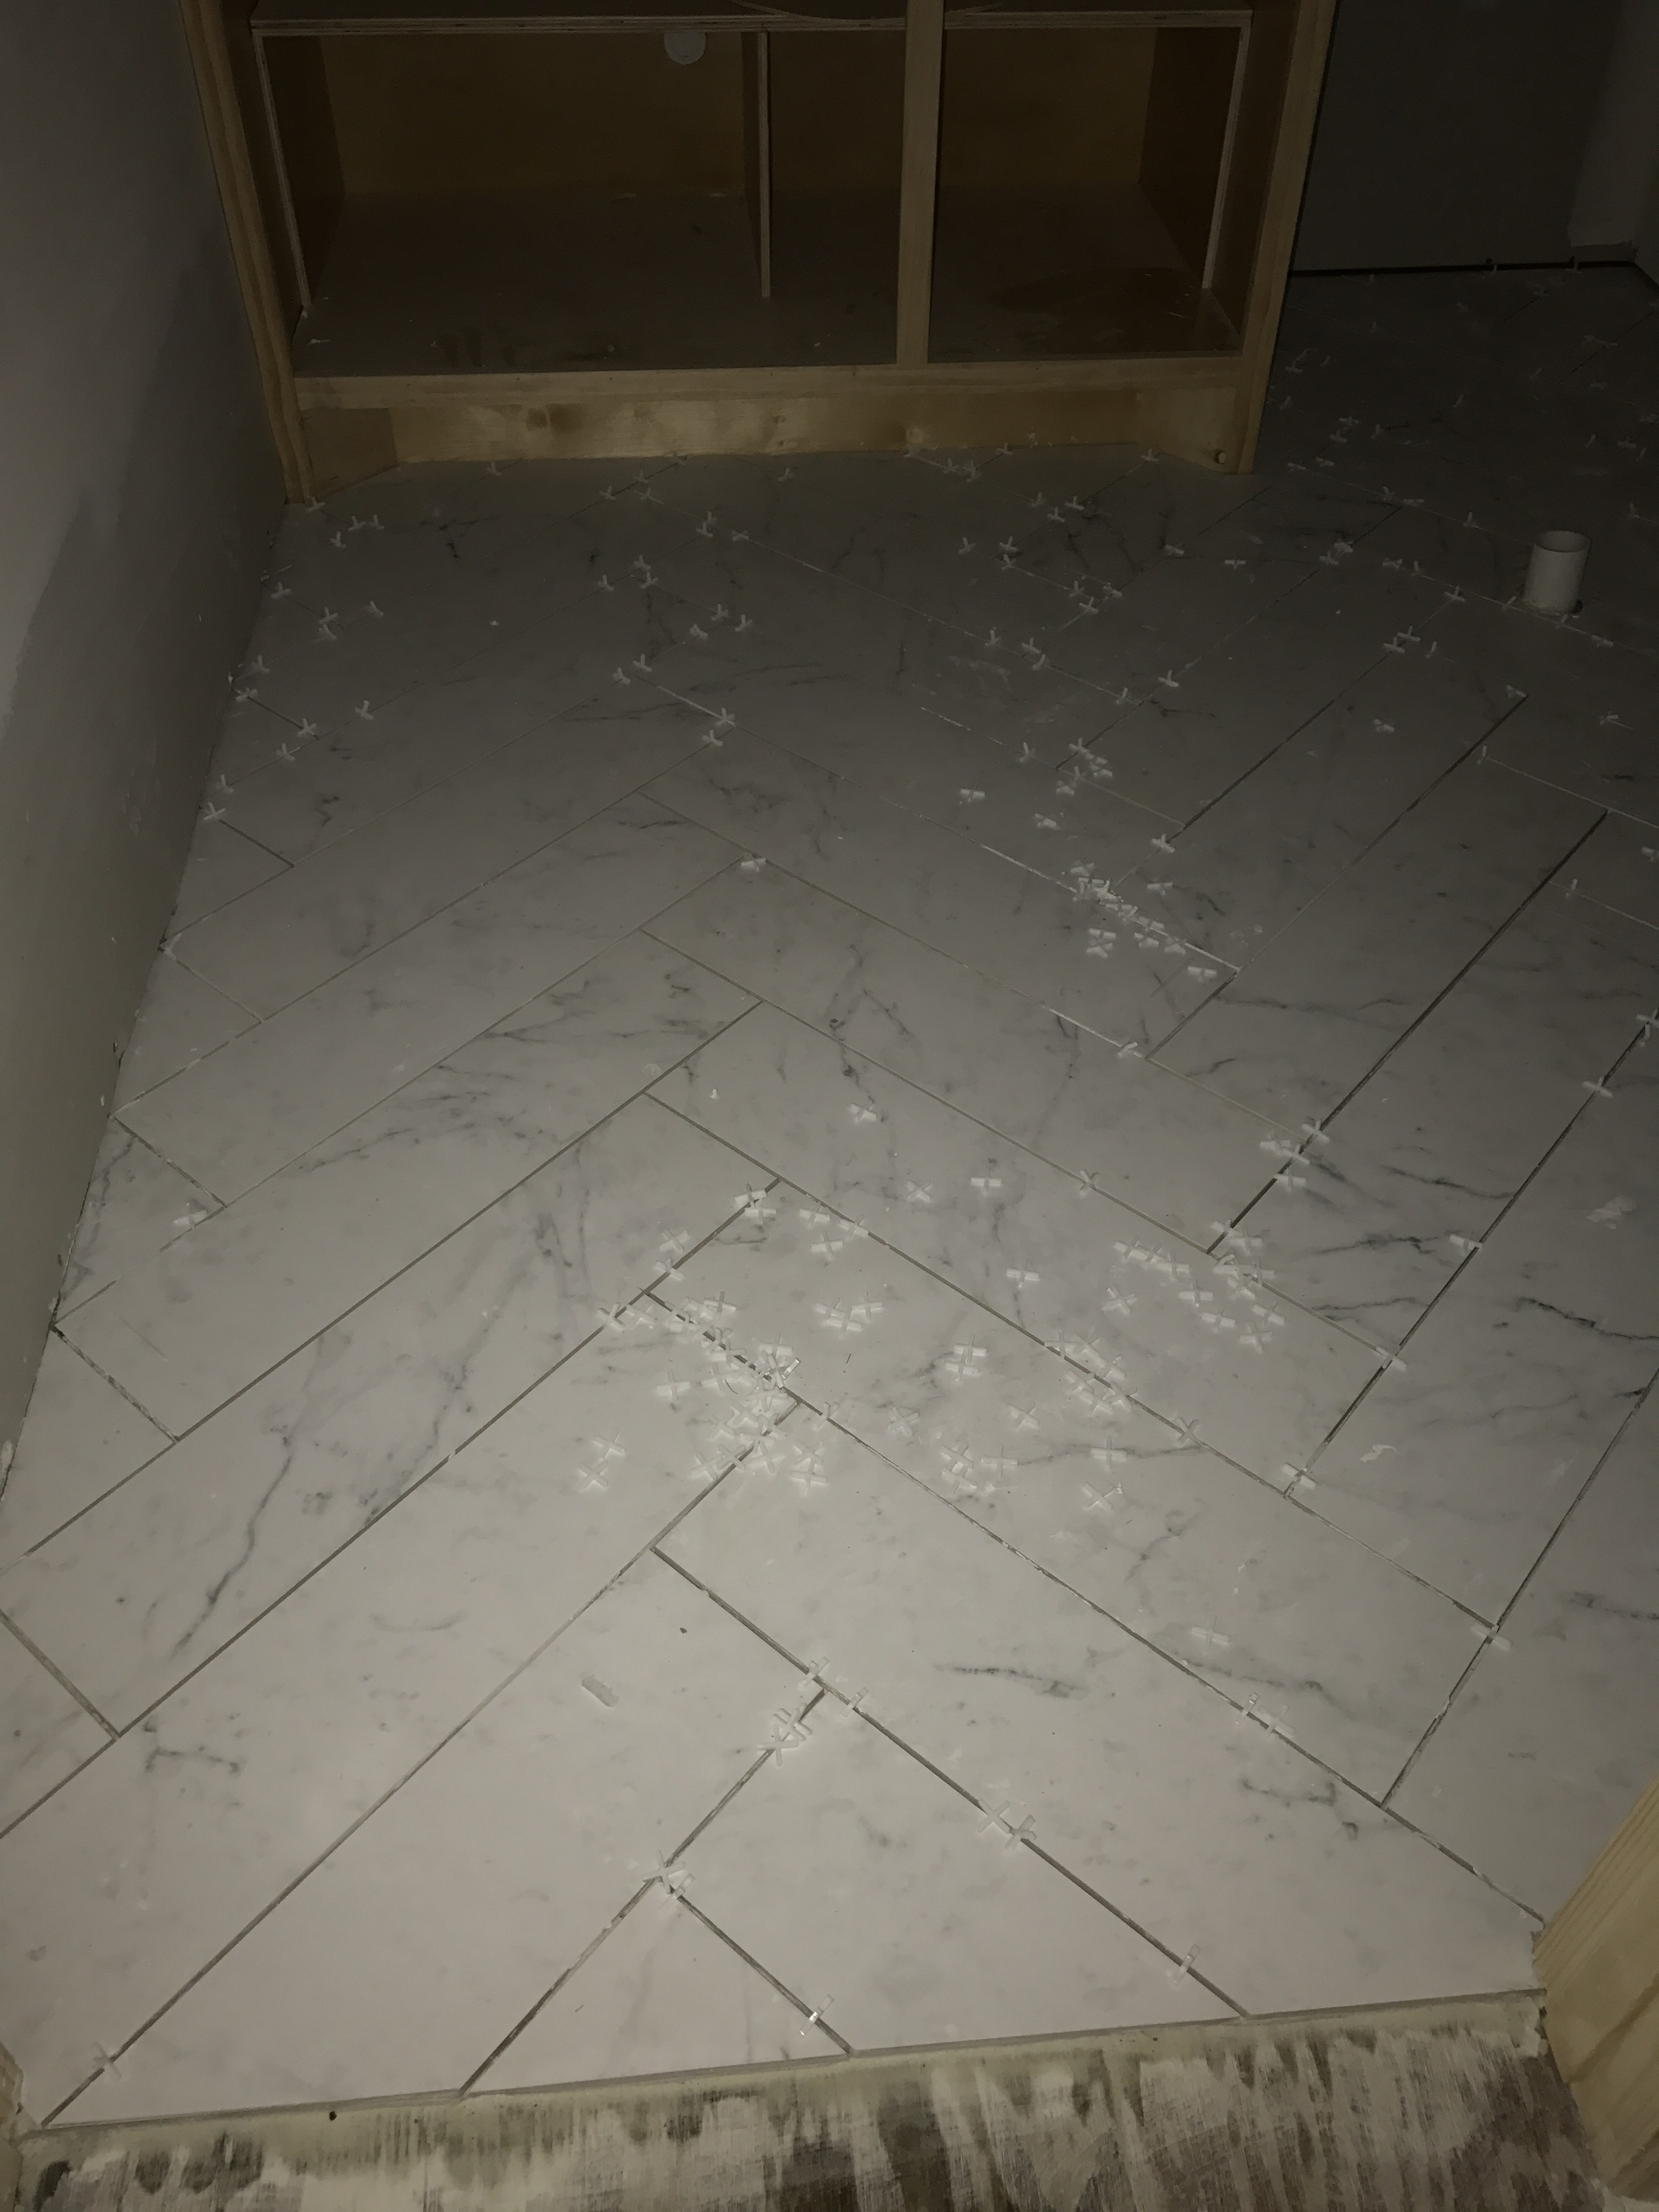
My original vision for the mudroom was to do a ceramic tile in a fun pattern, but sourcing that was difficult with the timing we were up against and not budget friendly. With it being a relatively small space, it just seemed silly to spend that much on tile that was going to be covered in dirty laundry. So, we went with 12×24 ceramic tile cut to 6×24 and laid that in a herringbone pattern.
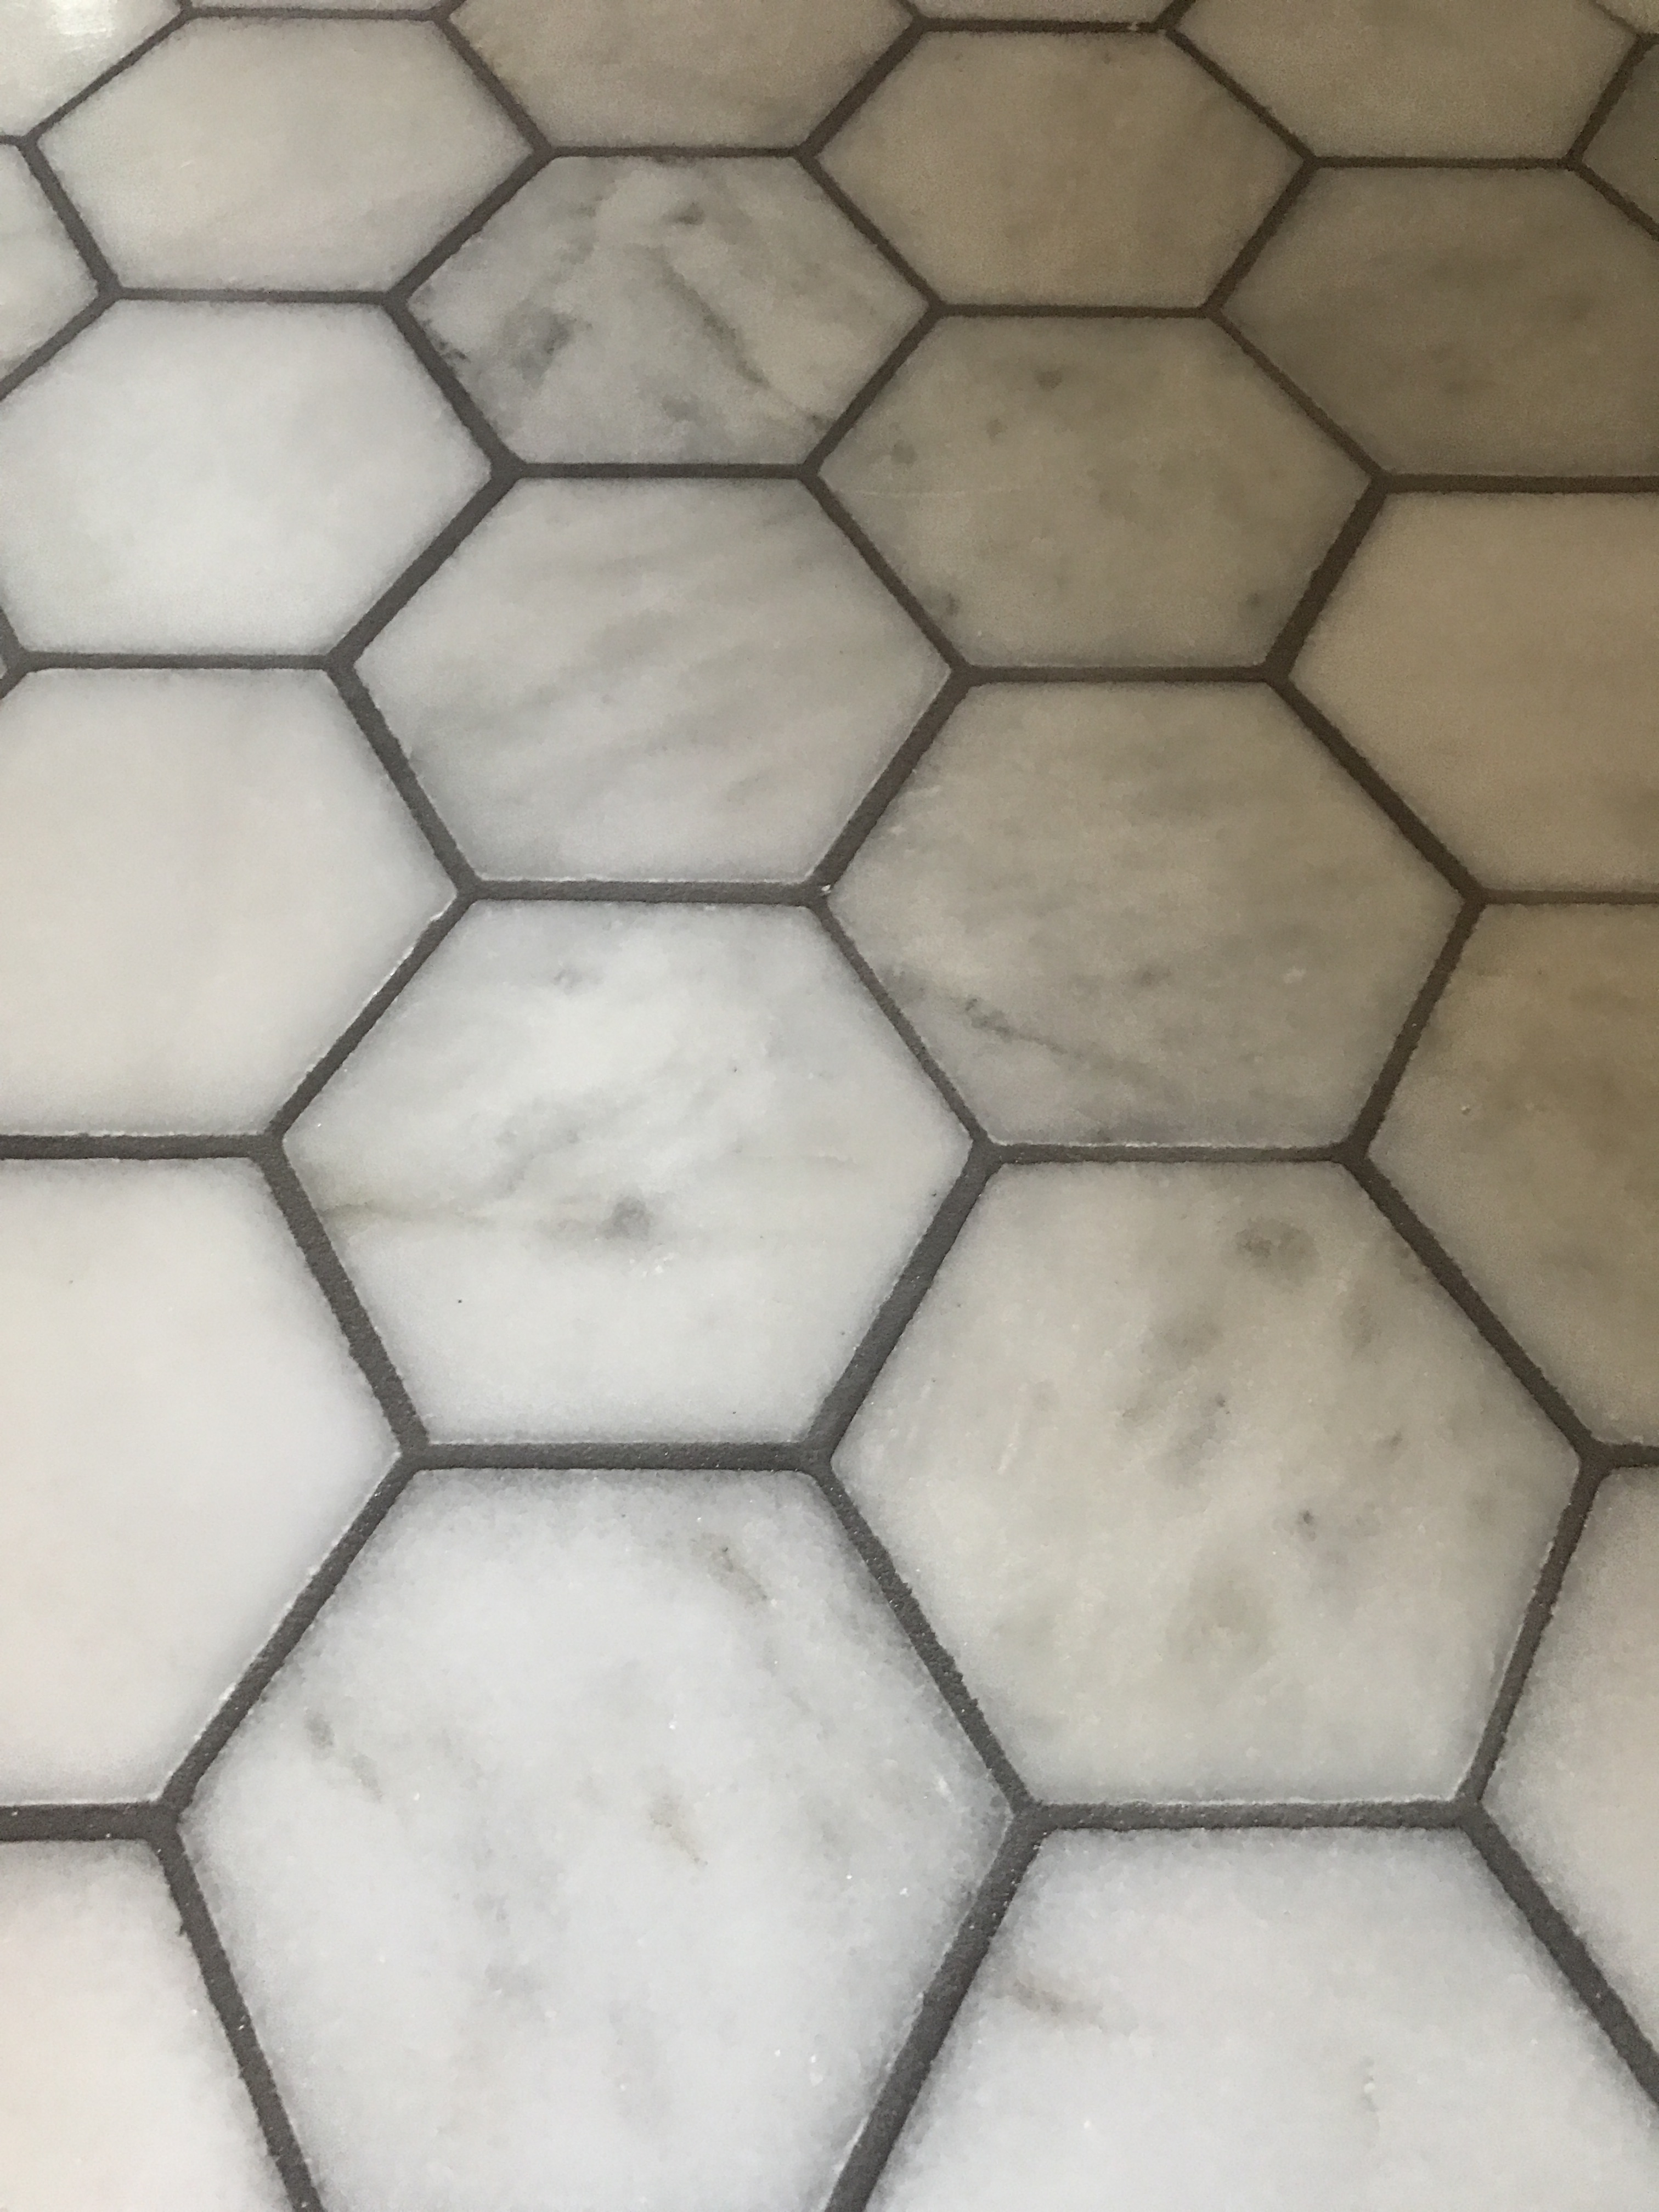
Funny story with this. Look very closely when picking the grout color. We made a mistake and accidently chose a brown grout vs. a grey because we didn’t look at the names that closely. We were able to get it fixed and cover it with a grey grout. It seems like I’m obsessed with hex, but I just fell in love with the look of this hex, which is 4 inch marble so it gives the room a different look. This is the tile in the downstairs guest bathroom which has a door making it accessible from the outdoor living space.
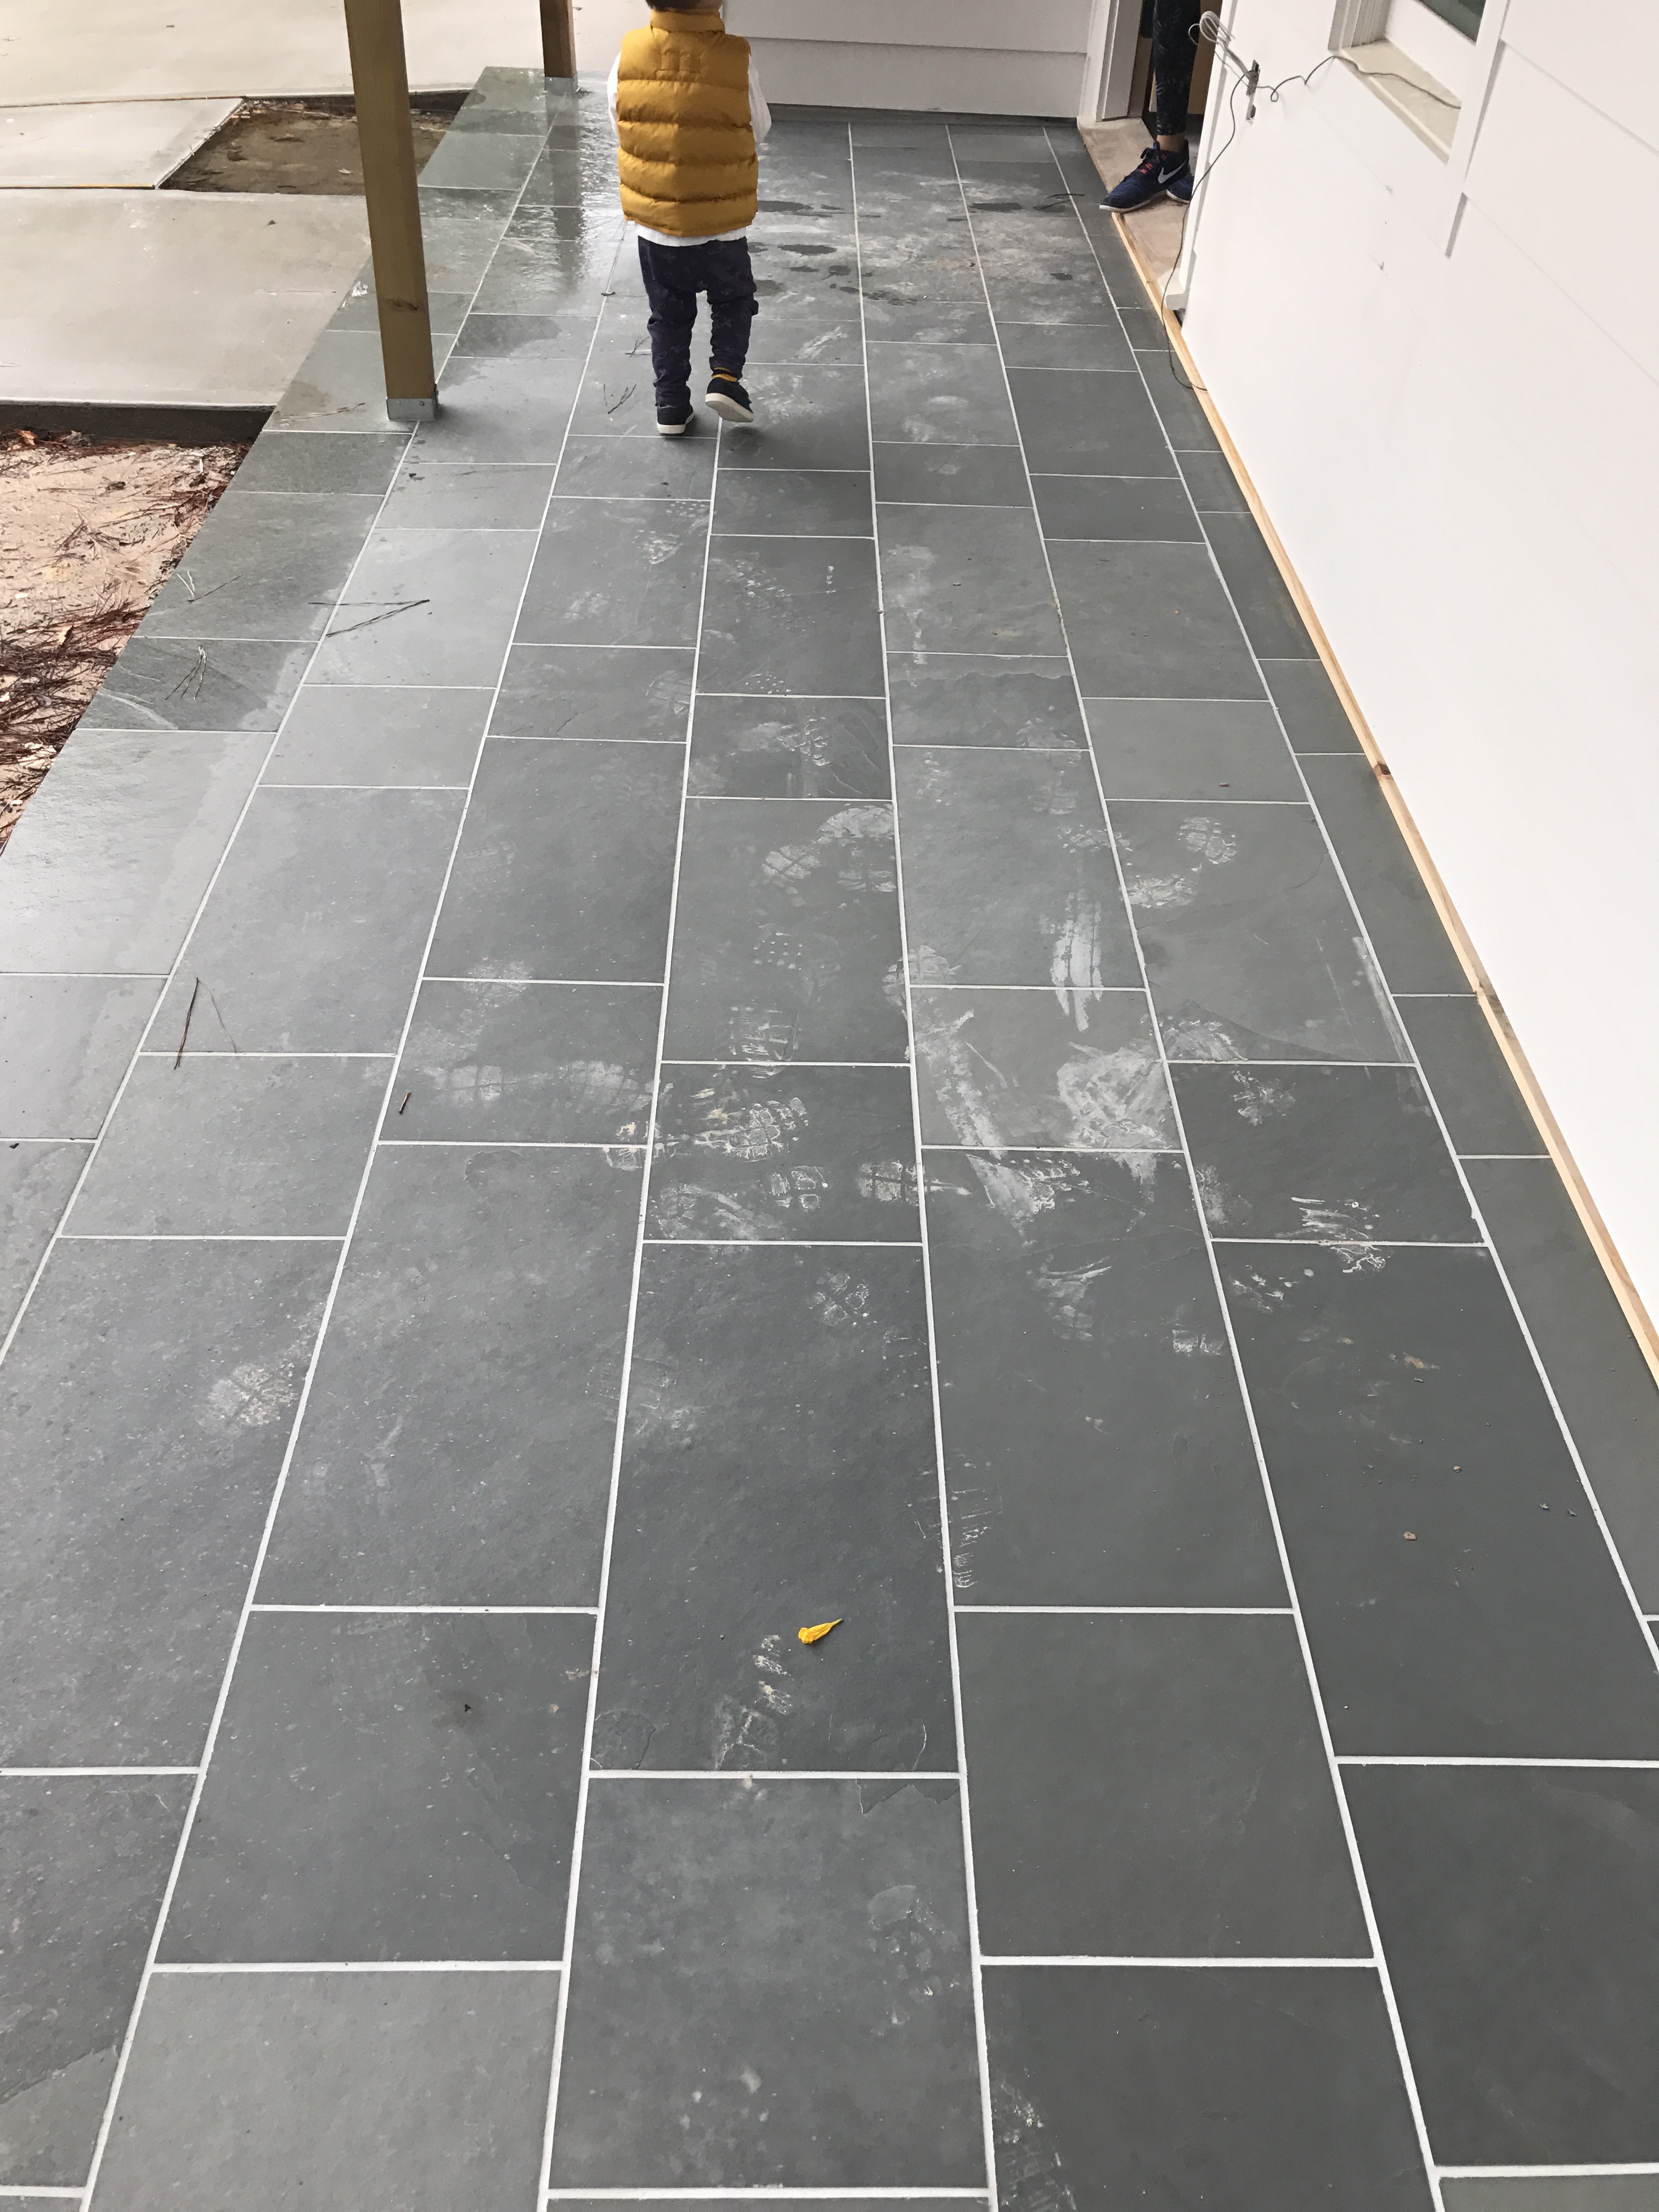
Porch tile we chose is a slate tile called montauk blue. The tile came in 12×12 and 12×24. Originally, I picked out a different pattern for this tile, sort of a versaille pattern, but then discovered that was going to be an incredible amount of labor when the tile folks were trying to lay it all out. Each tile would need to be trimmed to accommodate the correct amount of spacing for the grout lines, so it was going to be $$$$ . Lesson learned here: if you have a cool tile pattern in mind, talk through that thoroughly before buying the tile to make sure it will really work for the space, type of material, etc.



No Comments